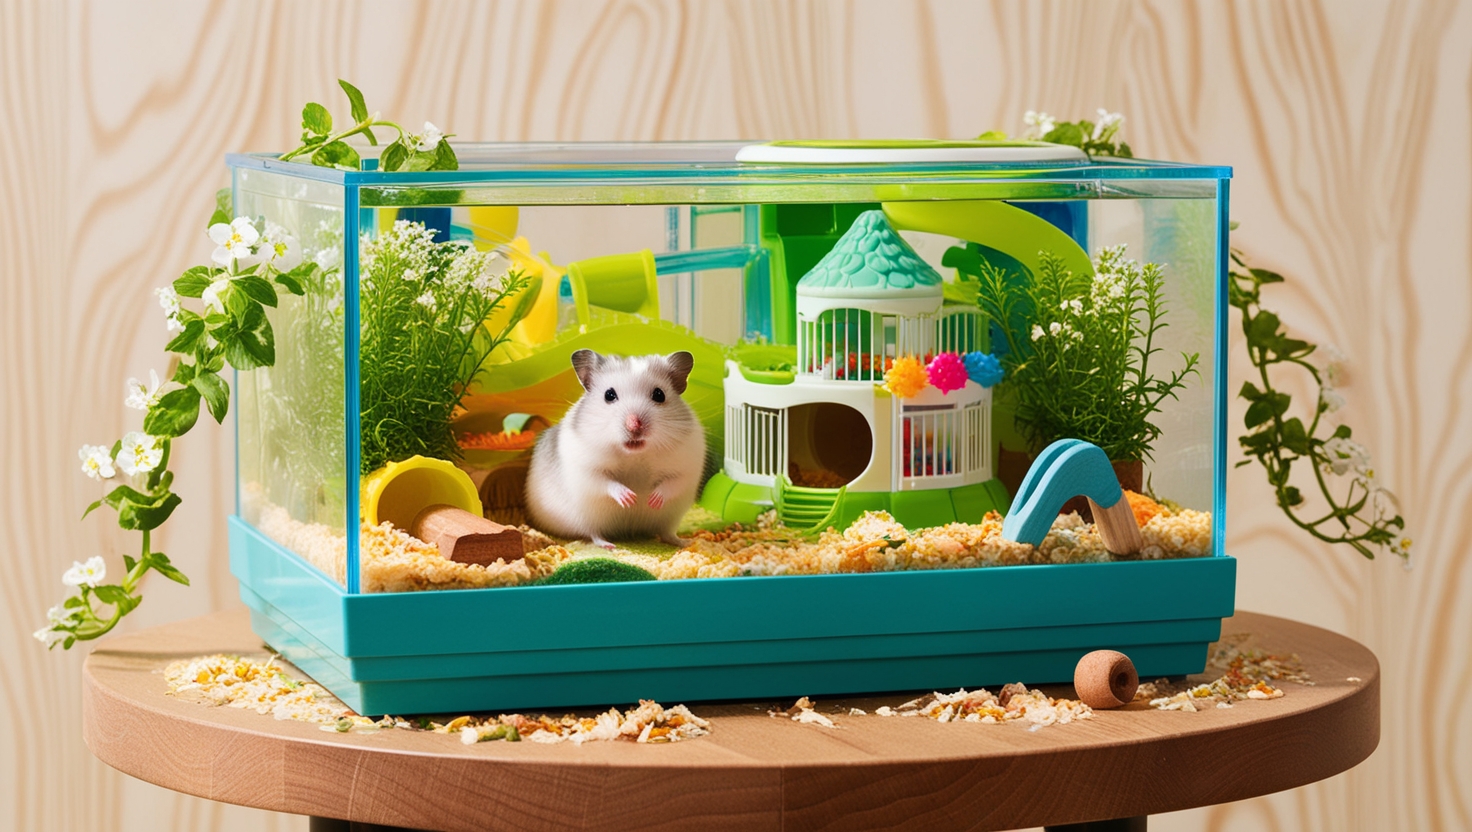
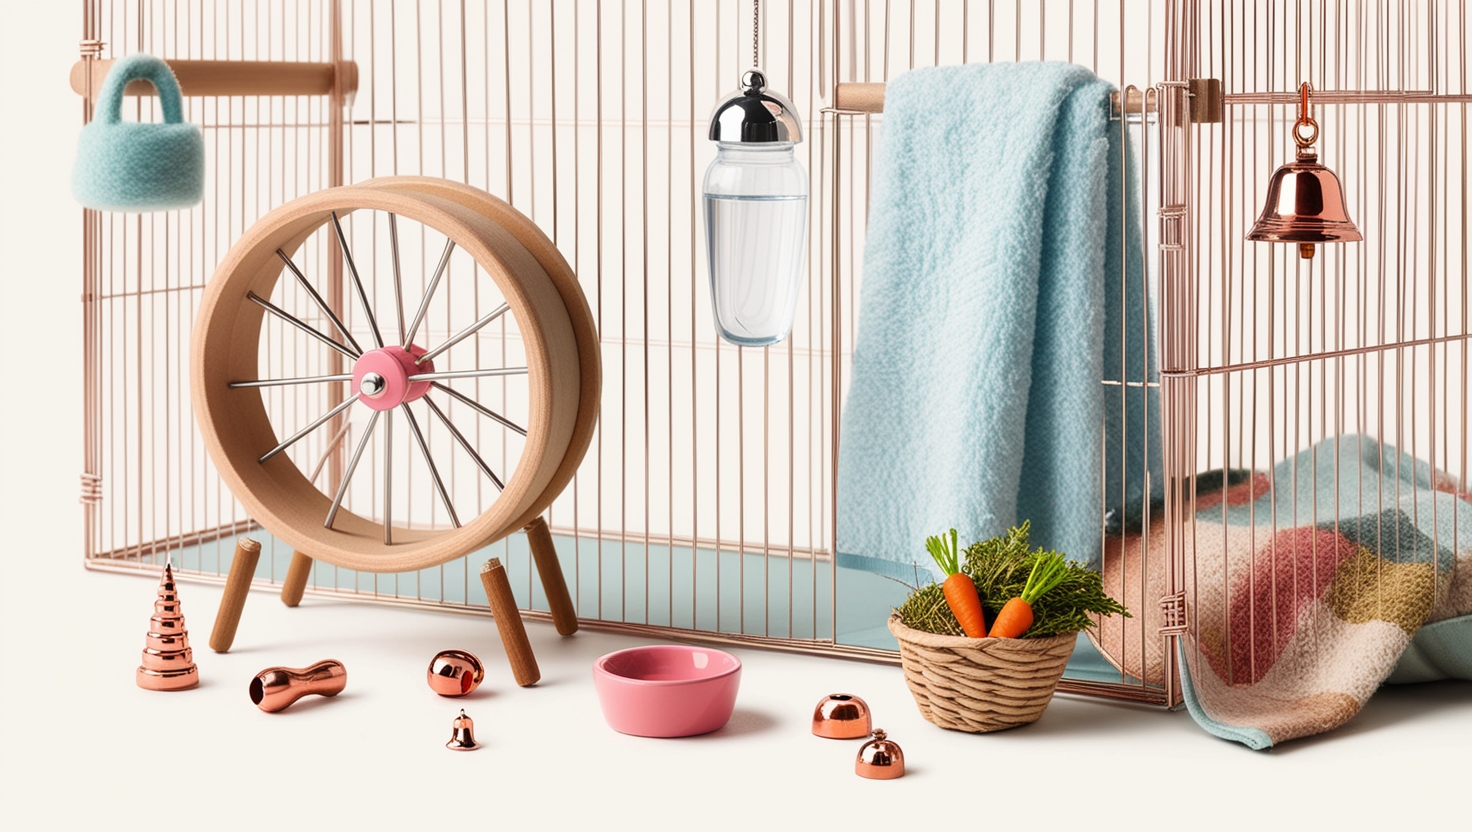
So, you’re adding a hamster to your life? That’s fantastic! Welcoming a furry little friend into your home is always exciting. But before you bring your new buddy home, you need to create the perfect hamster habitat. And let me tell you, setting up a hamster cage is more than just throwing in some bedding and a wheel – it’s about creating a hamster cage aesthetic that’s both functional and visually appealing.
As an experienced hamster parent and someone who’s passionate about creating stimulating and beautiful homes for these little creatures, I’m here to guide you through the process.
Planning Your Hamster Cage Layout: Setting the Stage
Just like designing a room, setting up a hamster cage starts with a good plan. Before you even think about bedding, let’s talk infrastructure.
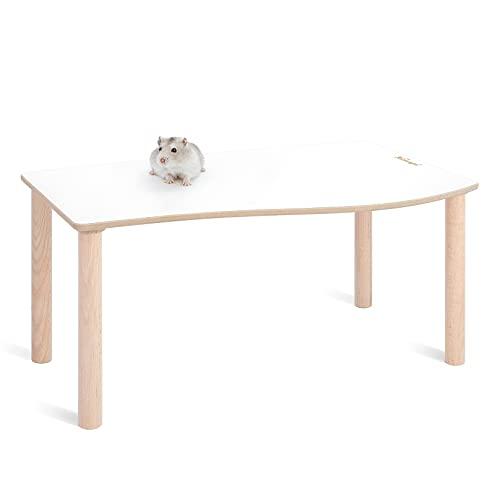
My go-to starting point? Platforms! They are game-changers, seriously. Platforms maximize space by creating a multi-level environment. Think of it as adding a second story to your hamster’s home – they get a cozy burrow underneath and a fun play area on top! You can find pre-made platforms online (Niteangel on Amazon has some great options!), or unleash your inner DIY guru and craft your own using safe, non-toxic materials like popsicle sticks and cardboard.
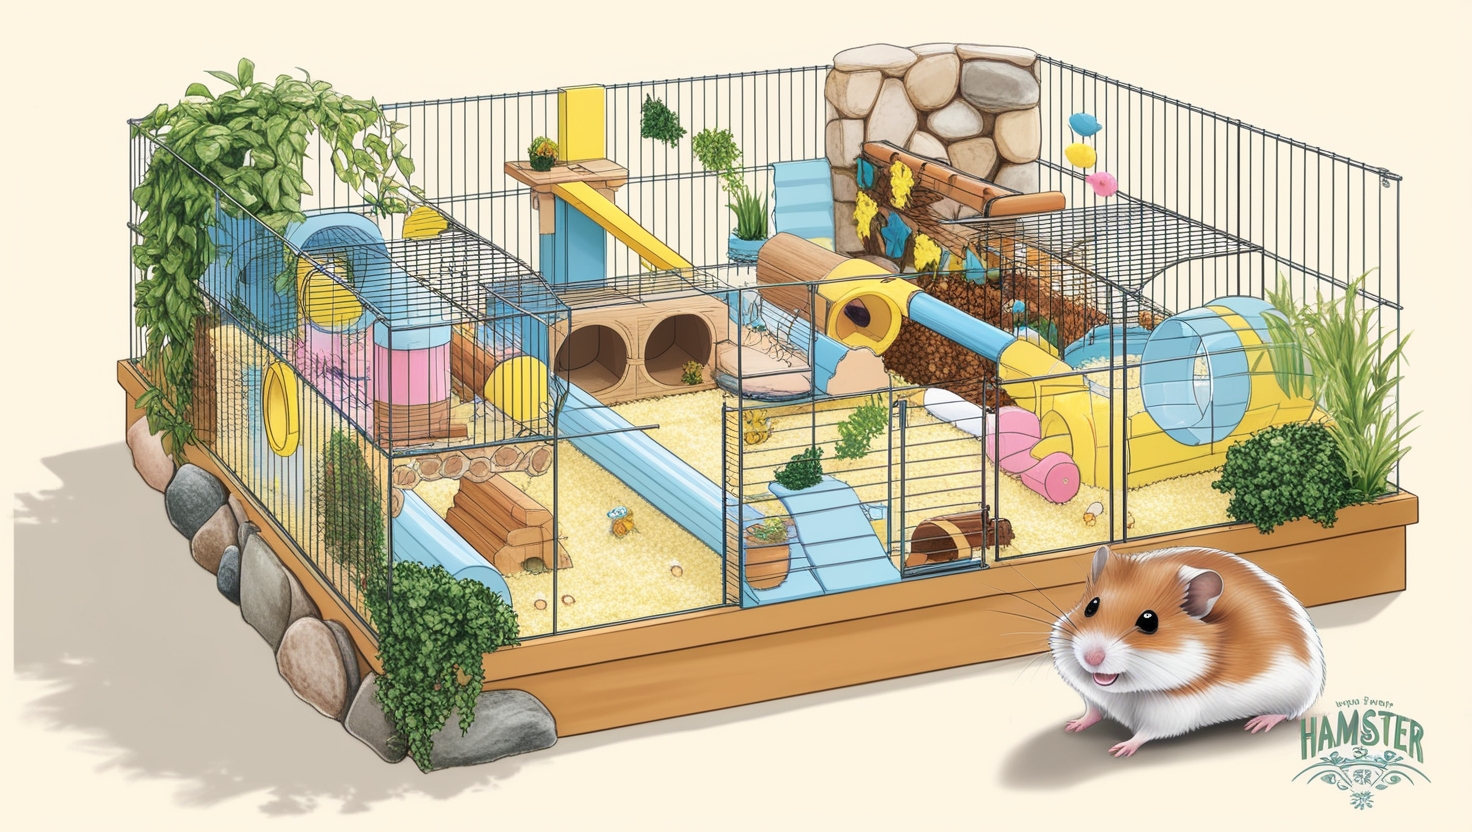
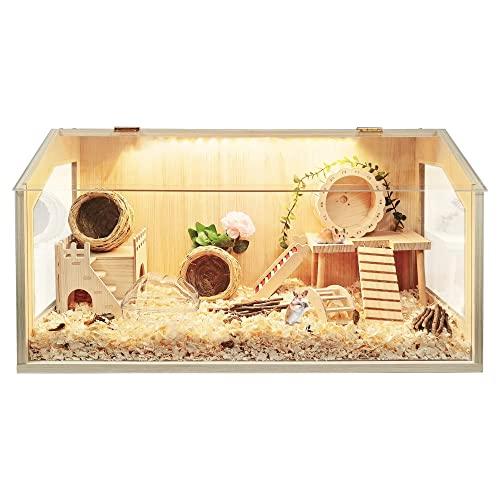 initial design
A sneak peek at the design process – planning makes all the difference!
Once you have your platforms, it’s time to add other essentials:
- Sand bath: Hamsters love a good sand bath to keep their fur clean and healthy.
- Wheel: A must-have for exercise! Make sure it’s large enough (at least 10 inches for Syrians!).
- Hides: Every hamster needs a safe space to retreat and relax.
- Food and water: I always recommend providing both a water bottle and a heavy ceramic bowl to prevent spills and offer options.
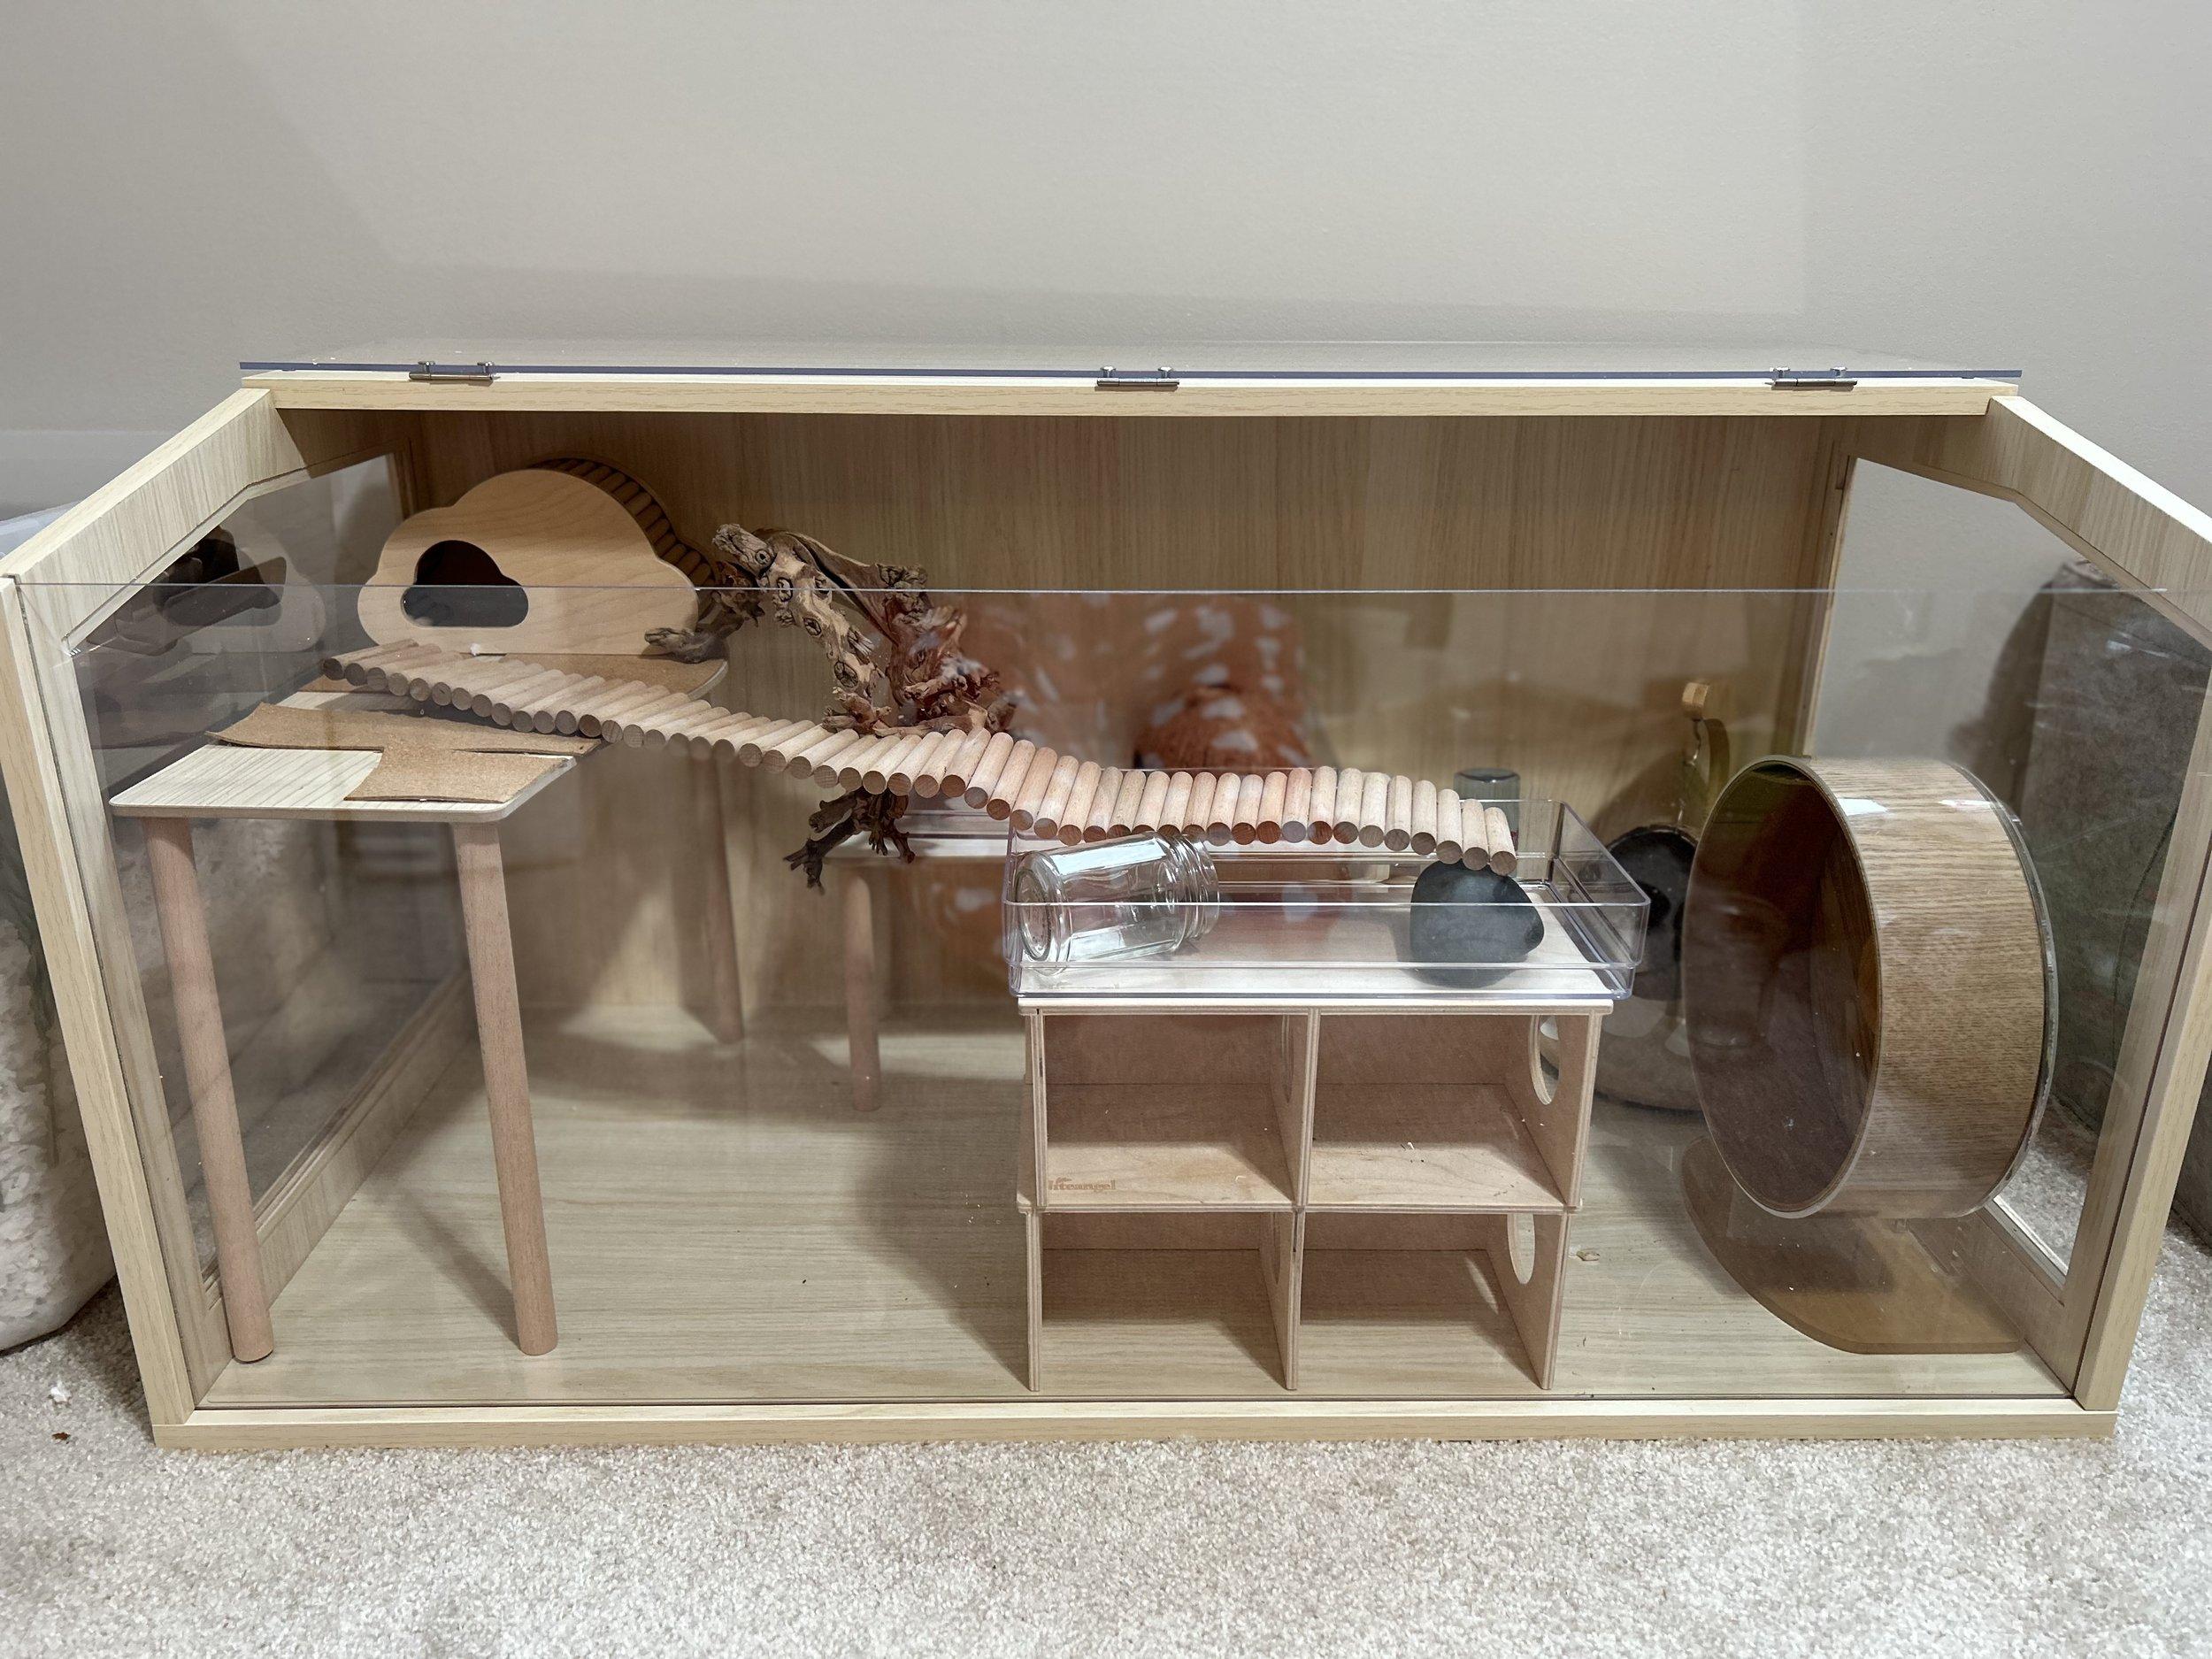 then i decided I needed a 7” platform in the back
Platforms create layers and add visual interest – plus, hamsters love them!
When placing these items, keep your hamster’s safety in mind. Avoid large drop-offs, secure any ramps or bridges, and ensure everything is easily accessible.
Bedding and Substrates: Creating a Naturalistic Base
Now for the fun part – bedding and substrates! This is where you can get creative and design a visually stunning and enriching environment for your hamster.
I’m a big fan of providing a variety of textures:
- Paper bedding: White, unscented paper bedding is my base layer. It’s soft, absorbent, and makes it easy to spot-clean.
- Hemp bedding: Hemp bedding adds a different texture and is great for foraging.
- Moss: Both sheet moss and loose sphagnum moss add a touch of natural beauty and provide soft burrows.
- Coconut soil: This is perfect for a digging area – hamsters love to dig!
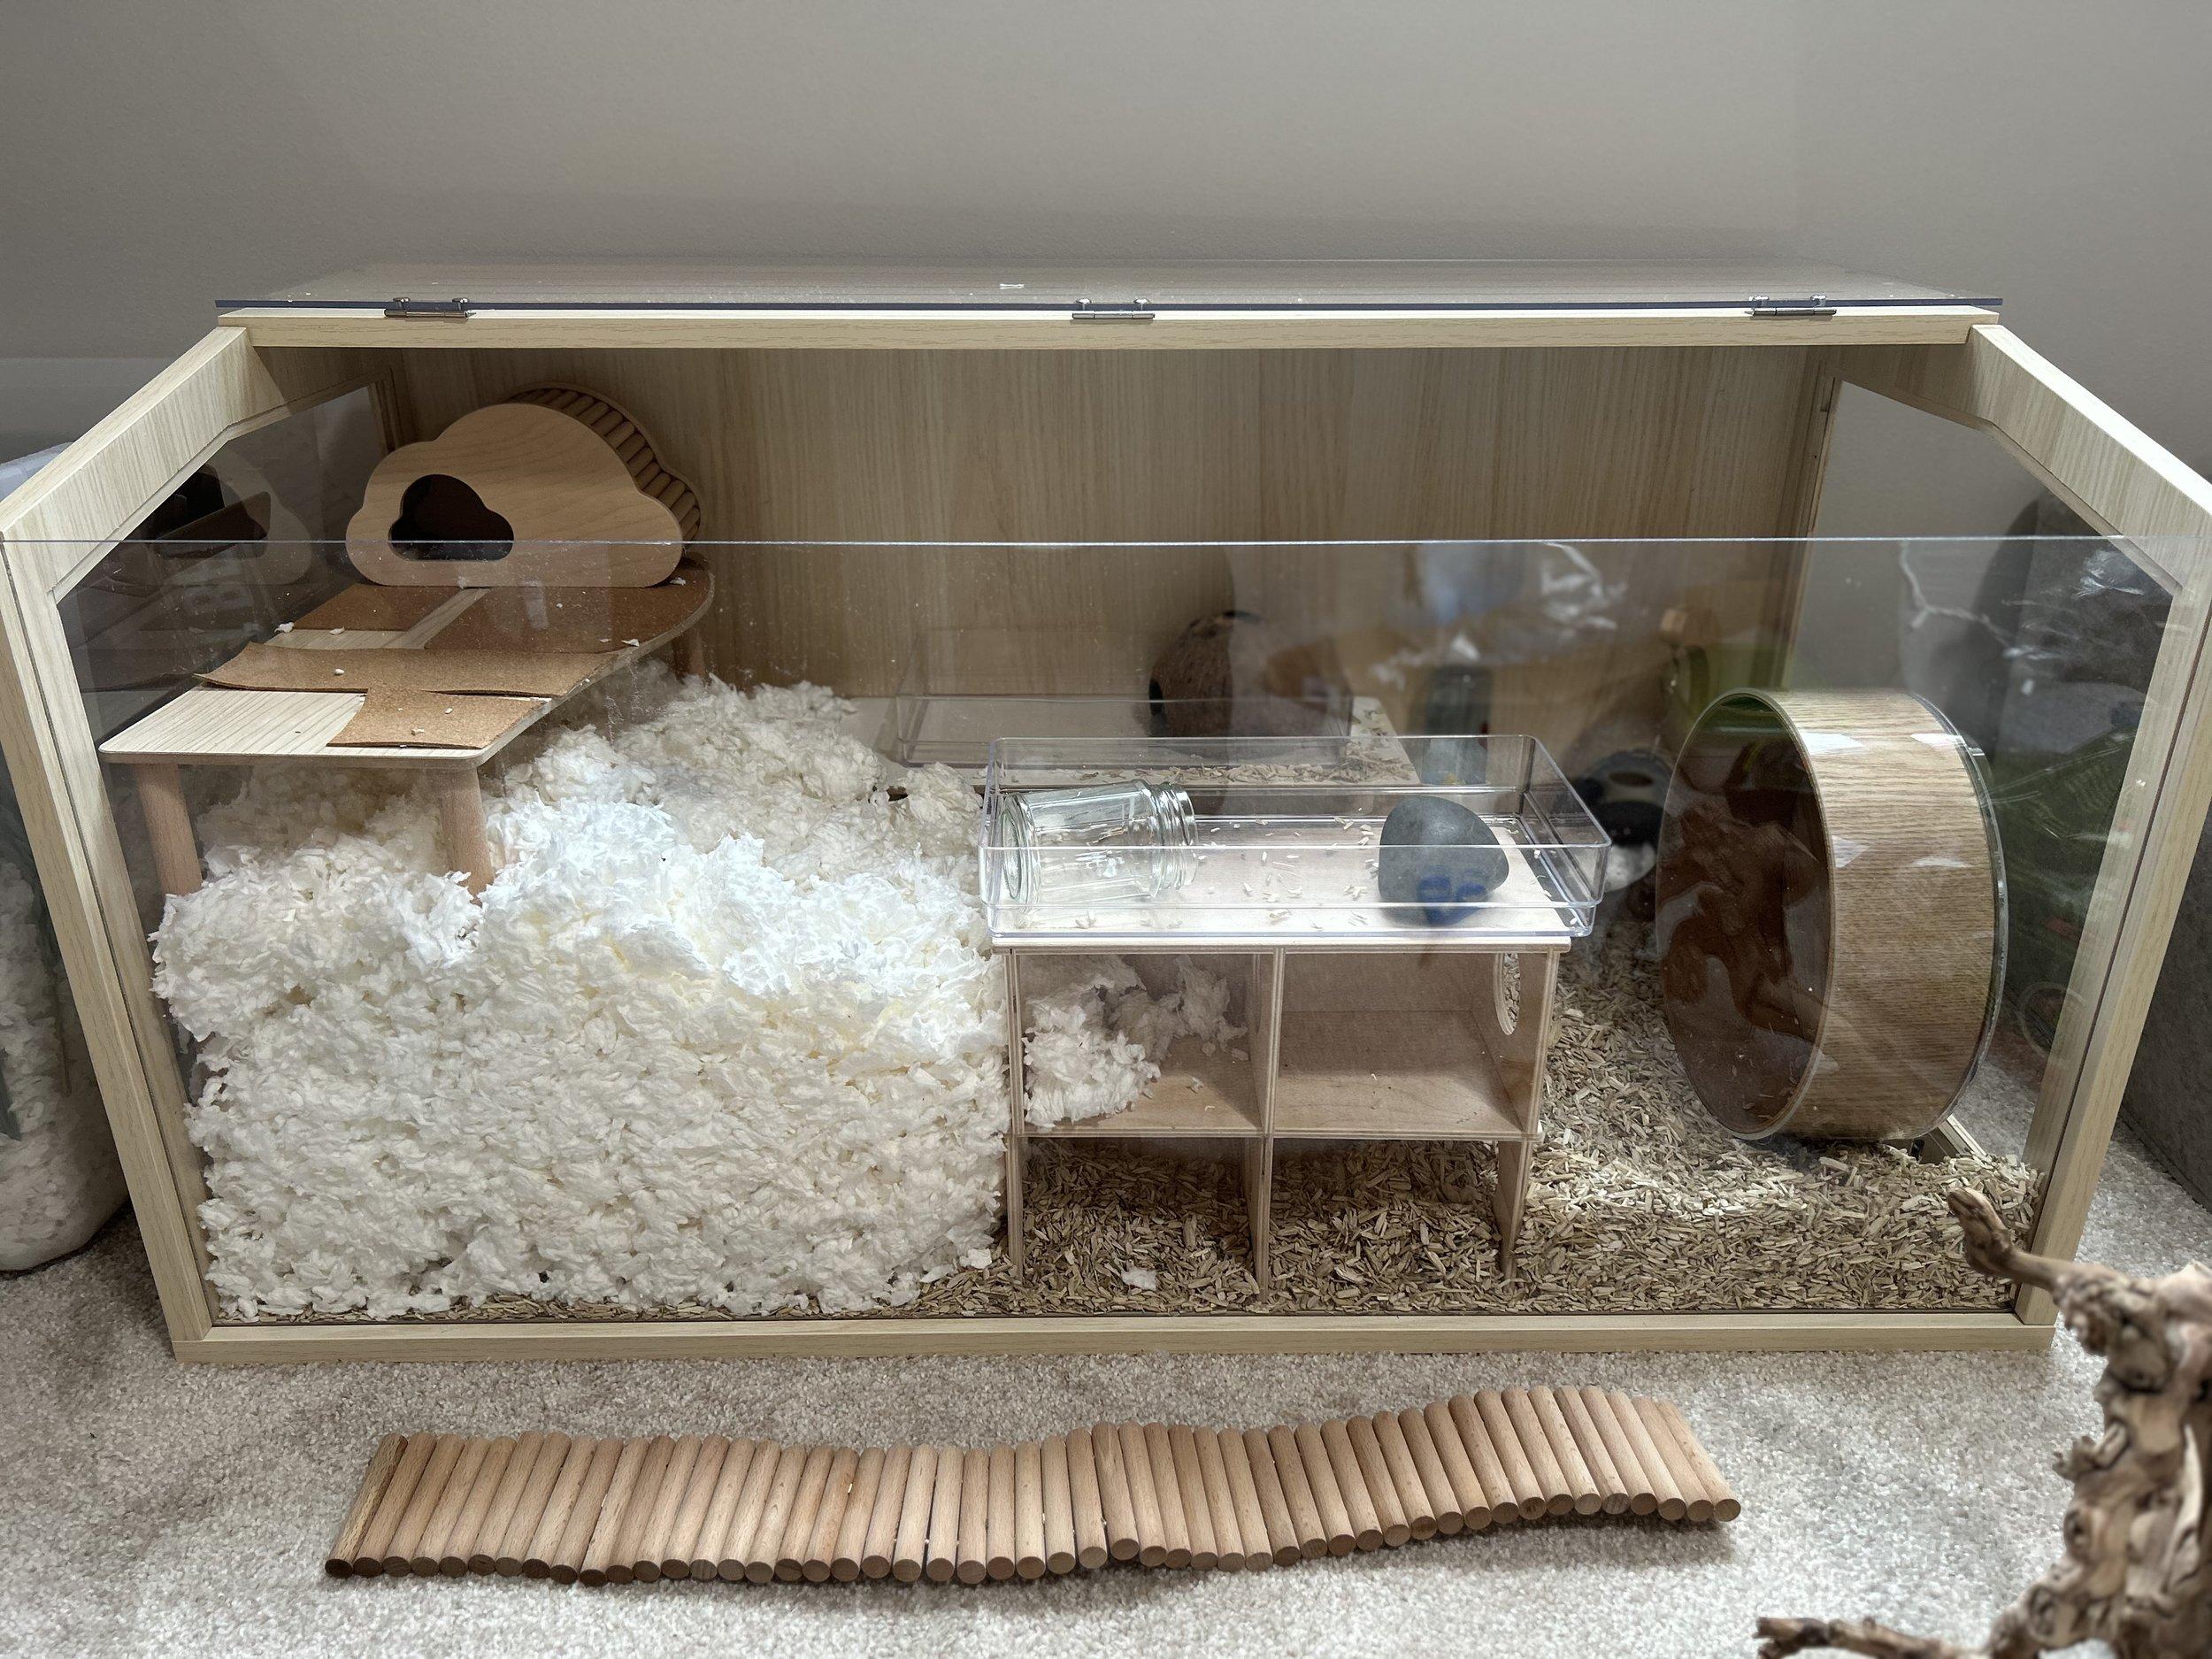
 I start with hemp bedding on one side – it’s not good for burrowing, but a nice, alternative texture that’s soft and good for foraging
A mix of hemp and paper bedding offers variety and encourages natural foraging behaviors.
 Next I add paper bedding – I like to use white so I can see pee spots easy and remove during spot cleans. Here I’m using Kaytee Clean and Cozy, unscented, white. *do not use scented bedding for your hamster, it’s not good for their delicate respi
White, unscented paper bedding provides a clean and bright base for your hamster’s home.
Remember to avoid using unsafe bedding materials like pine or cedar shavings, cotton fluff, or scented bedding. These can be harmful to your hamster’s respiratory system.
Final Touches: Adding Personality and Flair
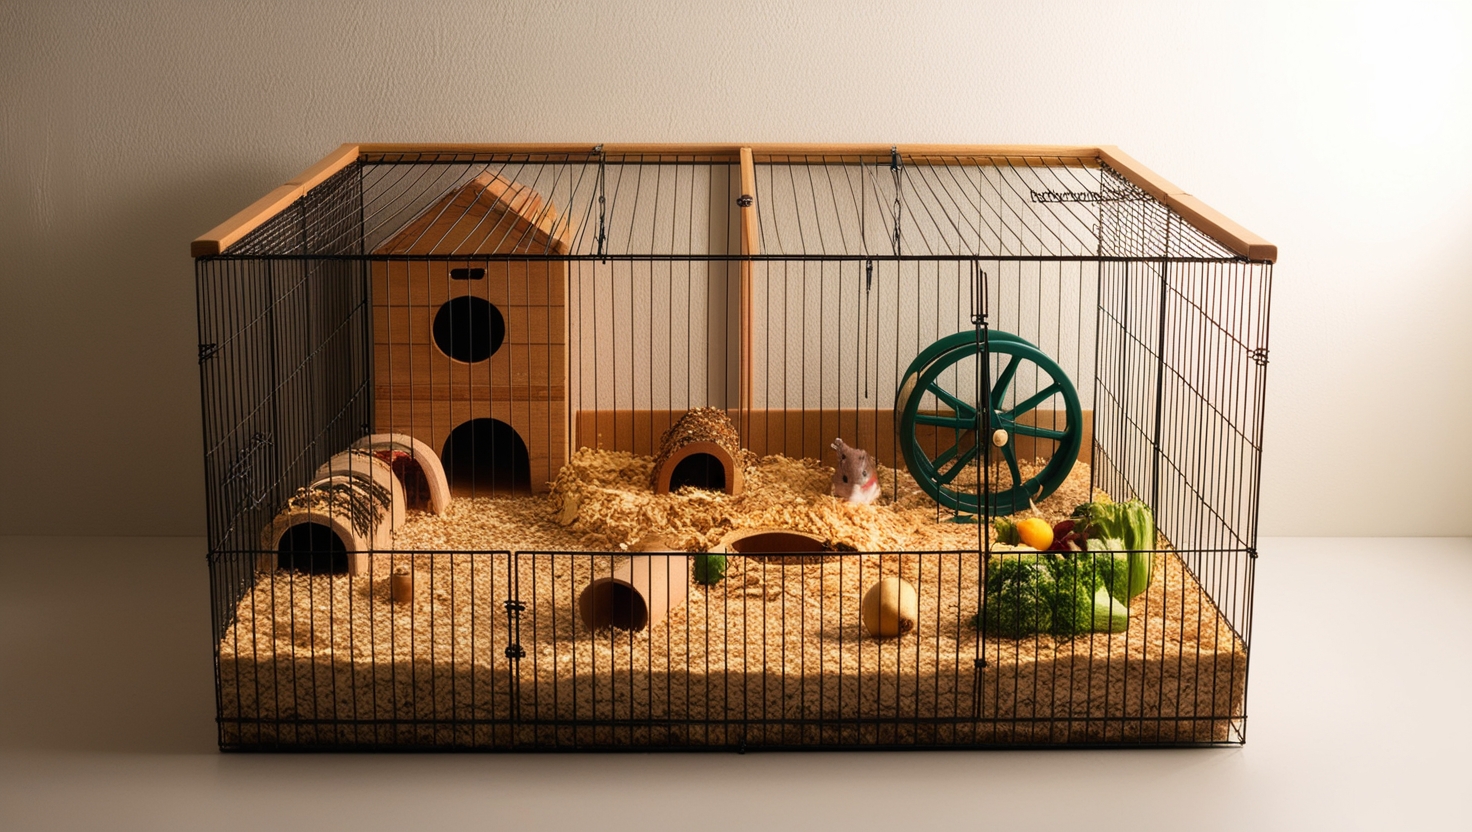
With the bedding and substrates in place, you can now add back the hides, wheel, sand bath, and other accessories.
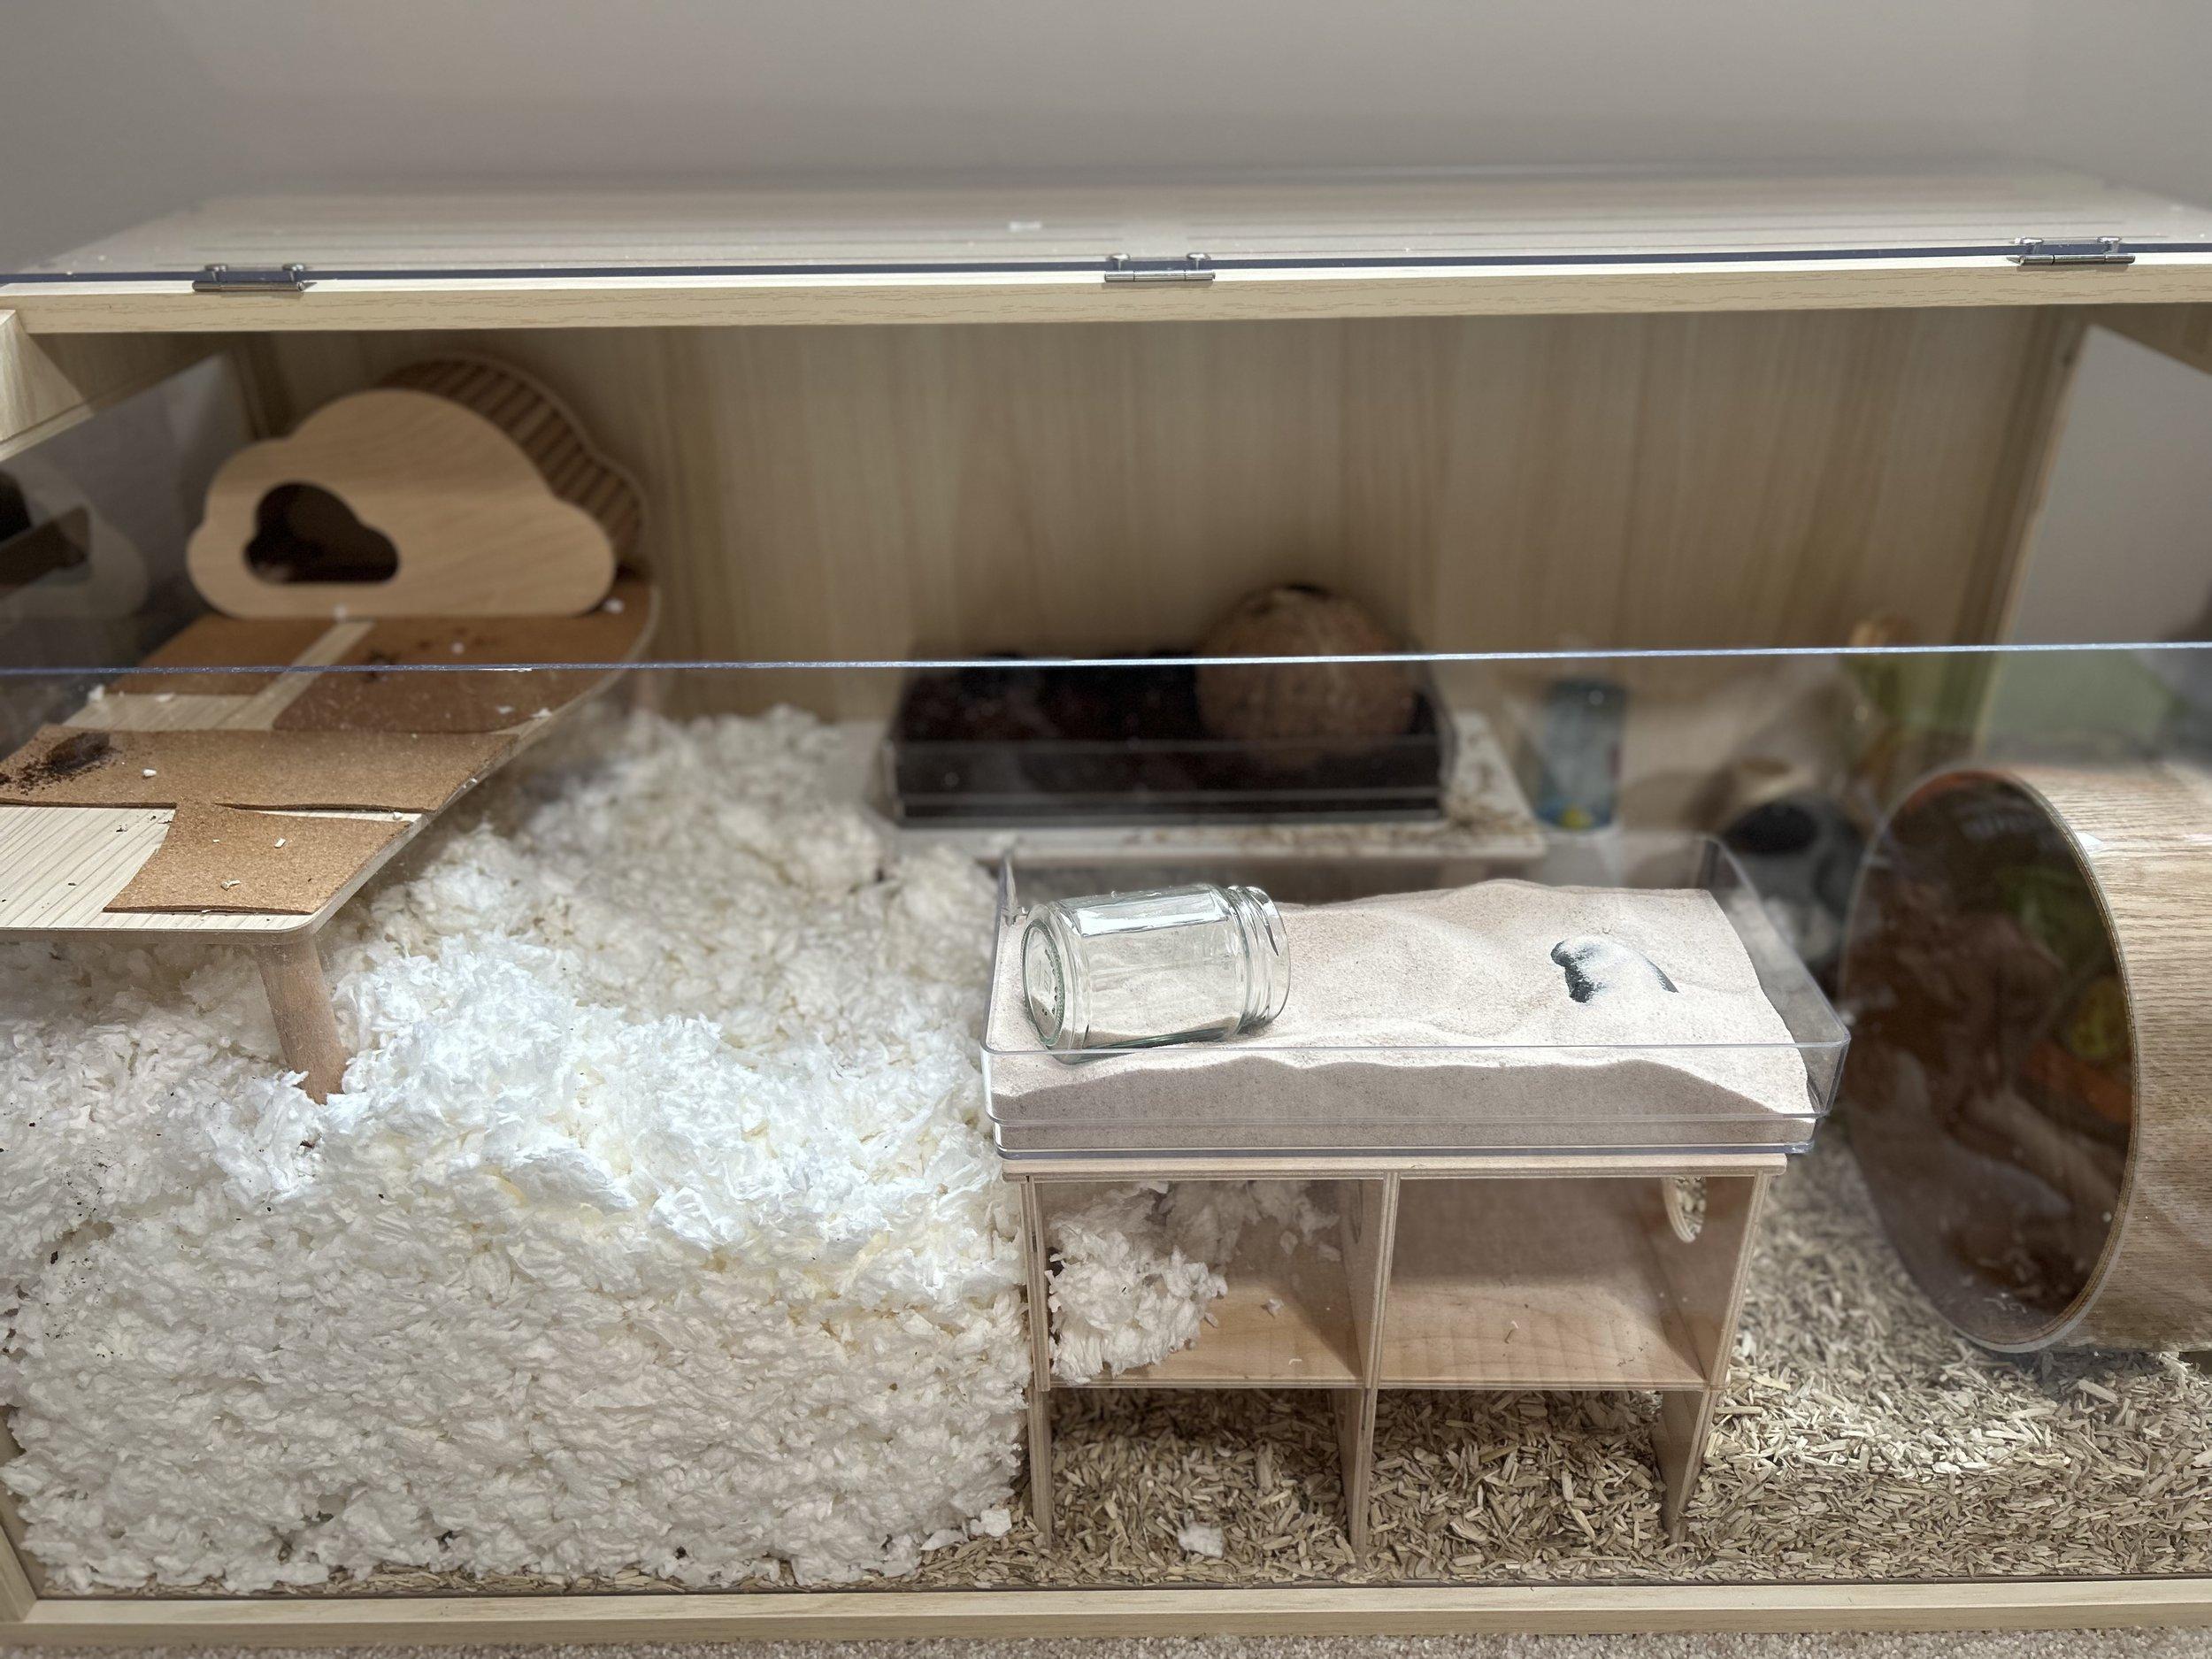 I then added sand & coconut soil.
A dedicated digging area with coconut soil provides enrichment and encourages natural behaviors.
This is where you can let your creativity shine! Add some natural elements like:
- Seed sprays: These provide a tasty treat and add visual interest.
- Hamster-safe flowers: Dried flowers add a touch of whimsy and encourage foraging.
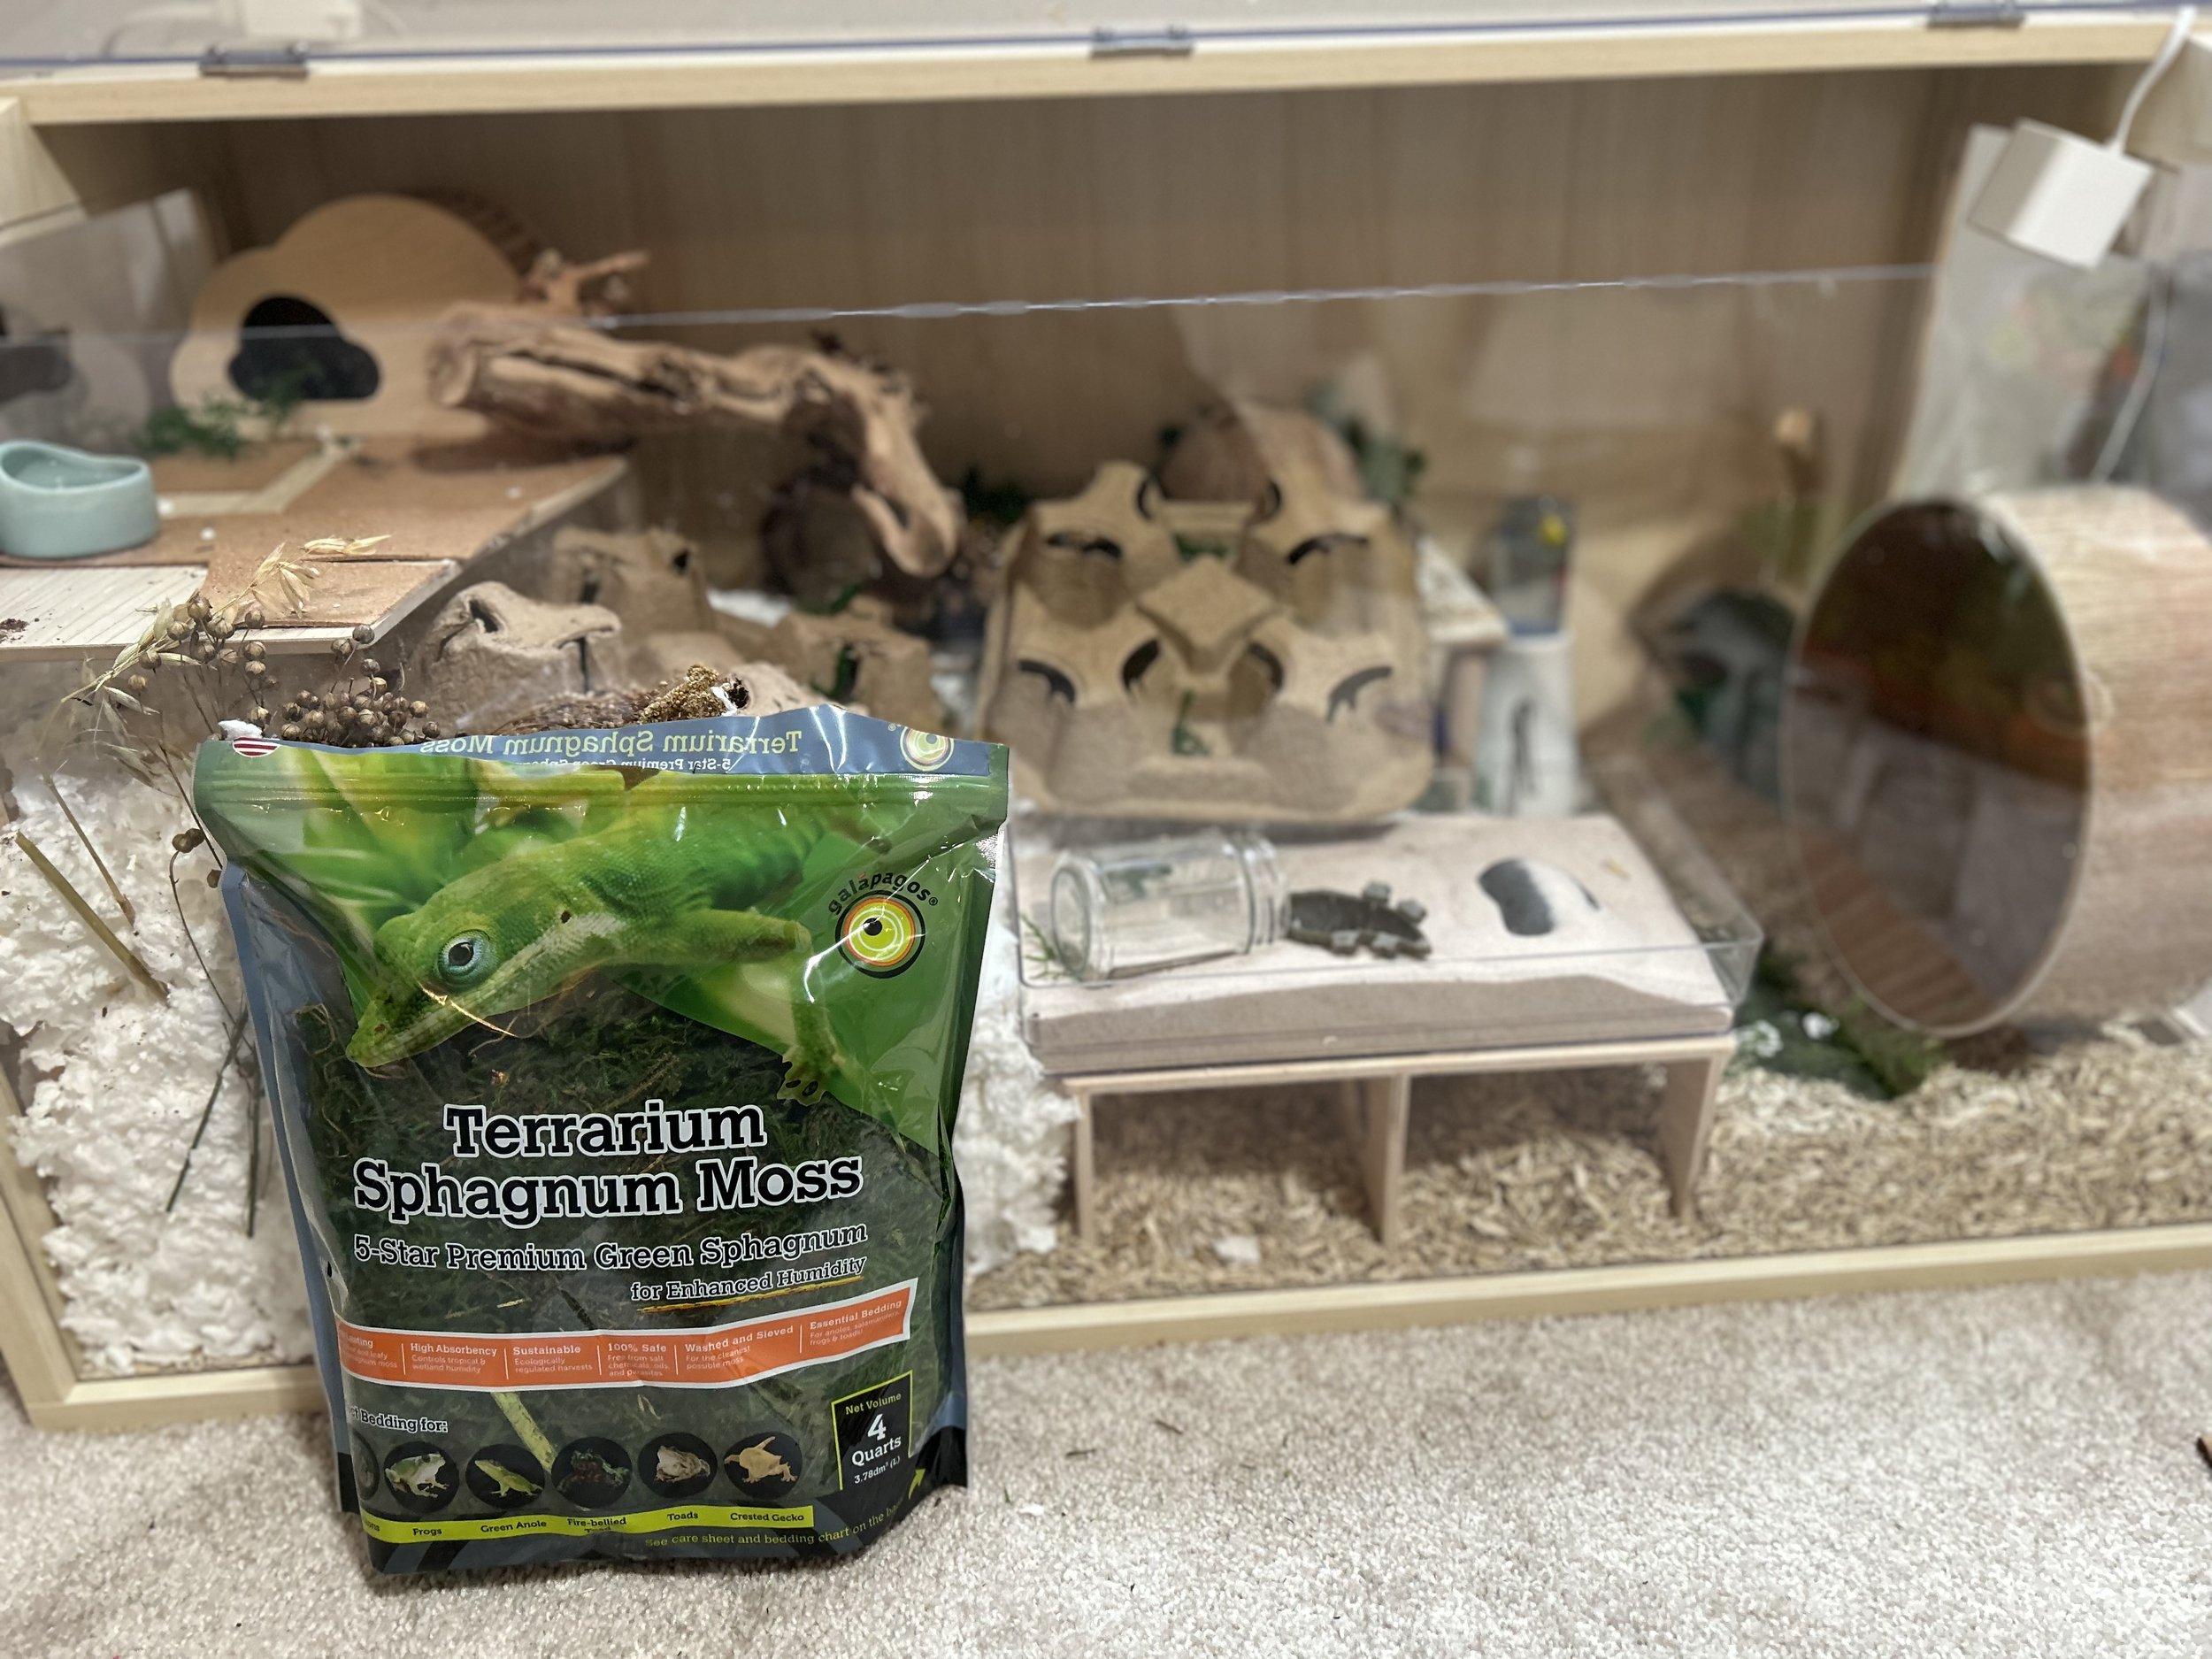 After completing the set up with bridges (and in this case, coffee cup holders), I added loose, sphagnum moss for color and texture. You can see here, I was debating with set up a bit…
Don’t be afraid to experiment with different textures and elements to create a visually stunning habitat.
Observation is Key: Tweaking for Your Hamster’s Needs
Congratulations, your hamster cage is set up! But the work isn’t done just yet. Once you introduce your hamster to their new home, take some time to observe their behavior.
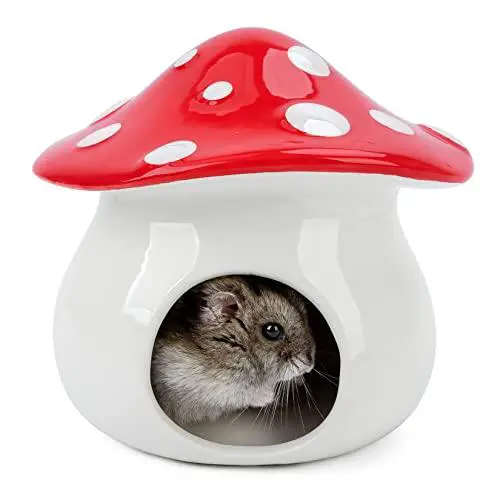 Adding Hamster!
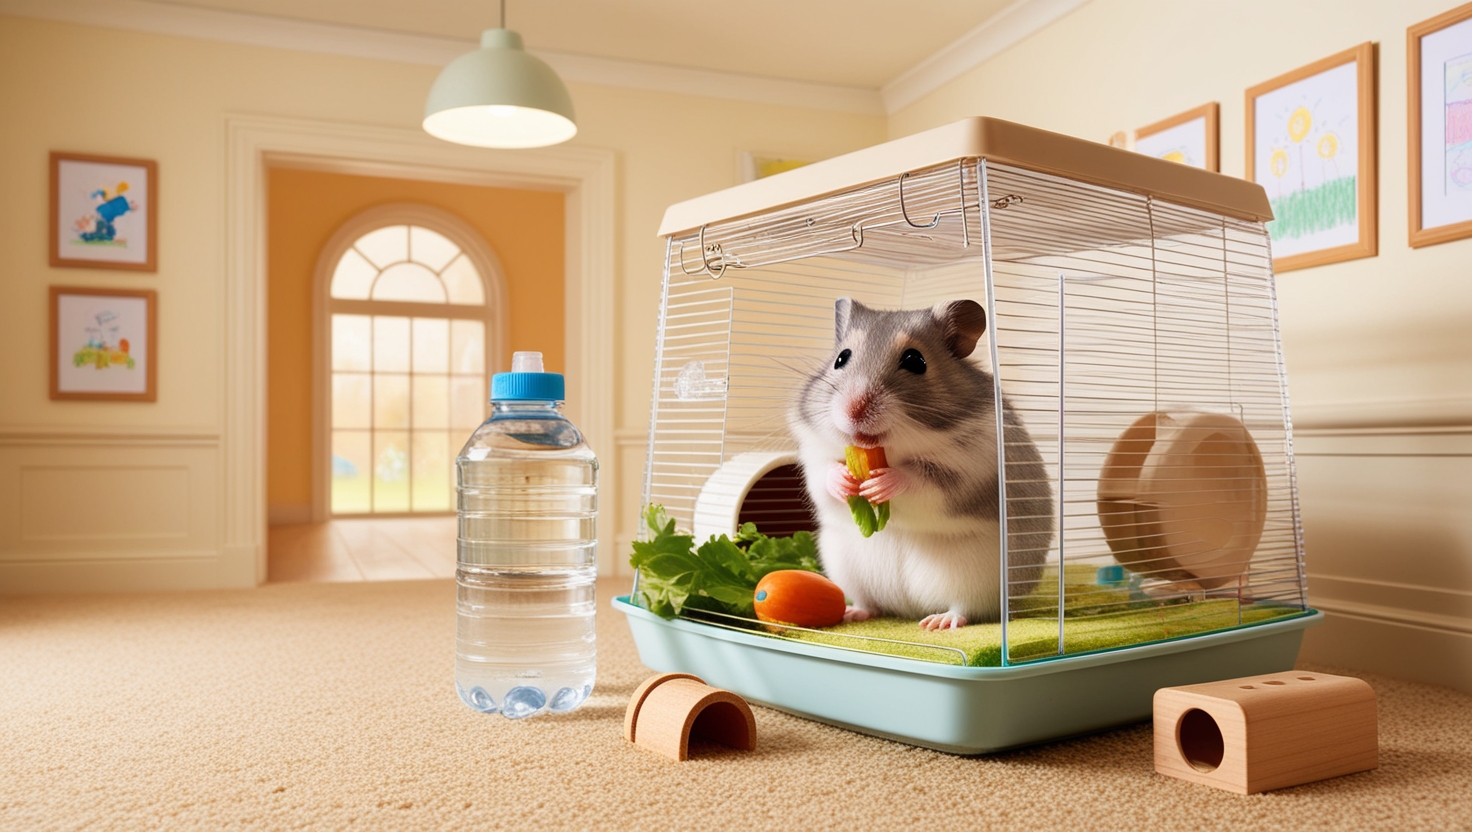
The moment of truth! Introducing your hamster to their new home.
- Are they able to access everything easily?
- Do they struggle to climb on any platforms?
- Are they using all the different areas of the cage?
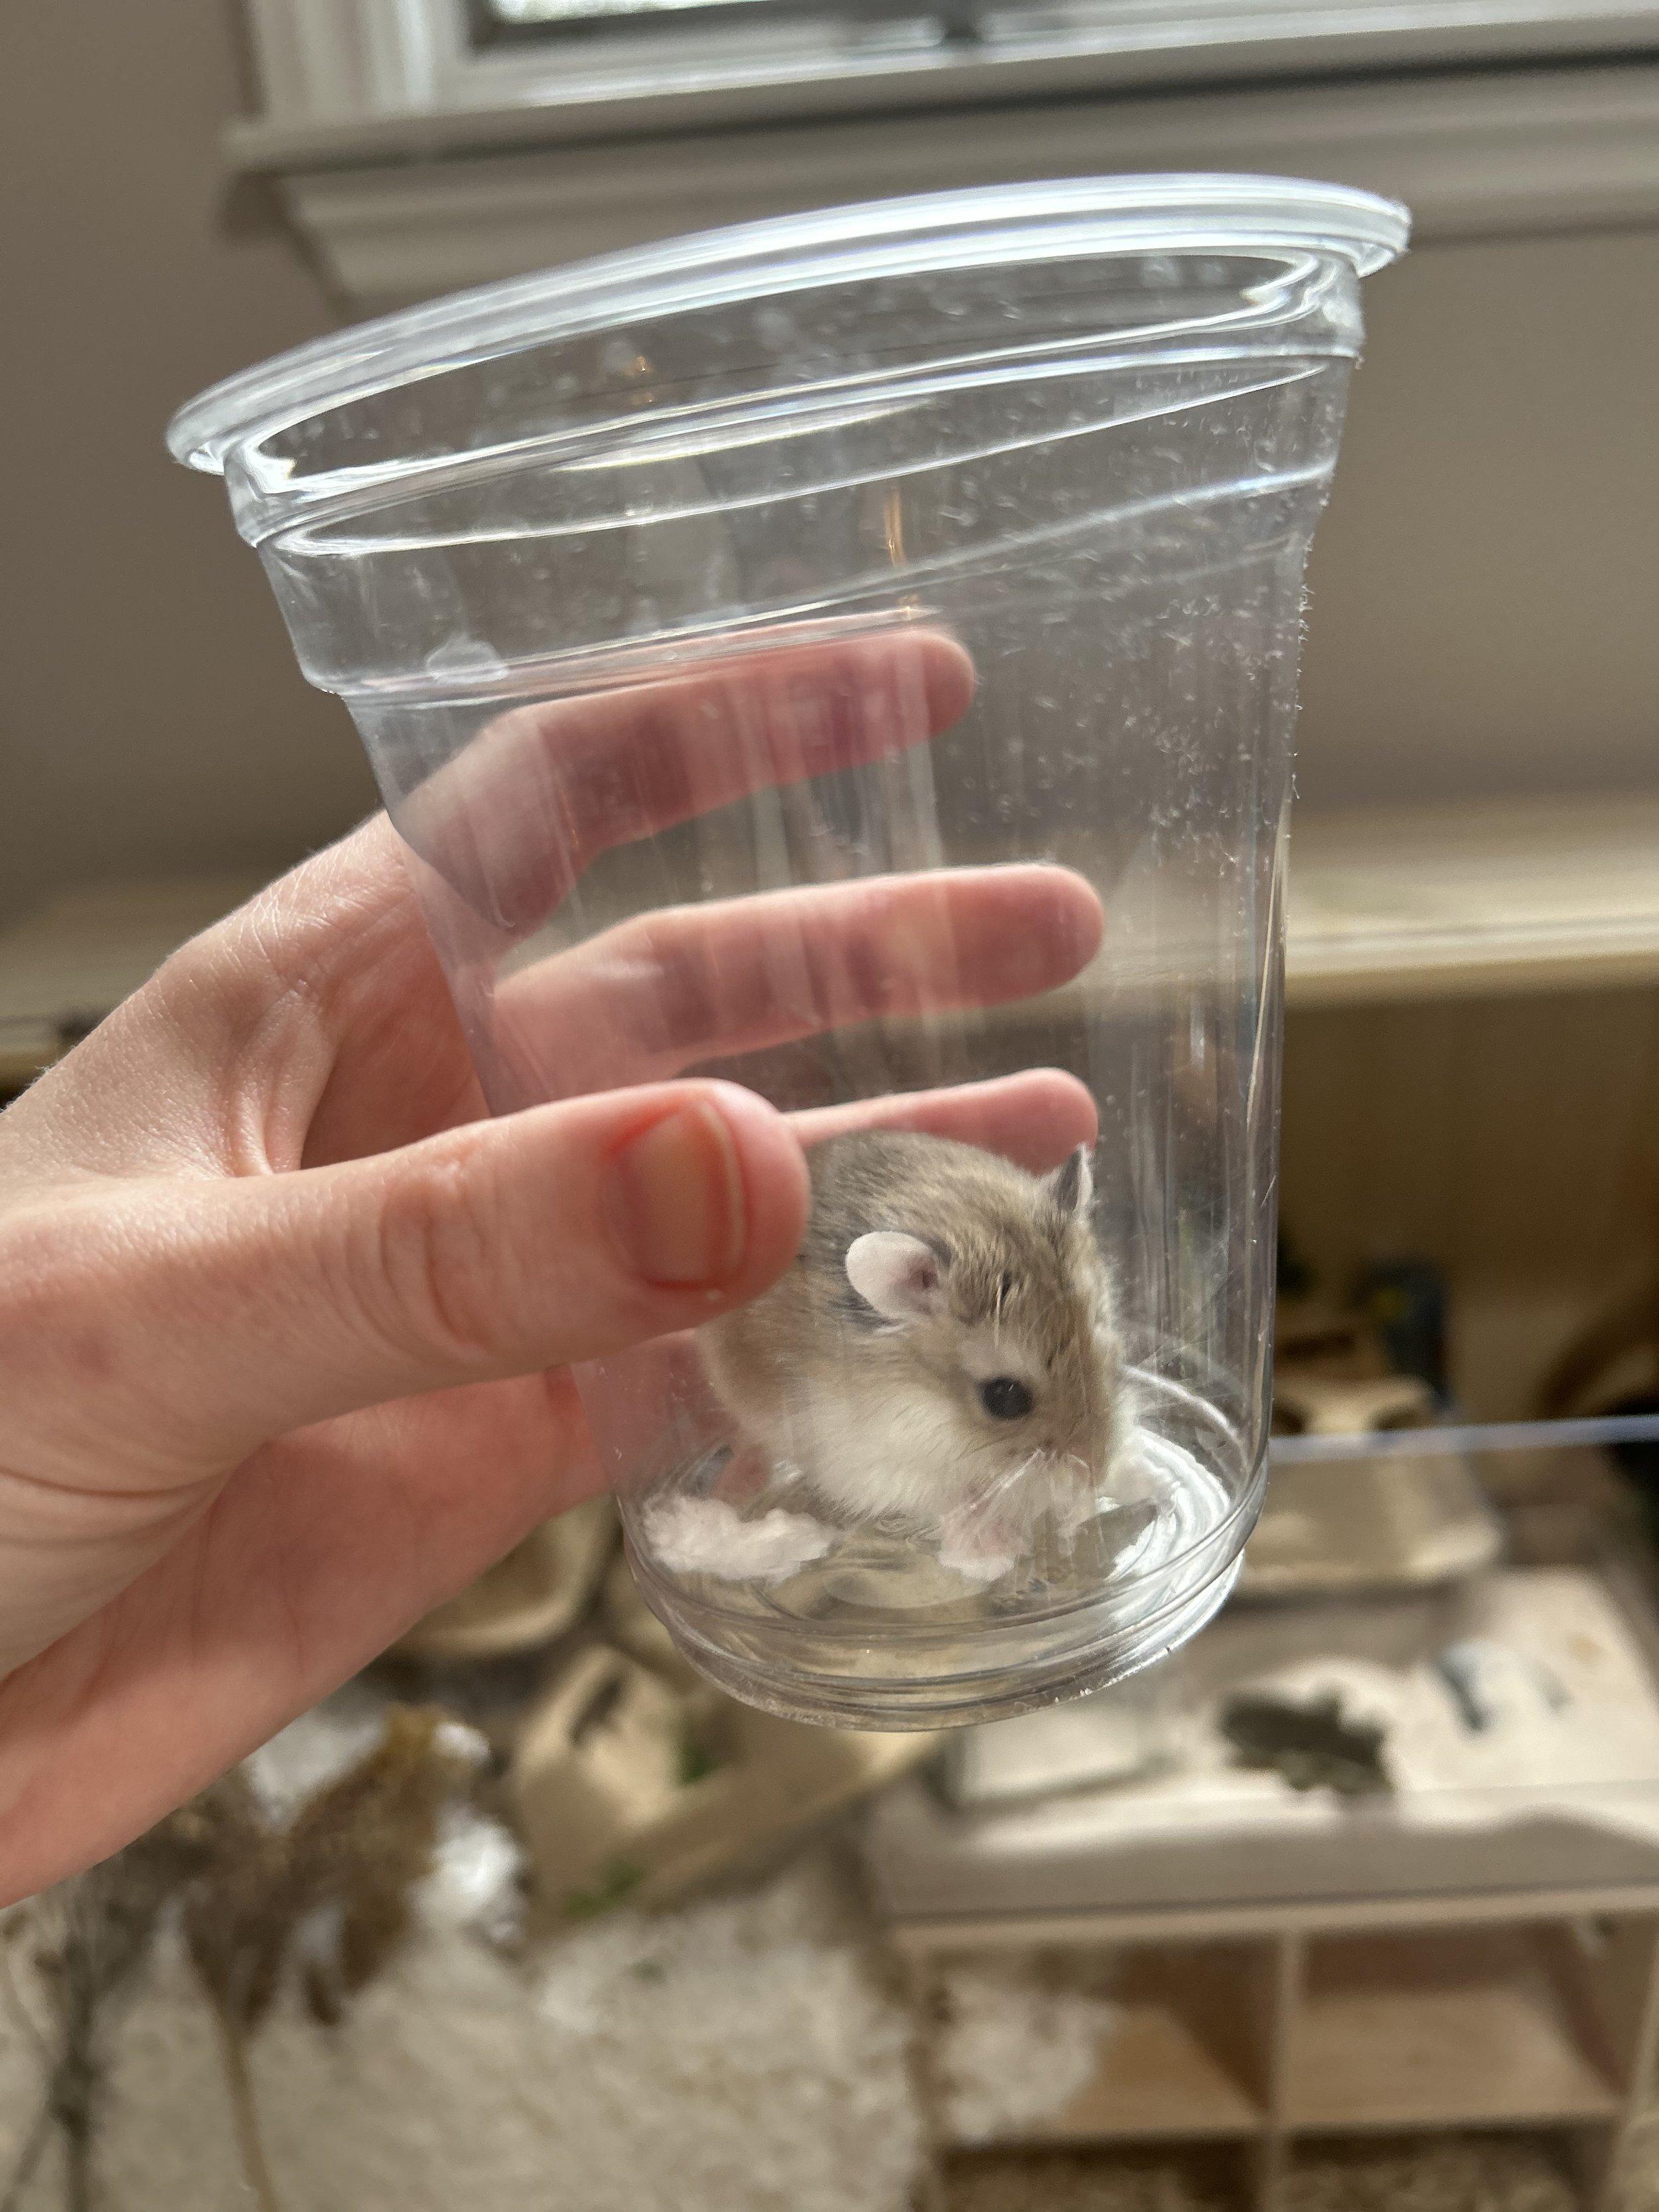 How cute is he!?
A happy hamster exploring their new digs – priceless!
Don’t be afraid to make adjustments based on your hamster’s needs and preferences. You can add ramps, adjust platform heights, or rearrange items to create the perfect space for your furry friend.
Creating a Hamster Cage Aesthetic: It’s More Than Just Looks
Remember, creating a beautiful and stimulating environment for your hamster is an ongoing process. You’ll learn their likes and dislikes over time, and you can adjust their habitat accordingly.
But the most important thing is that your hamster feels safe, secure, and enriched in their home. So, have fun with the design process, let your creativity flow, and enjoy the journey of creating a beautiful and functional hamster cage aesthetic!


