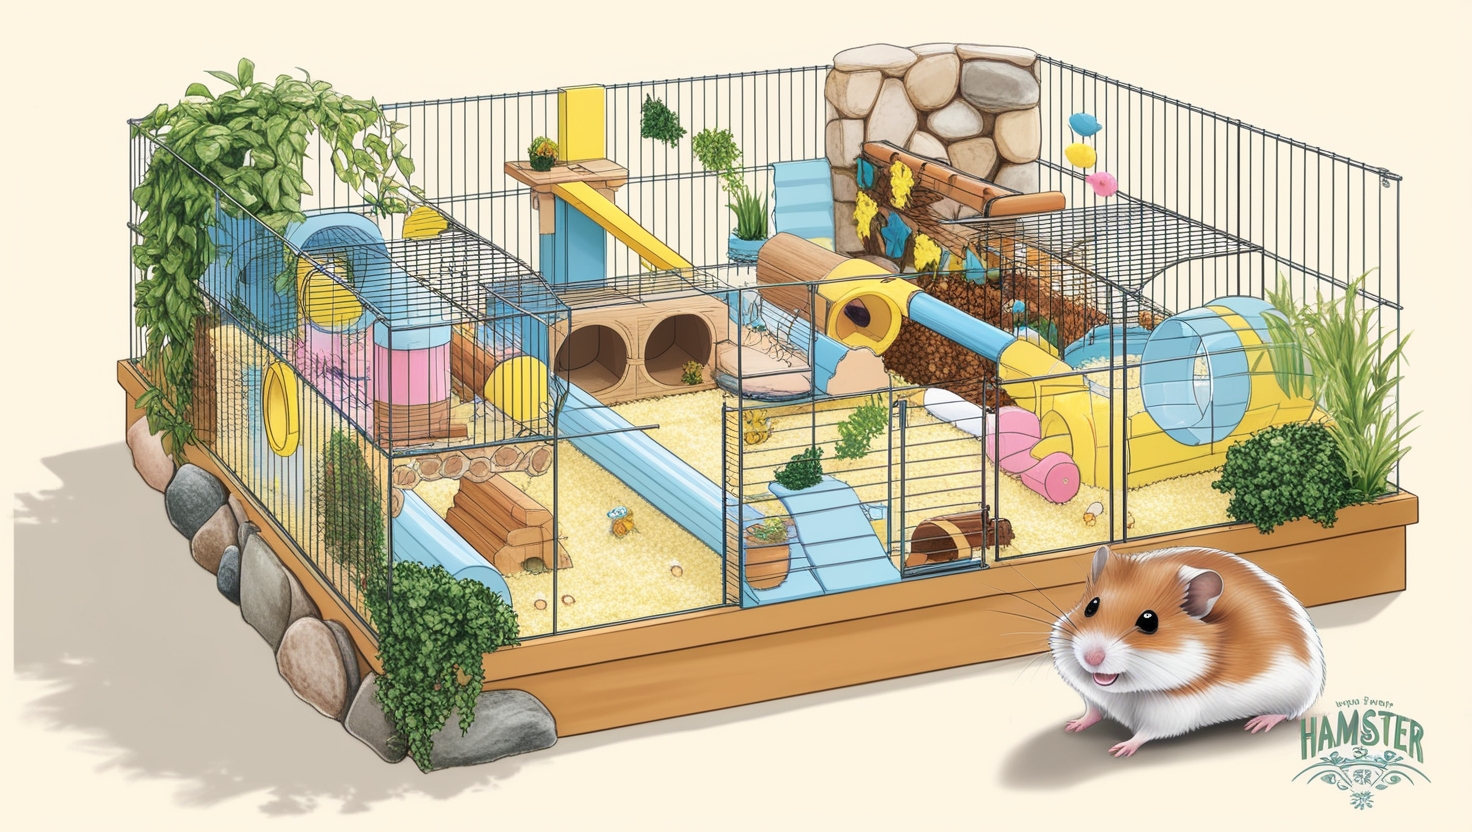
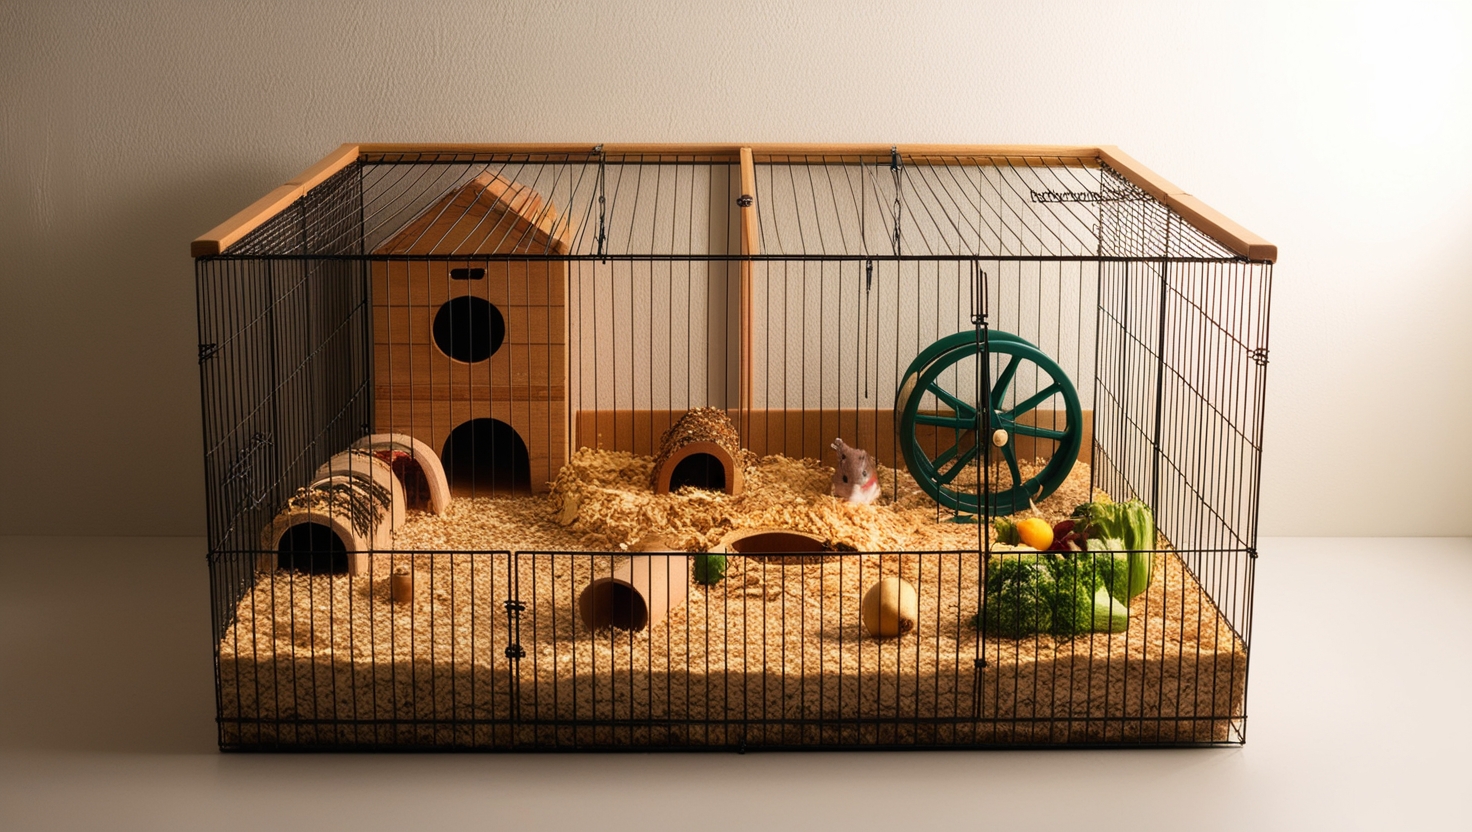
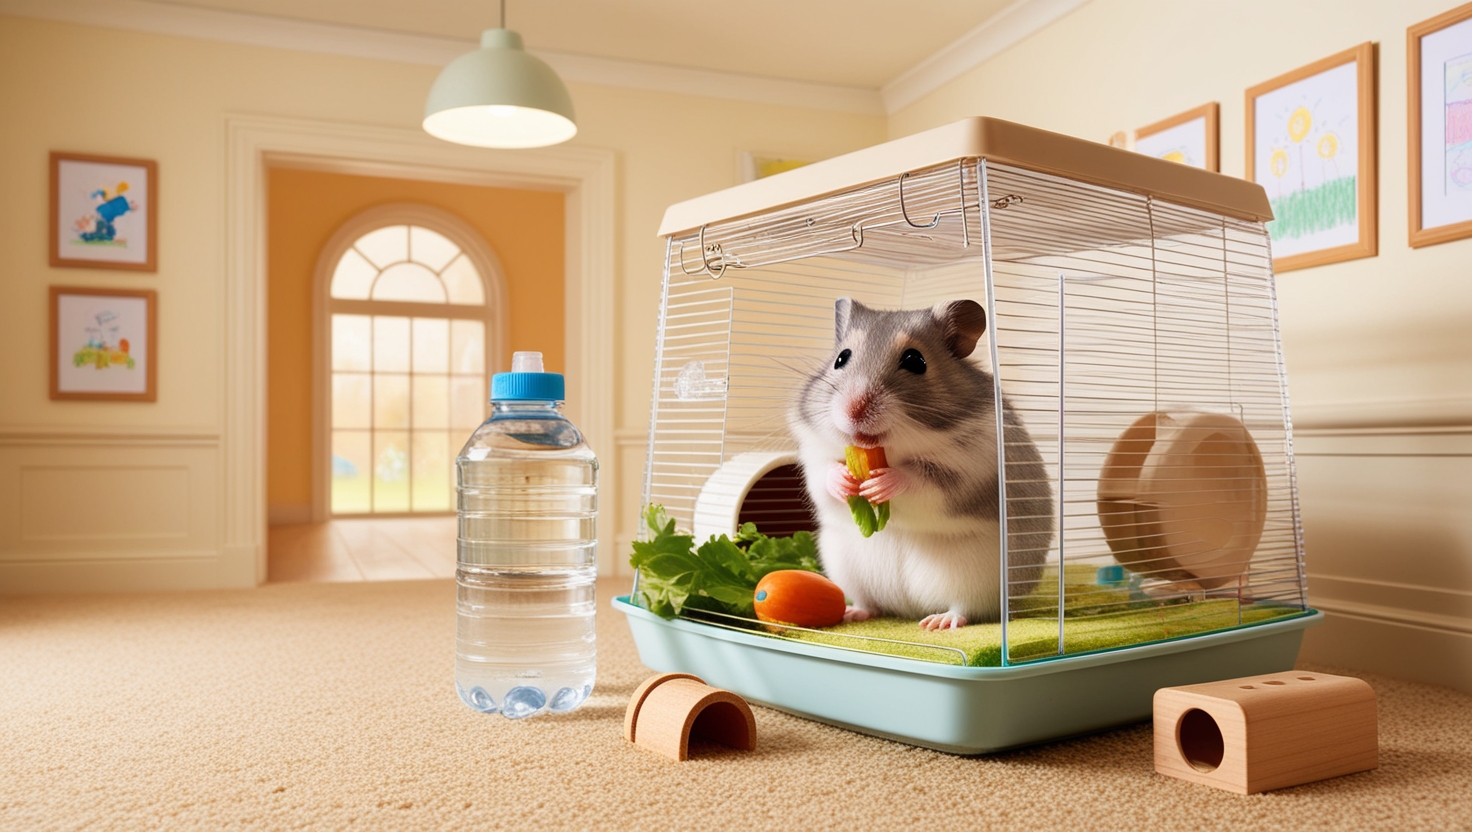
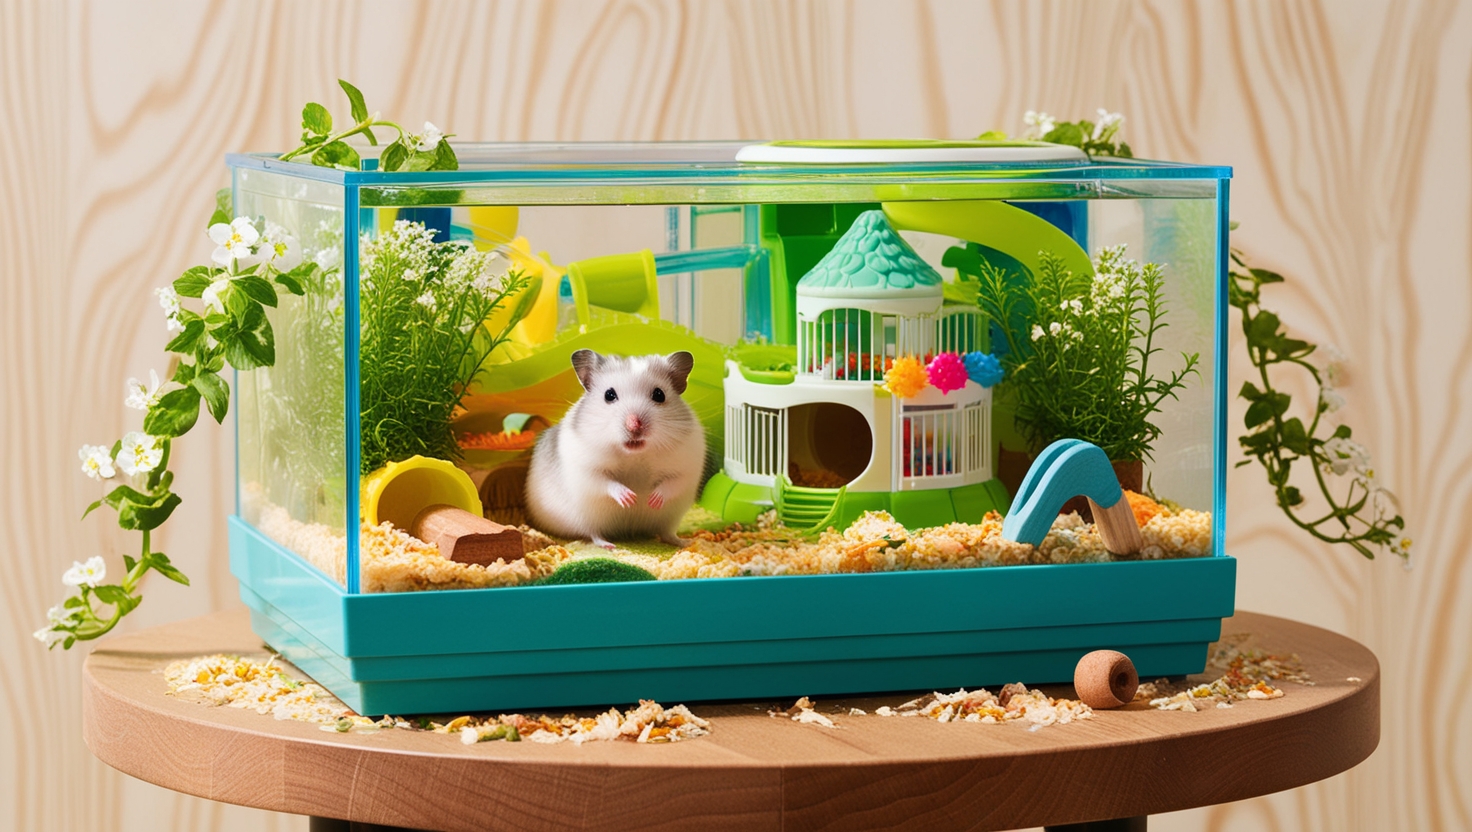
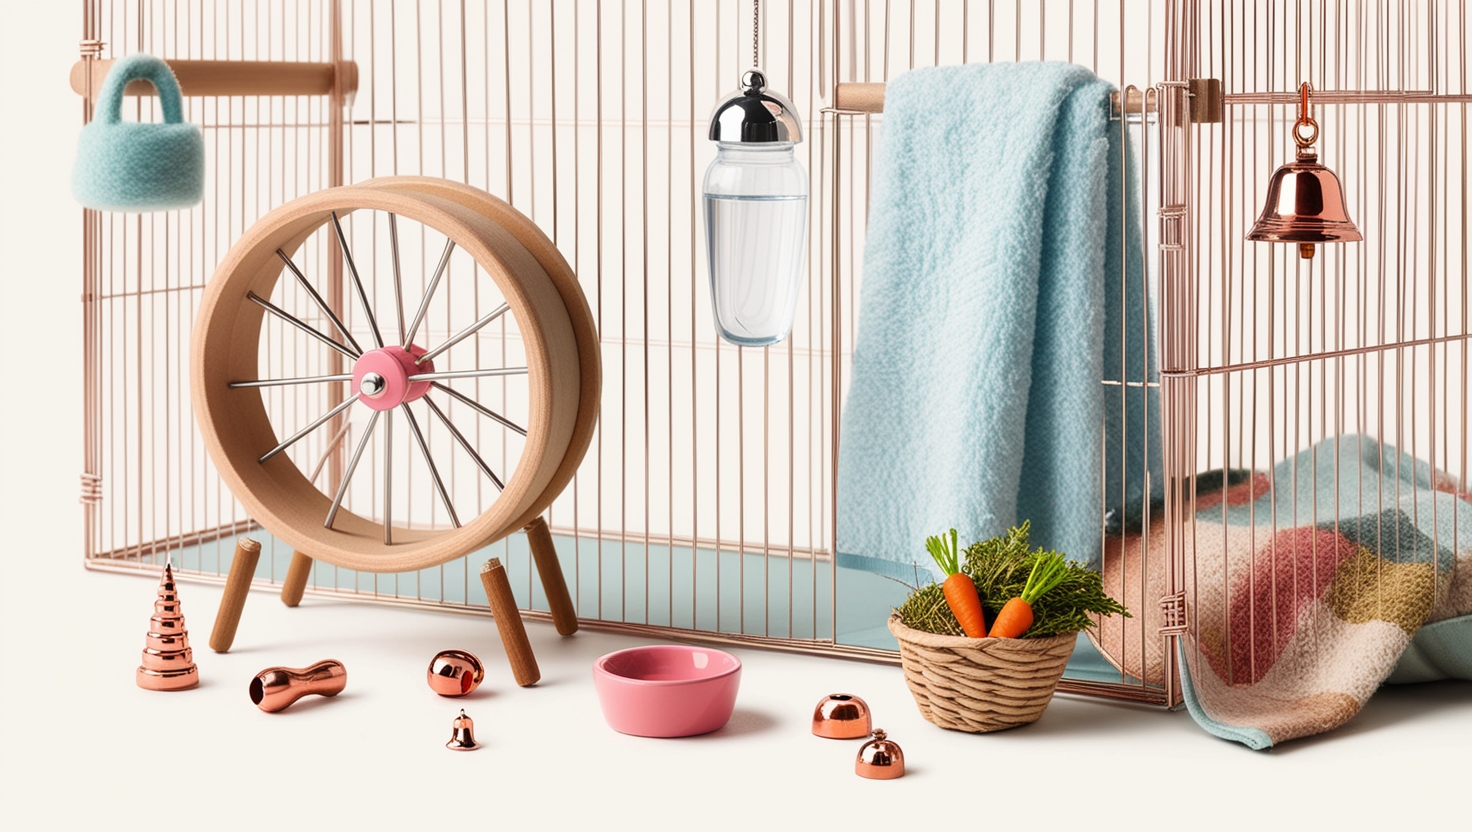
So, you’re welcoming a hamster into your life? Congratulations! Choosing the right hamster cage is crucial, and you might be surprised to learn that a DIY bin cage is often the best option. Forget those overpriced pet store cages with their limited space and questionable designs. A bin cage offers a spacious, customizable, and affordable alternative that’s sure to make your hamster feel right at home.
This comprehensive guide will walk you through, step by step, the process of building a fantastic hamster bin cage that’s not only functional but also safe and stimulating for your furry friend.
Step 1: Gathering Your Bin Cage Supplies
Before we begin our DIY adventure, let’s assemble our tools and materials. Here’s what you’ll need:
Materials:
- A large storage bin: Clear bins are ideal for visibility, but opaque ones work too. Aim for a minimum size of 20 x 30 inches to provide ample space for your hamster.
- Wire mesh (hardware cloth): This will be used for ventilation. Look for 19 or 23 gauge mesh for the best results.
- Nuts, bolts, and washers: You’ll need these to securely attach the wire mesh to the bin lid. 3/8 inch long, 8-32 screws and size 8 washers work well.
- Wire: A foot-long piece of basic wire is perfect for attaching the water bottle.
- Water bottle: Opt for a leak-proof bottle designed for hamsters.
- Wheel: Choose a solid, plastic wheel that’s the appropriate size for your hamster. Syrians need a wheel that’s at least 11-12 inches in diameter.
- Bedding: Aspen shavings or paper-based bedding are excellent choices.
Tools:
- Wire cutters: For cutting the mesh and wire.
- Drill and drill bits: You’ll need various sizes for drilling holes for ventilation and attaching the mesh.
- Utility knife or saw: This will be used to cut the ventilation windows in the bin lid.
- Permanent marker: For marking cutting and drilling points.
Step 2: Prepping the Bin Lid for Ventilation
Now, let’s focus on creating those essential ventilation windows on the bin lid:
- Plan your windows: Draw two rectangles on the lid where you want your windows to be. Leave a strip of plastic about 3-4 inches wide between them for structural support. Remember to leave a border of at least 1.5 inches around each rectangle for attaching the mesh.
- Cut out the windows: Carefully cut along the lines you’ve drawn using your utility knife or saw. If the plastic is proving difficult to cut, try scoring it repeatedly with the blade before attempting to cut through it completely.
Step 3: Creating and Attaching the Wire Mesh Windows
With the windows cut, it’s time to add the wire mesh:
- Cut the mesh: Measure and cut pieces of wire mesh to fit over each window, leaving an inch of overlap on all sides.
- Smooth the edges: File down any sharp edges on the mesh or cover them with duct tape to prevent your hamster from getting injured.
- Attach the mesh: Place a piece of mesh over one of the windows, ensuring it’s centered. Use your marker to mark the spots where you’ll drill holes for the screws (aim for a hole in each corner and several along each edge).
- Secure the mesh: Drill a hole through one of your markings, insert a screw from the inside of the lid, and then attach a washer and bolt to the outside. Repeat this process for all the marked holes.
Step 4: Boosting Ventilation with Additional Holes
For optimal airflow, consider adding extra ventilation holes:
- Drill along the sides: Drill a line of holes about an inch below the top rim of the bin on two opposite sides. You can repeat this on all four sides if you’d like even more ventilation.
- Lower ventilation: Drill another line of holes about 3 inches up from the bottom of the bin (again, on two opposite sides).
Step 5: Setting Up the Hamster Water Bottle
Hydration is essential, so let’s install the water bottle:
- Determine placement: Position the water bottle against the side of the bin, ensuring the spout will be 1-1.5 inches above the bedding line once the cage is filled.
- Mark and drill holes: Mark the spots where you’ll need to drill holes for the wire that will hold the bottle in place. You’ll need two holes on each side of the bottle and a larger hole for the spout to pass through.
- Attach the wire: Thread your wire through the holes, bending it into a “U” shape at the top and creating loops at the bottom. Attach the water bottle to the wire.
Step 6: Putting It All Together – Assembling Your Hamster Haven
The moment of truth! It’s time to assemble your hamster’s new home:
- Add bedding: Fill the bin with a generous layer of bedding, at least 2 inches deep.
- Install the wheel: Place the hamster wheel in a location where it won’t be obstructed.
- Add food and water dishes: Provide separate dishes for food and water, ensuring they are easily accessible.
- Create a cozy nest: Include a hideout where your hamster can sleep and feel secure. You can use a store-bought hide or get creative and make your own.
- Enrich the environment: Add toys and enrichment items like chews, tunnels, and platforms to keep your hamster happy and engaged.
Conclusion: A Happy Hamster in a DIY Paradise
Congratulations! You’ve successfully built a spacious and stimulating hamster bin cage. This affordable and customizable option provides your furry friend with the perfect environment to thrive. Remember to keep the cage clean, provide fresh food and water daily, and offer your hamster plenty of love and attention.


