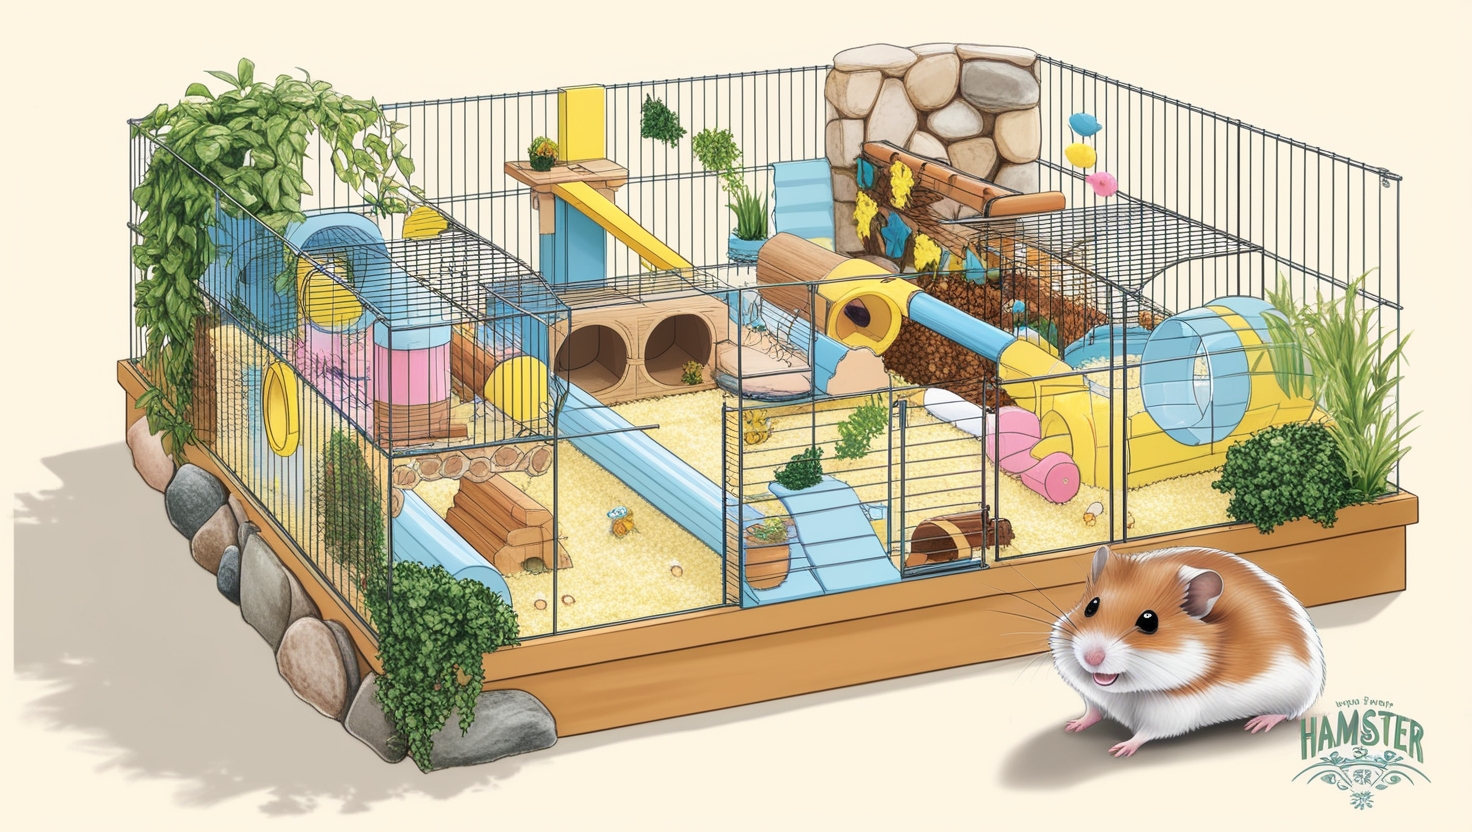
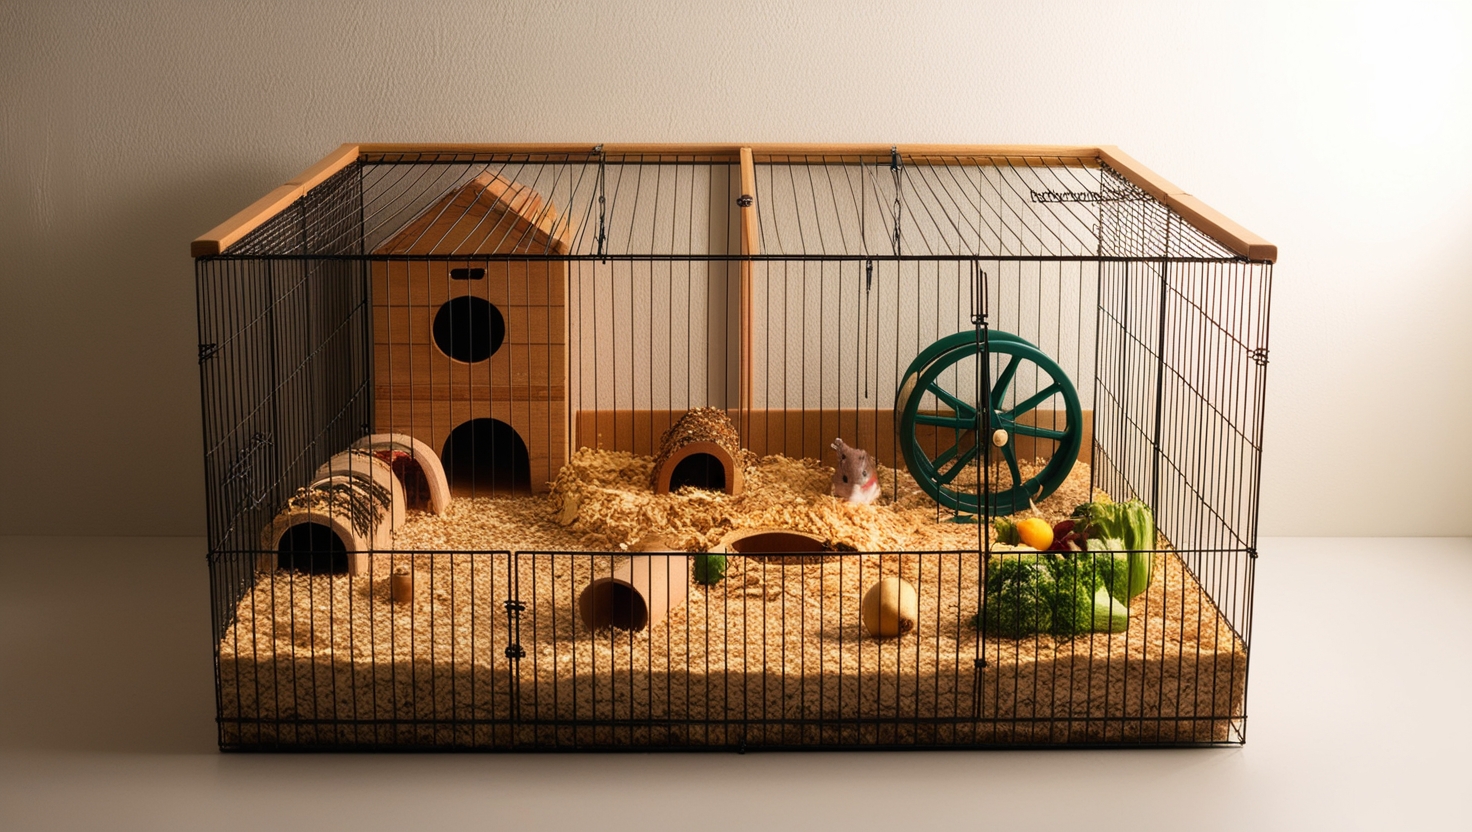
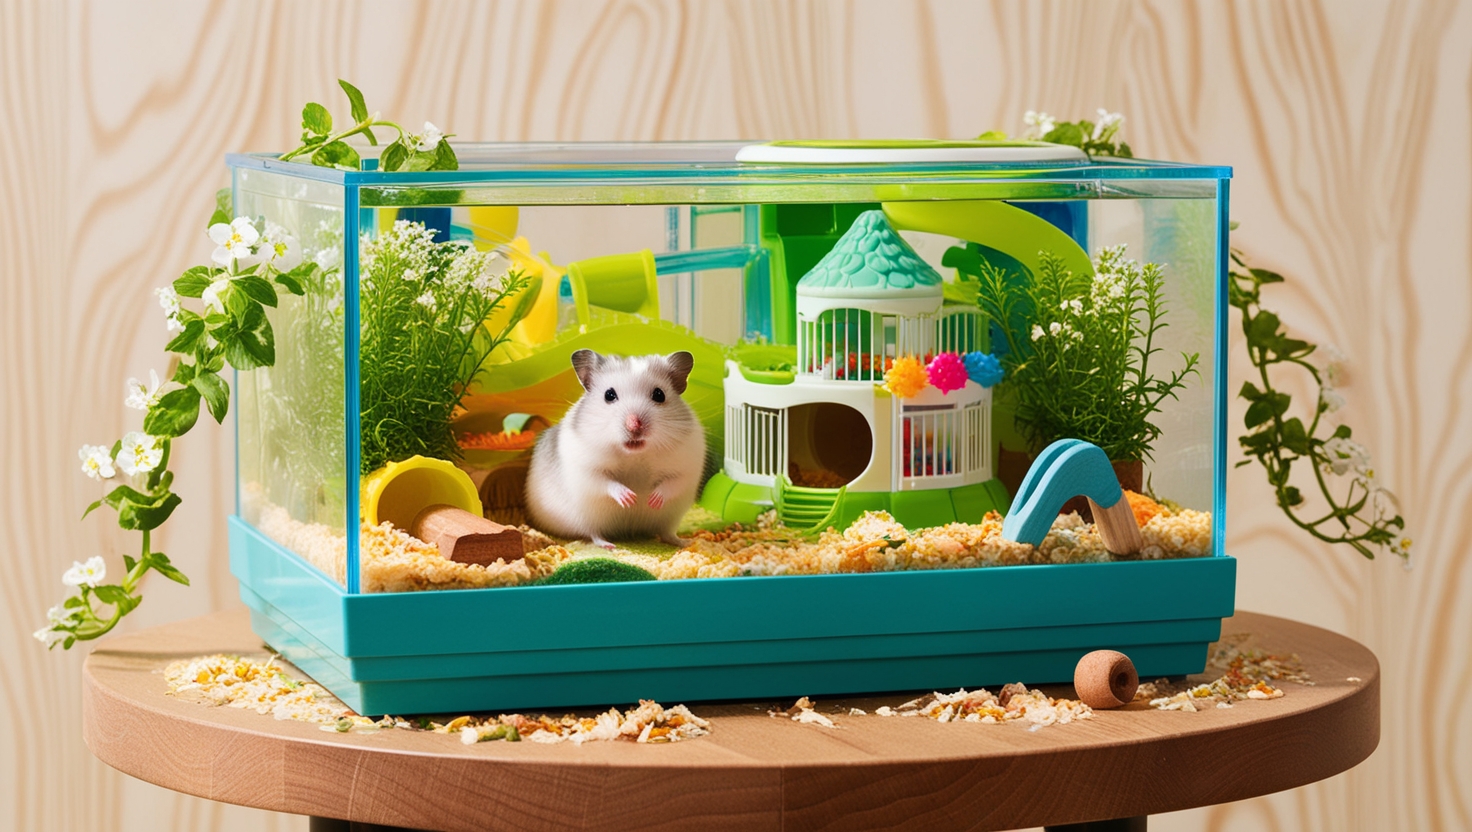
So, you’re welcoming a hamster into your life – that’s amazing! As a fellow hamster enthusiast and long-time pet care expert, I know firsthand how important providing a stimulating and spacious environment is for these little adventurers. While pet stores offer a variety of hamster cages, nothing beats the satisfaction and customization of building your own.
This comprehensive guide will walk you through the steps of creating a safe, enriching, and spacious hamster haven. Let’s get started!
Why Build Your Own Hamster Cage?
You might be wondering, why go through the effort of building a cage when you can simply buy one? Here are some compelling reasons:
- Space is King: Commercial cages often lack the space hamsters need to thrive. A DIY cage allows you to maximize their living area for optimal well-being.
- Customization: Every hamster has a unique personality. Building your own cage lets you tailor it to their specific needs and preferences.
- Budget-Friendly: Building a cage can be surprisingly affordable, especially if you already have some tools and materials.
- Bonding Experience: Putting in the time and effort to create a special space for your hamster strengthens the bond between you.
Gathering Your Tools and Materials
Before we dive into the construction, let’s gather everything you’ll need:
Tools:
- Jigsaw
- Hand drill
- Hammer
- Screwdriver
- Staple gun
Materials:
- Structure:
- Medium Density Fiberboard (MDF) planks (or similar wood) – 2 large, several smaller pieces cut to size
- Wooden dowels or planks (various lengths and thicknesses)
- Reinforced corner brackets (pine or beech)
- Protection and Safety:
- Linoleum or vinyl flooring (to protect wood and for easy cleaning)
- Steel wire mesh (without paint, appropriate spacing)
- Fasteners:
- Nails
- Screws
- Staples
Expert Tip: When choosing wood, prioritize untreated and non-toxic varieties like pine or beech. Hamster safety comes first!
Building the Foundation
-
Creating the Base:
- Cut your MDF (or similar wood) into the desired dimensions for the base of your cage.
- Cut a piece of linoleum or vinyl flooring to fit the base, securing it with staples or adhesive.
-
Constructing the Frame:
- Cut your wooden dowels or planks to create the vertical supports for your cage.
- Attach the supports to the base using screws and reinforced corner brackets for stability.
-
Adding Floors and Levels:
- Cut additional pieces of wood to create platforms and levels within the cage.
- Attach these platforms securely to the frame supports.
Enclosing the Hamster Haven
-
Installing the Wire Mesh:
- Carefully measure and cut your steel wire mesh to fit each side of the cage.
- Attach the mesh securely using staples, ensuring there are no sharp edges that could harm your hamster.
-
Reinforcing the Structure:
- Add additional corner brackets and supports throughout the cage for extra strength and durability.
Finishing Touches
-
Creating a Safe and Stimulating Environment:
- Line the base of the cage with a thick layer of dust-free, hamster-safe bedding (like aspen shavings or paper-based bedding).
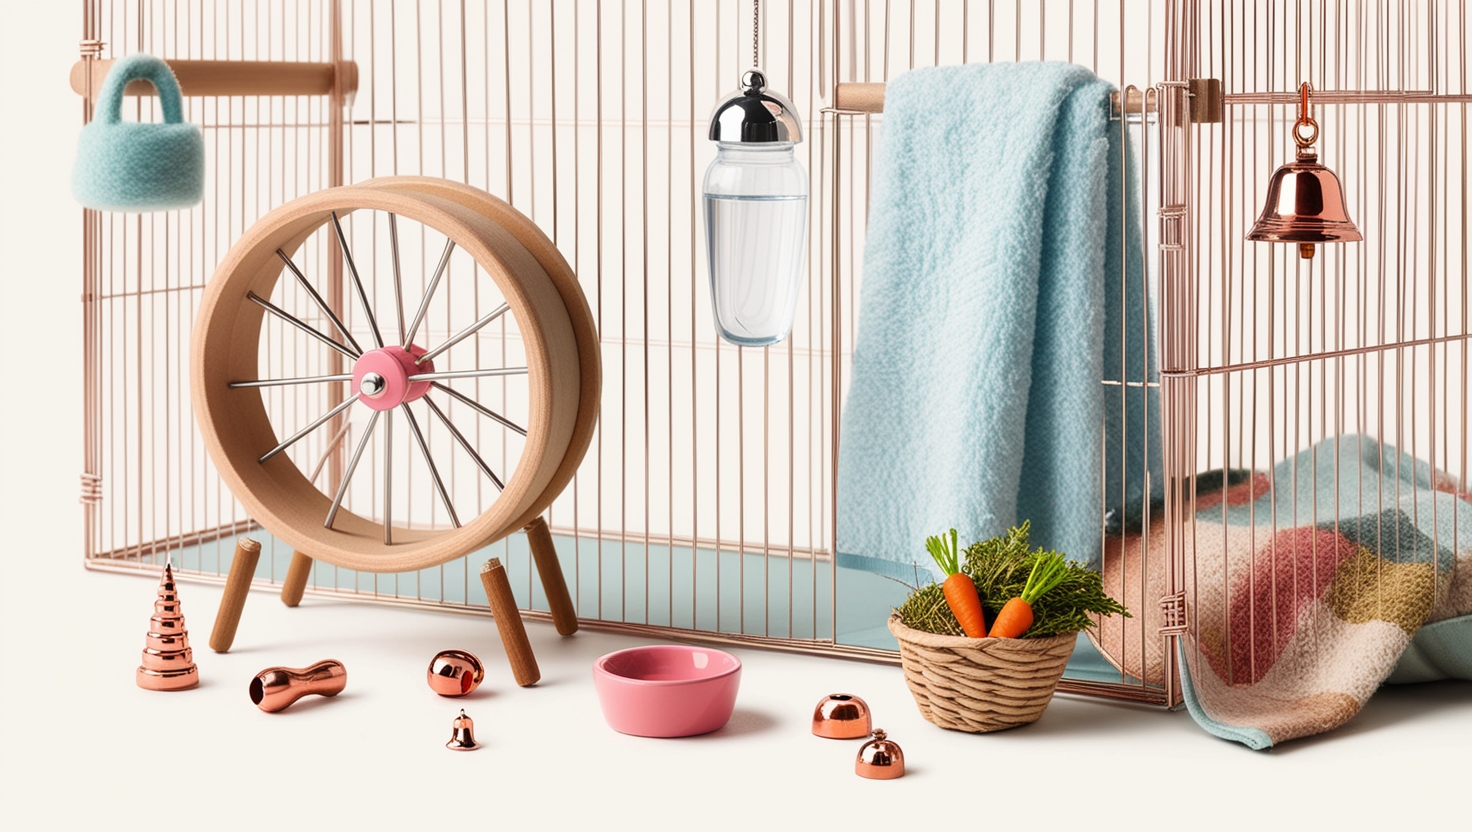
- Add enrichment items such as:
- A sturdy exercise wheel
- Hideouts and tunnels
- Chewing toys
- Food dish and water bottle
-
Keeping it Clean:
- The linoleum or vinyl base makes spot cleaning a breeze.
- Replace bedding regularly to maintain hygiene.
Enjoy Your Custom-Made Hamster Home!
Congratulations! You’ve successfully built a spacious and enriching cage for your hamster. Remember, creating a stimulating environment is an ongoing process. Observe your hamster’s behavior and adjust the cage layout and accessories as needed.
Building a DIY hamster cage is a rewarding experience that benefits both you and your furry friend. Feel proud of the amazing home you’ve created, and enjoy watching your hamster thrive in their new, spacious dwelling!


