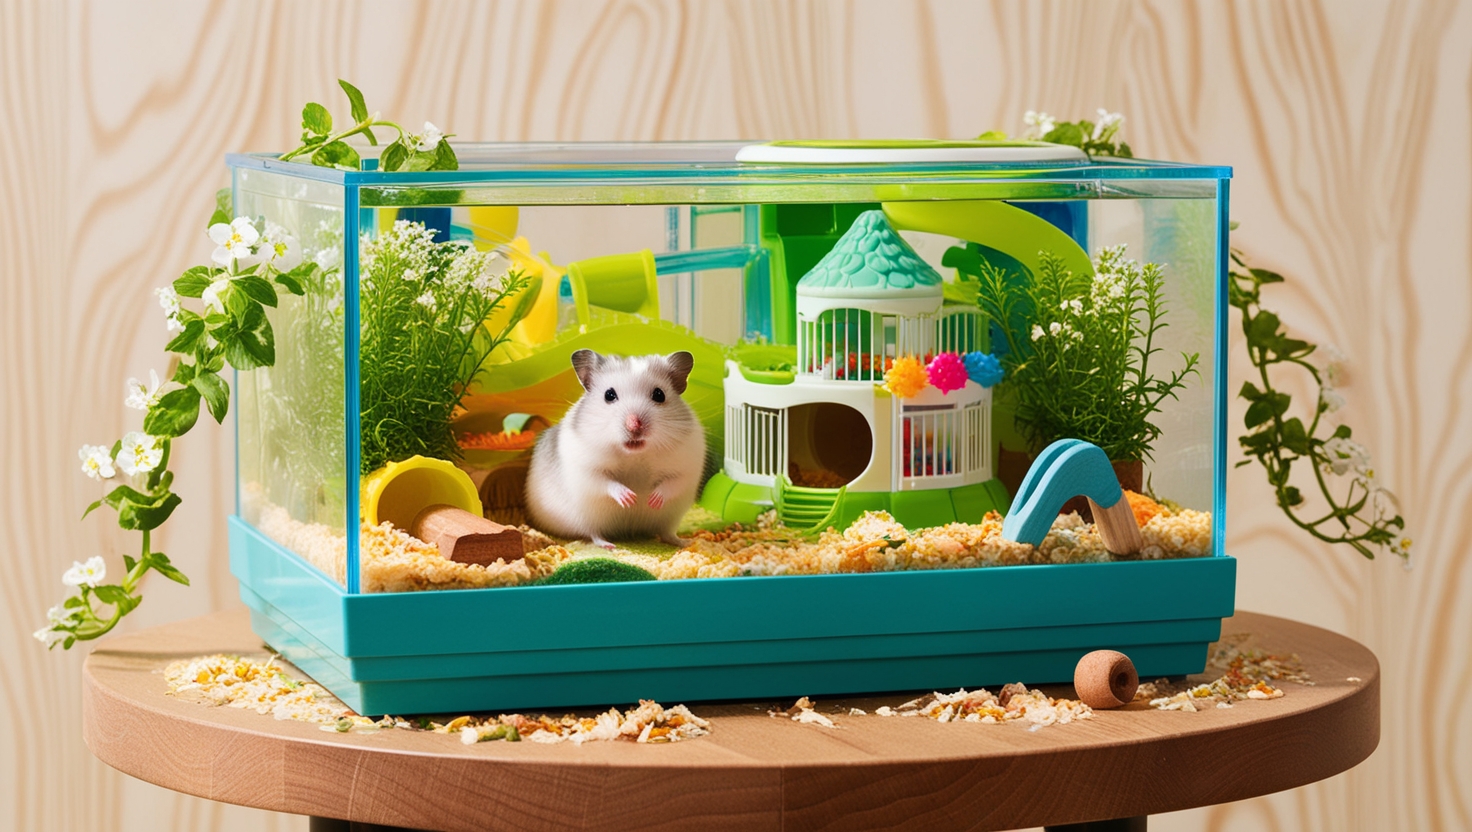
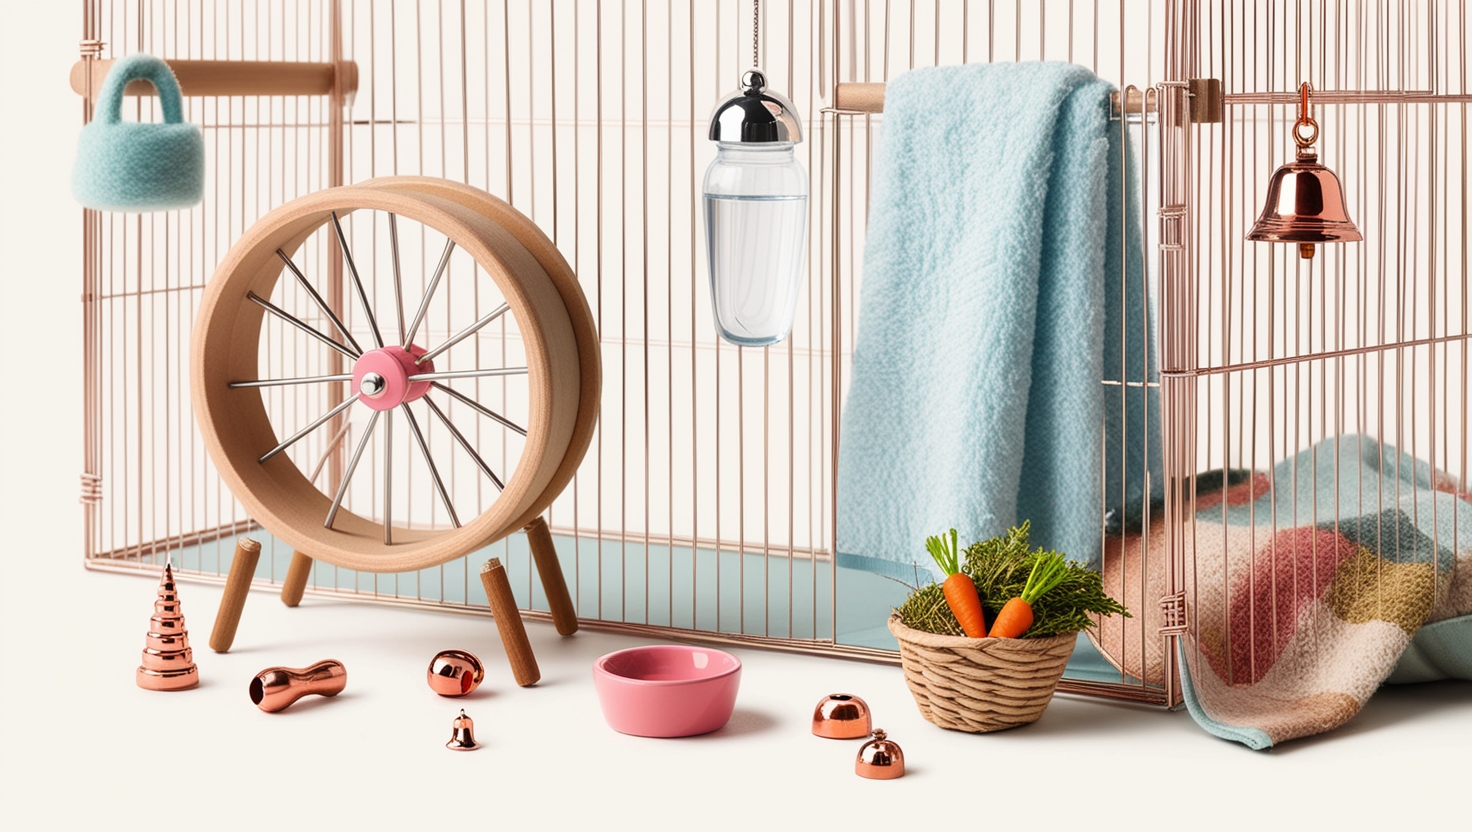
So, you’re getting a hamster? That’s awesome! As a fellow hamster enthusiast and long-time pet care expert, I can tell you firsthand that welcoming a hamster into your home is a joyous experience. But before you bring your furry friend home, there’s one crucial task: designing the perfect hamster cage.
Why Hamster Cage Design Matters
A well-designed hamster cage is more than just a place for your hamster to sleep and eat. It’s their entire world! Providing ample space, enriching activities, and a safe environment is essential for their physical and mental well-being. Let’s dive into the steps of crafting the ideal hamster haven.
Step One: Building the Infrastructure
Before we get into the fun stuff like bedding and toys, we need to lay the groundwork. It’s like building a house; you need a solid foundation!
Platforms: Maximizing Space and Enrichment
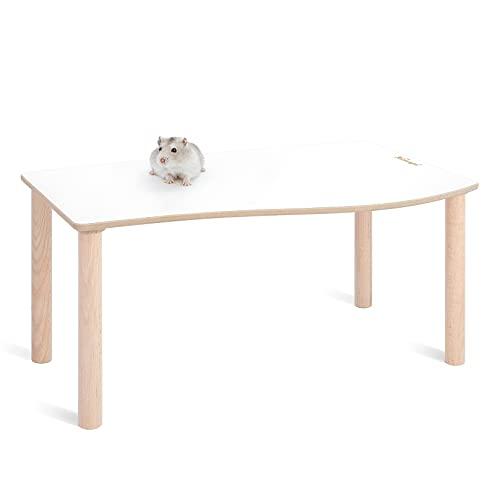
The first thing I do is add platforms. These are lifesavers! Platforms create additional floor space and offer a designated area for burrowing underneath. Trust me, your hamster will thank you.
You can buy ready-made platforms online or get crafty and build your own using pet-safe materials like untreated wood and non-toxic glue.
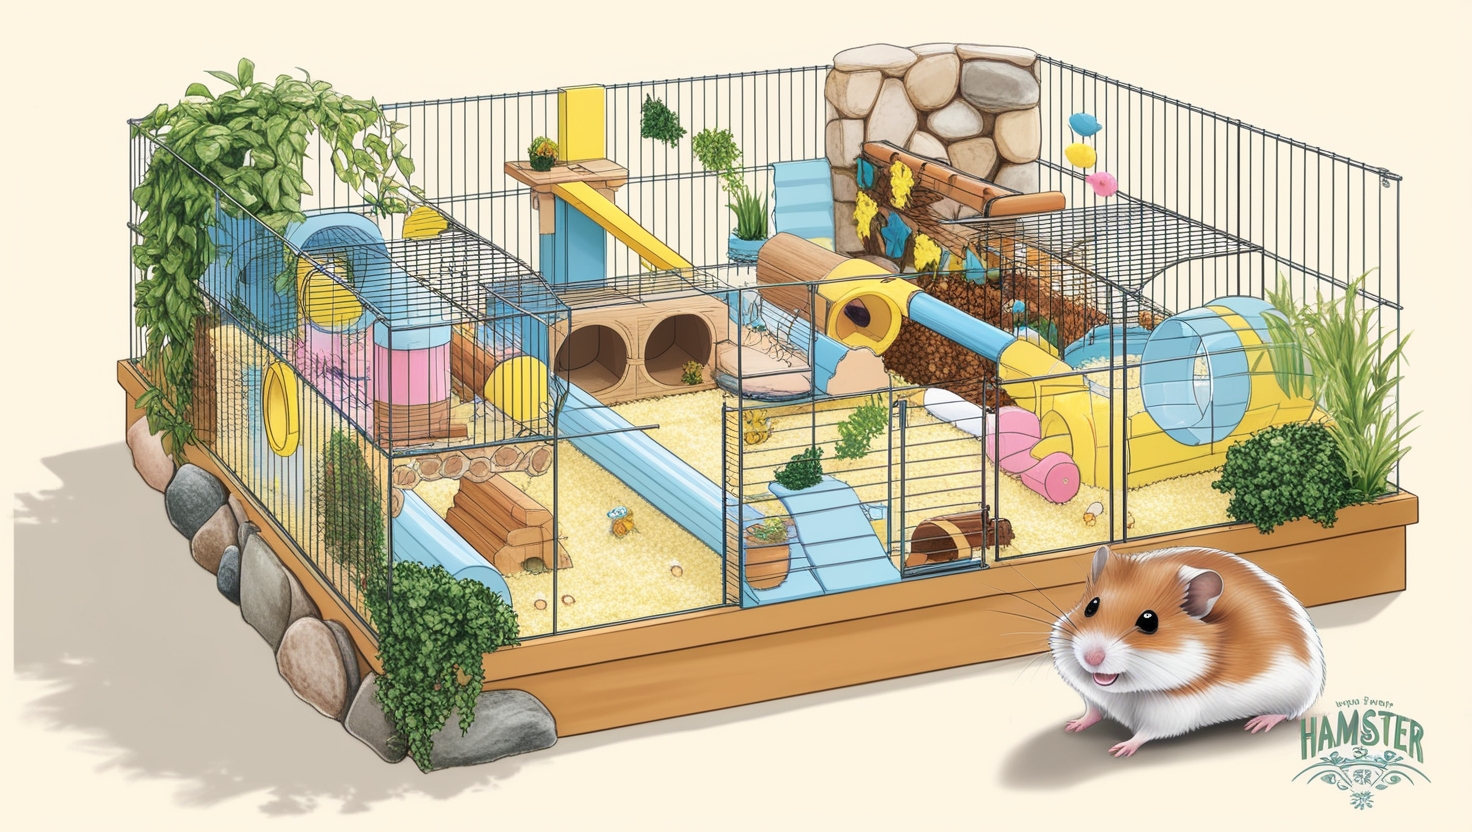
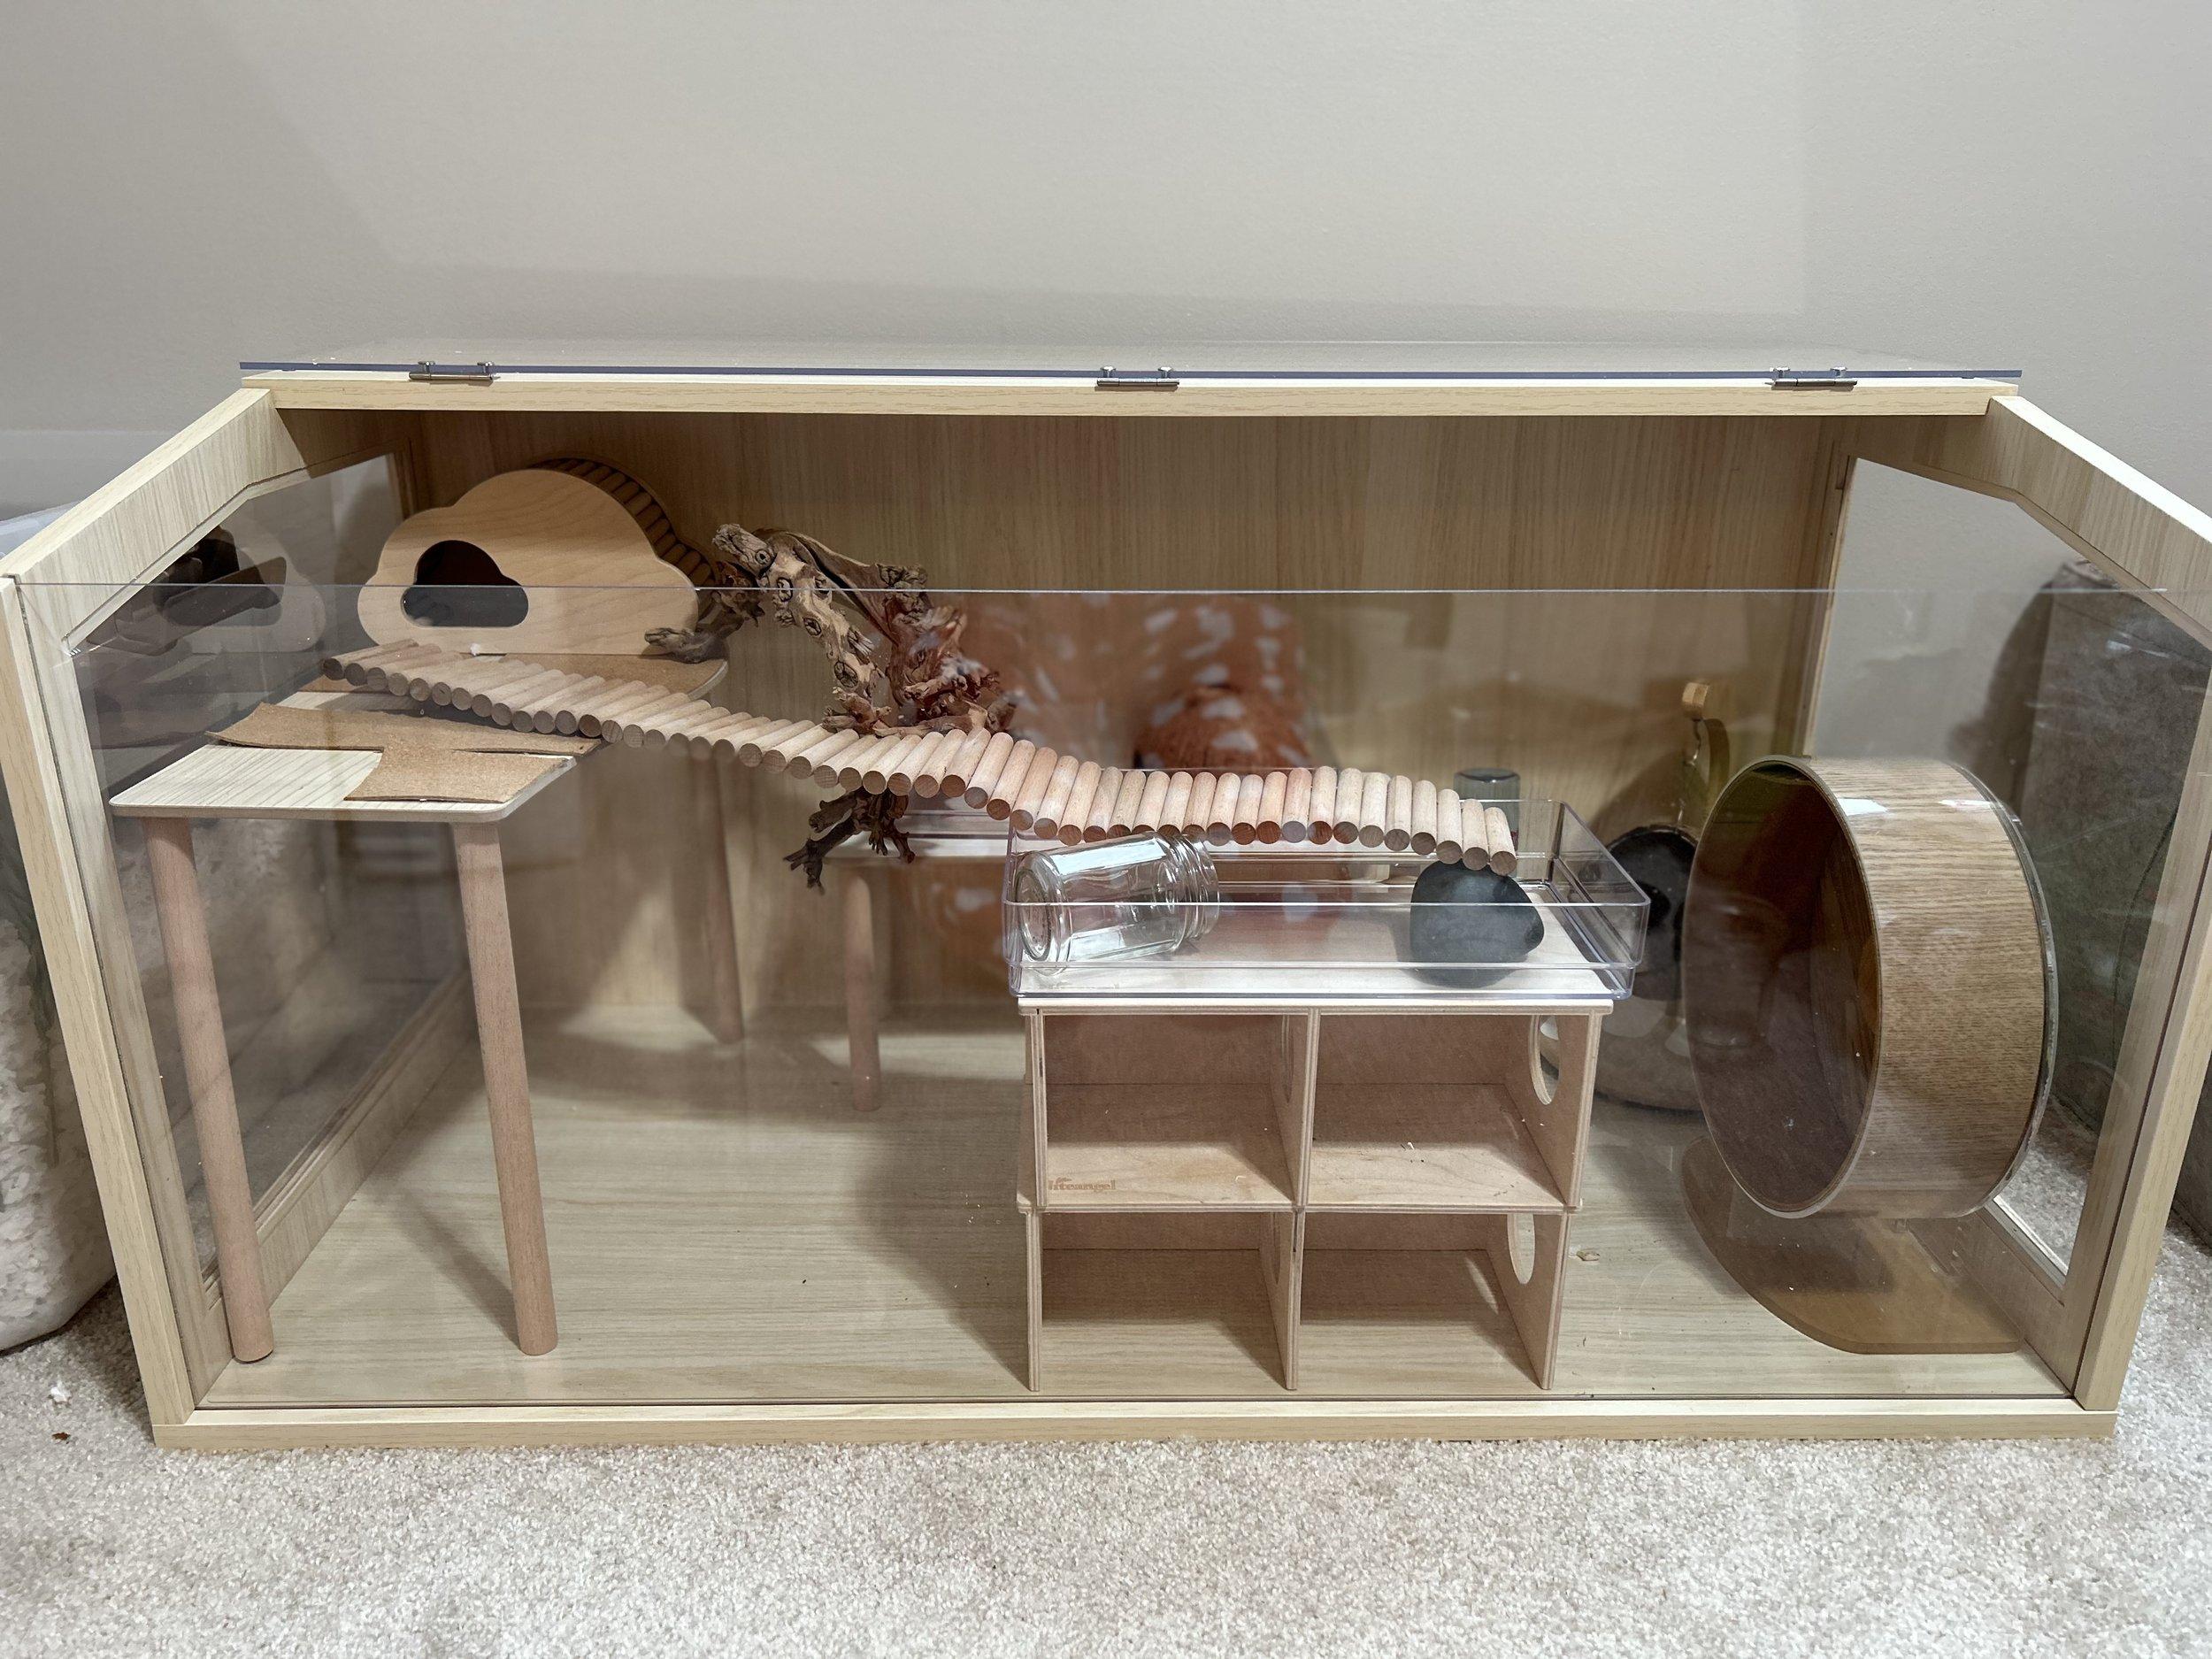 A multi-level hamster cage design with platforms
Caption: Platforms create multi-level fun for your hamster.
Essential Accessories
Next, I like to gather all the necessary accessories:
- Wheels: A must-have for exercise! Ensure the wheel is large enough (minimum 10 inches for Syrians) and has a solid running surface to prevent injuries.
- Hides: Hamsters are prey animals and need a place to feel secure. Provide at least one hide on each level of the cage.
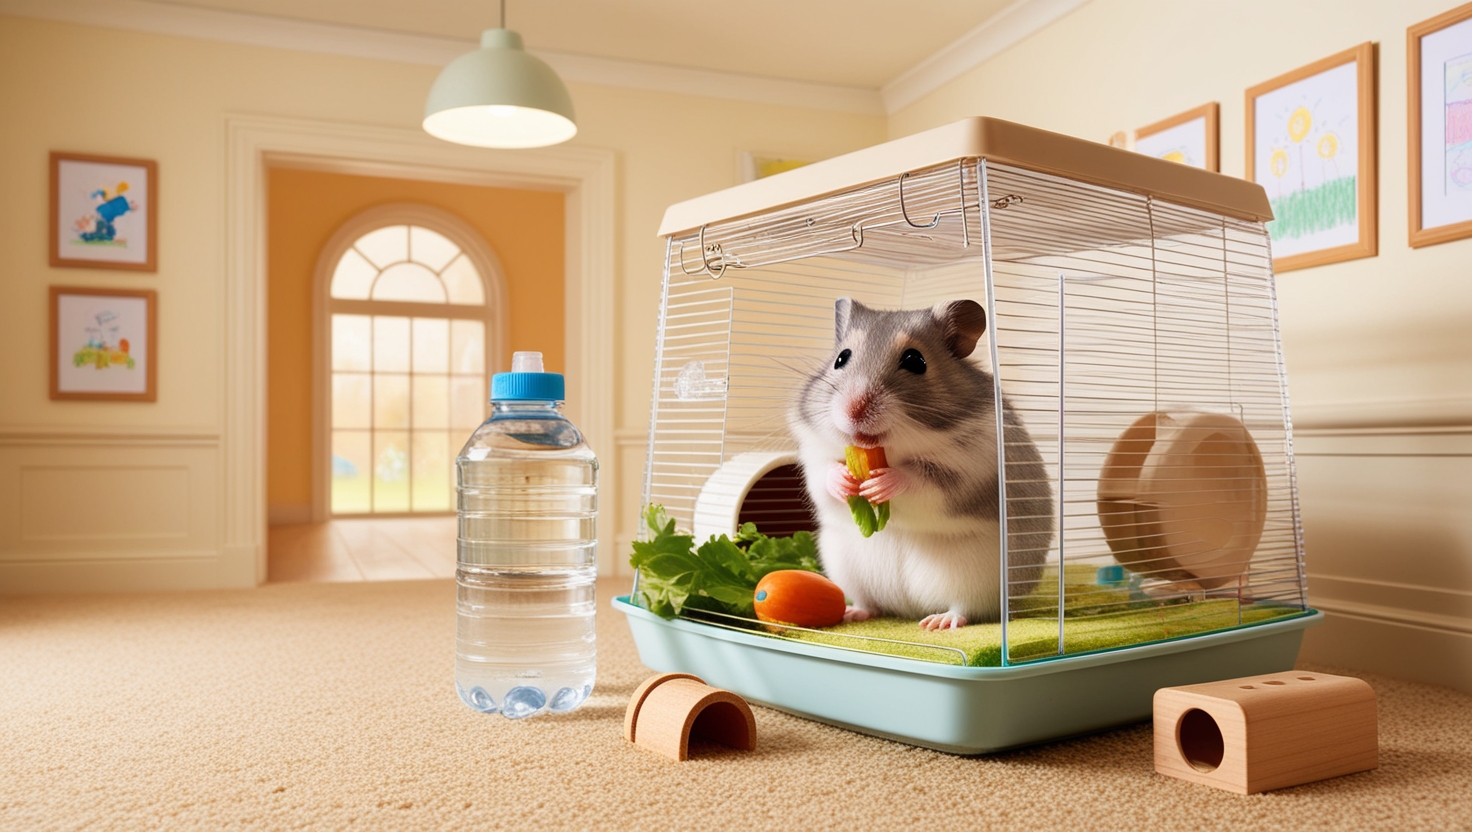
- Food Dish and Water Bottle/Bowl: Opt for ceramic dishes for easy cleaning. I like to provide both a water bottle and a bowl to cater to different preferences.
- Sand Bath: Hamsters use sand baths to groom themselves. Choose a dish large enough for your hamster to roll around in comfortably.
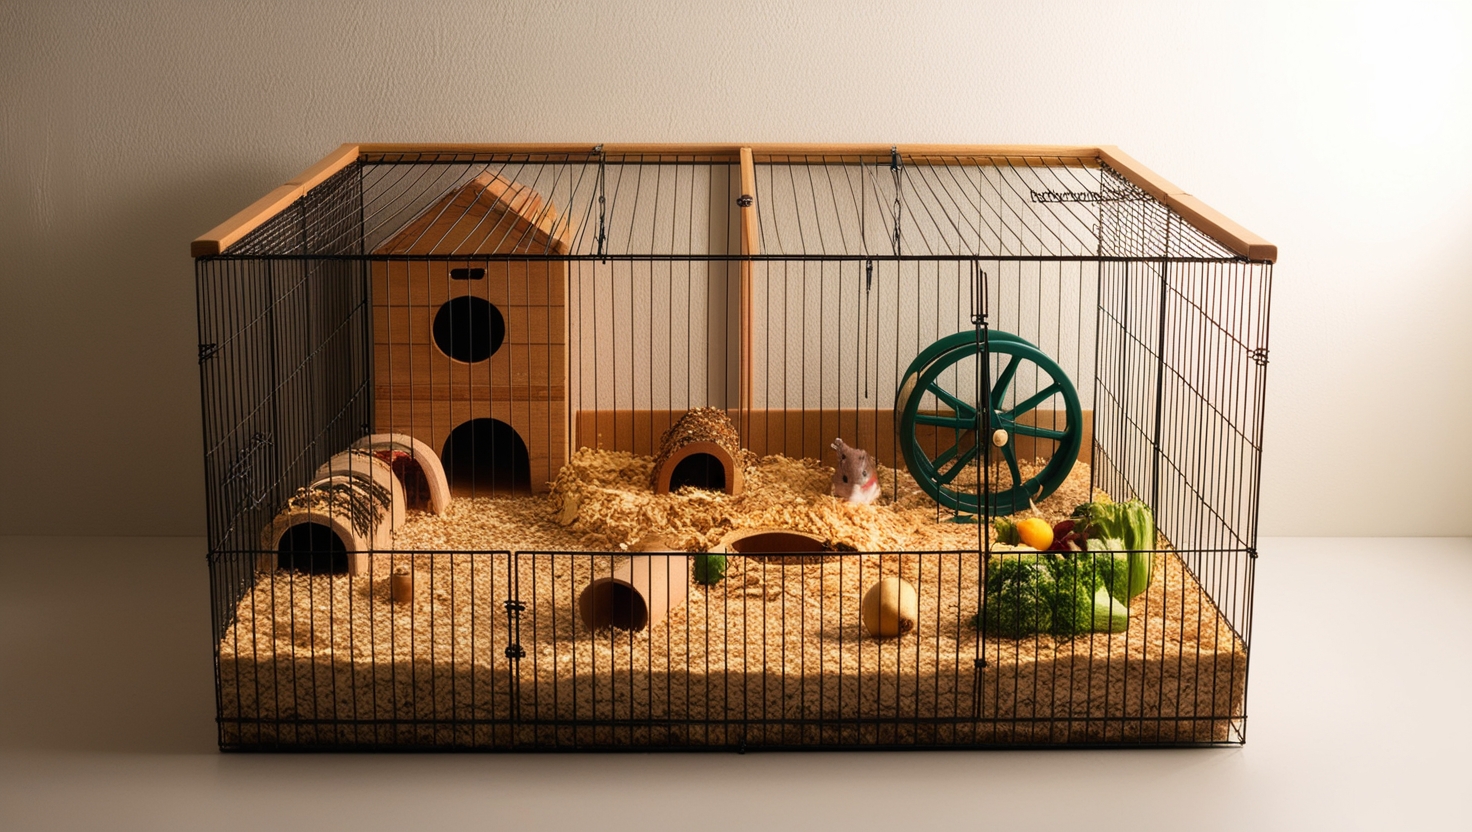
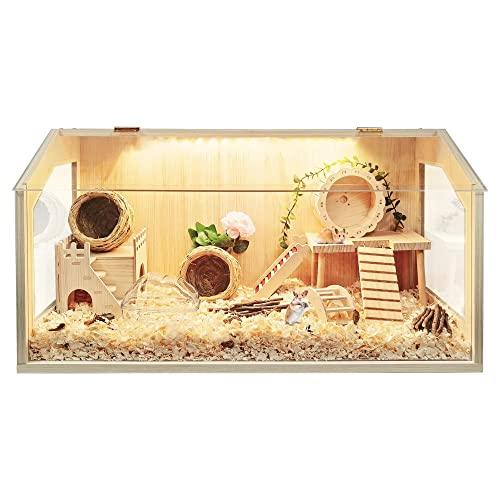 Hamster cage design with a sand bath and other accessories
Caption: A well-equipped hamster cage with essential accessories.
Once I have everything laid out, I start visualizing the layout, ensuring everything is accessible and there are no dangerous gaps or drop-offs.
Step Two: Bedding and Substrates – Creating a Comfortable and Stimulating Environment
Now for the fun part – choosing the bedding! This is where you can get creative and provide a variety of textures for your hamster to burrow and forage in.
Choosing the Right Bedding
- Paper Bedding: My go-to base layer! It’s soft, absorbent, and I use white paper bedding so I can easily spot-clean any soiled areas.
- Hemp Bedding: A great alternative texture for digging and foraging. I like to create a designated hemp area in my cages.
- Moss: Provides a soft, natural feel. I use both sheets and loose sphagnum moss.
 Different types of hamster bedding – hemp, paper, and moss
Caption: Variety is key! Offer different bedding textures for enrichment.
Remember, never use pine or cedar bedding – it’s toxic to hamsters!
Layering for Maximum Fun
I like to pile paper bedding high on one side of the cage and create a hemp bedding area on the other side. Then, I add moss for a touch of natural beauty and sprinkle some loose moss into the hemp for added foraging fun.
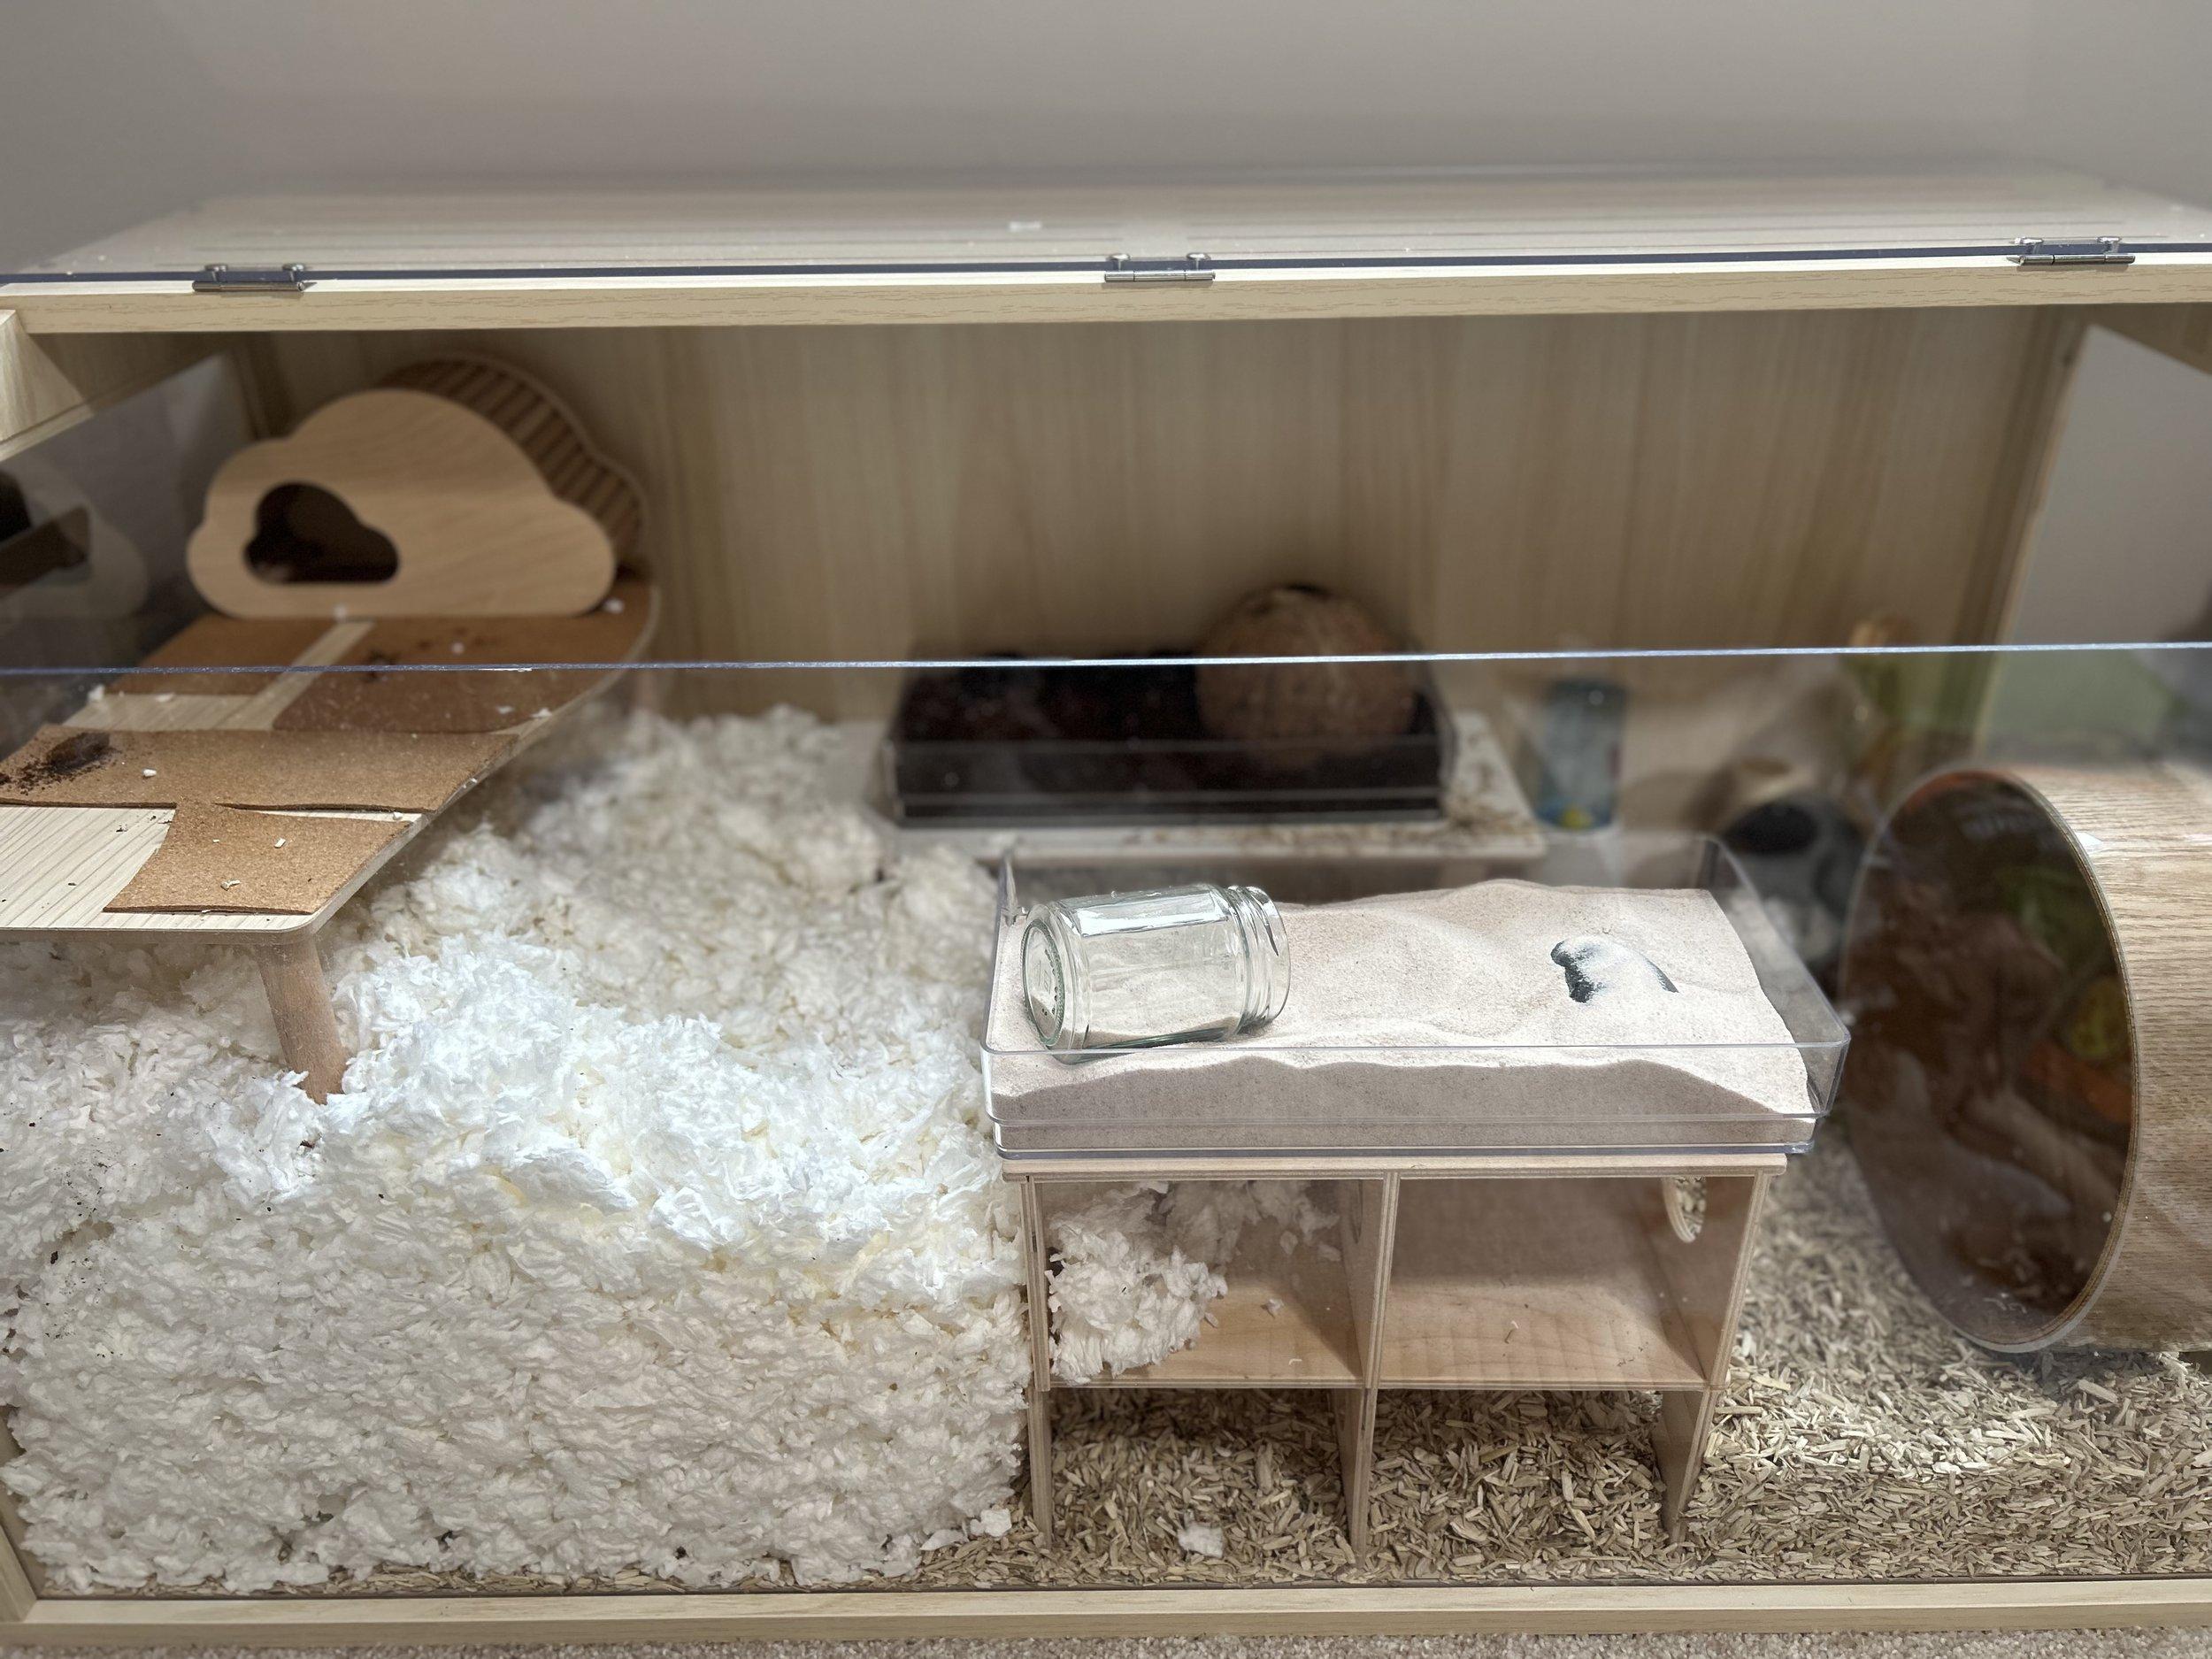 A hamster cage with a variety of bedding materials
Caption: Layering bedding provides different textures and encourages natural burrowing instincts.
Step Three: Putting it All Together – Final Touches
With the bedding in place, it’s time to add back the accessories and put on the finishing touches.
Safety First!
Before adding your hamster, do a final safety check:
- Ensure no sharp edges are exposed.
- Make sure water bottle and food dish are secure and accessible.
- Double-check there are no gaps your hamster could squeeze through.
Adding Enrichment
Now you can get creative with enrichment! Seed sprays and hamster-safe flowers are great additions, as are chew toys, tunnels, and climbing accessories.
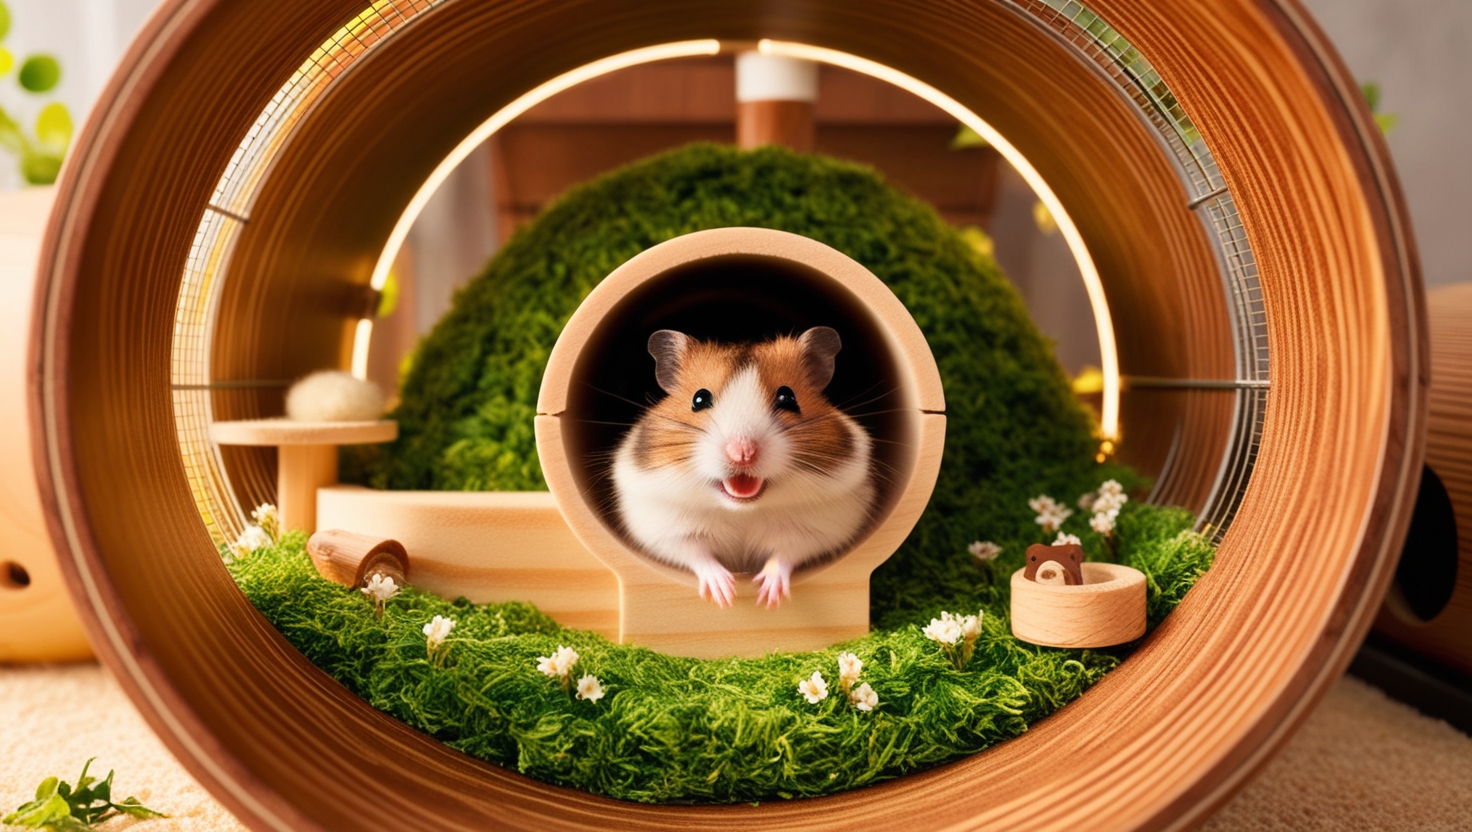
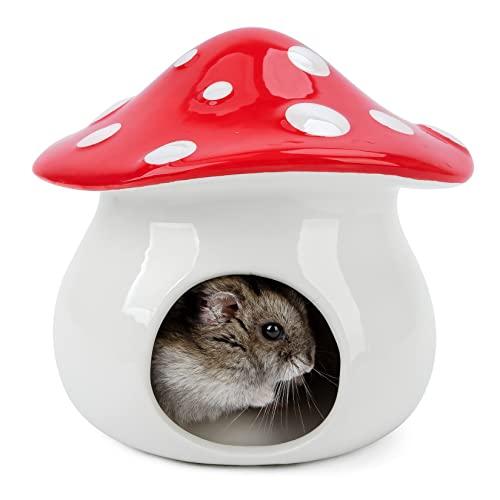 A hamster enjoying its enriched cage with toys and hideouts
Caption: A happy hamster exploring its stimulating and safe environment.
Step Four: Observation and Adjustment
Congratulations, your hamster cage is ready! Once your little buddy has settled in, observe their behavior and make any necessary adjustments.
A Night Vision Camera is Your Best Friend
Invest in a night vision camera! Hamsters are crepuscular, meaning they’re most active at dawn and dusk. A camera allows you to observe their nighttime antics and see if they’re having trouble accessing any areas or if any adjustments need to be made.
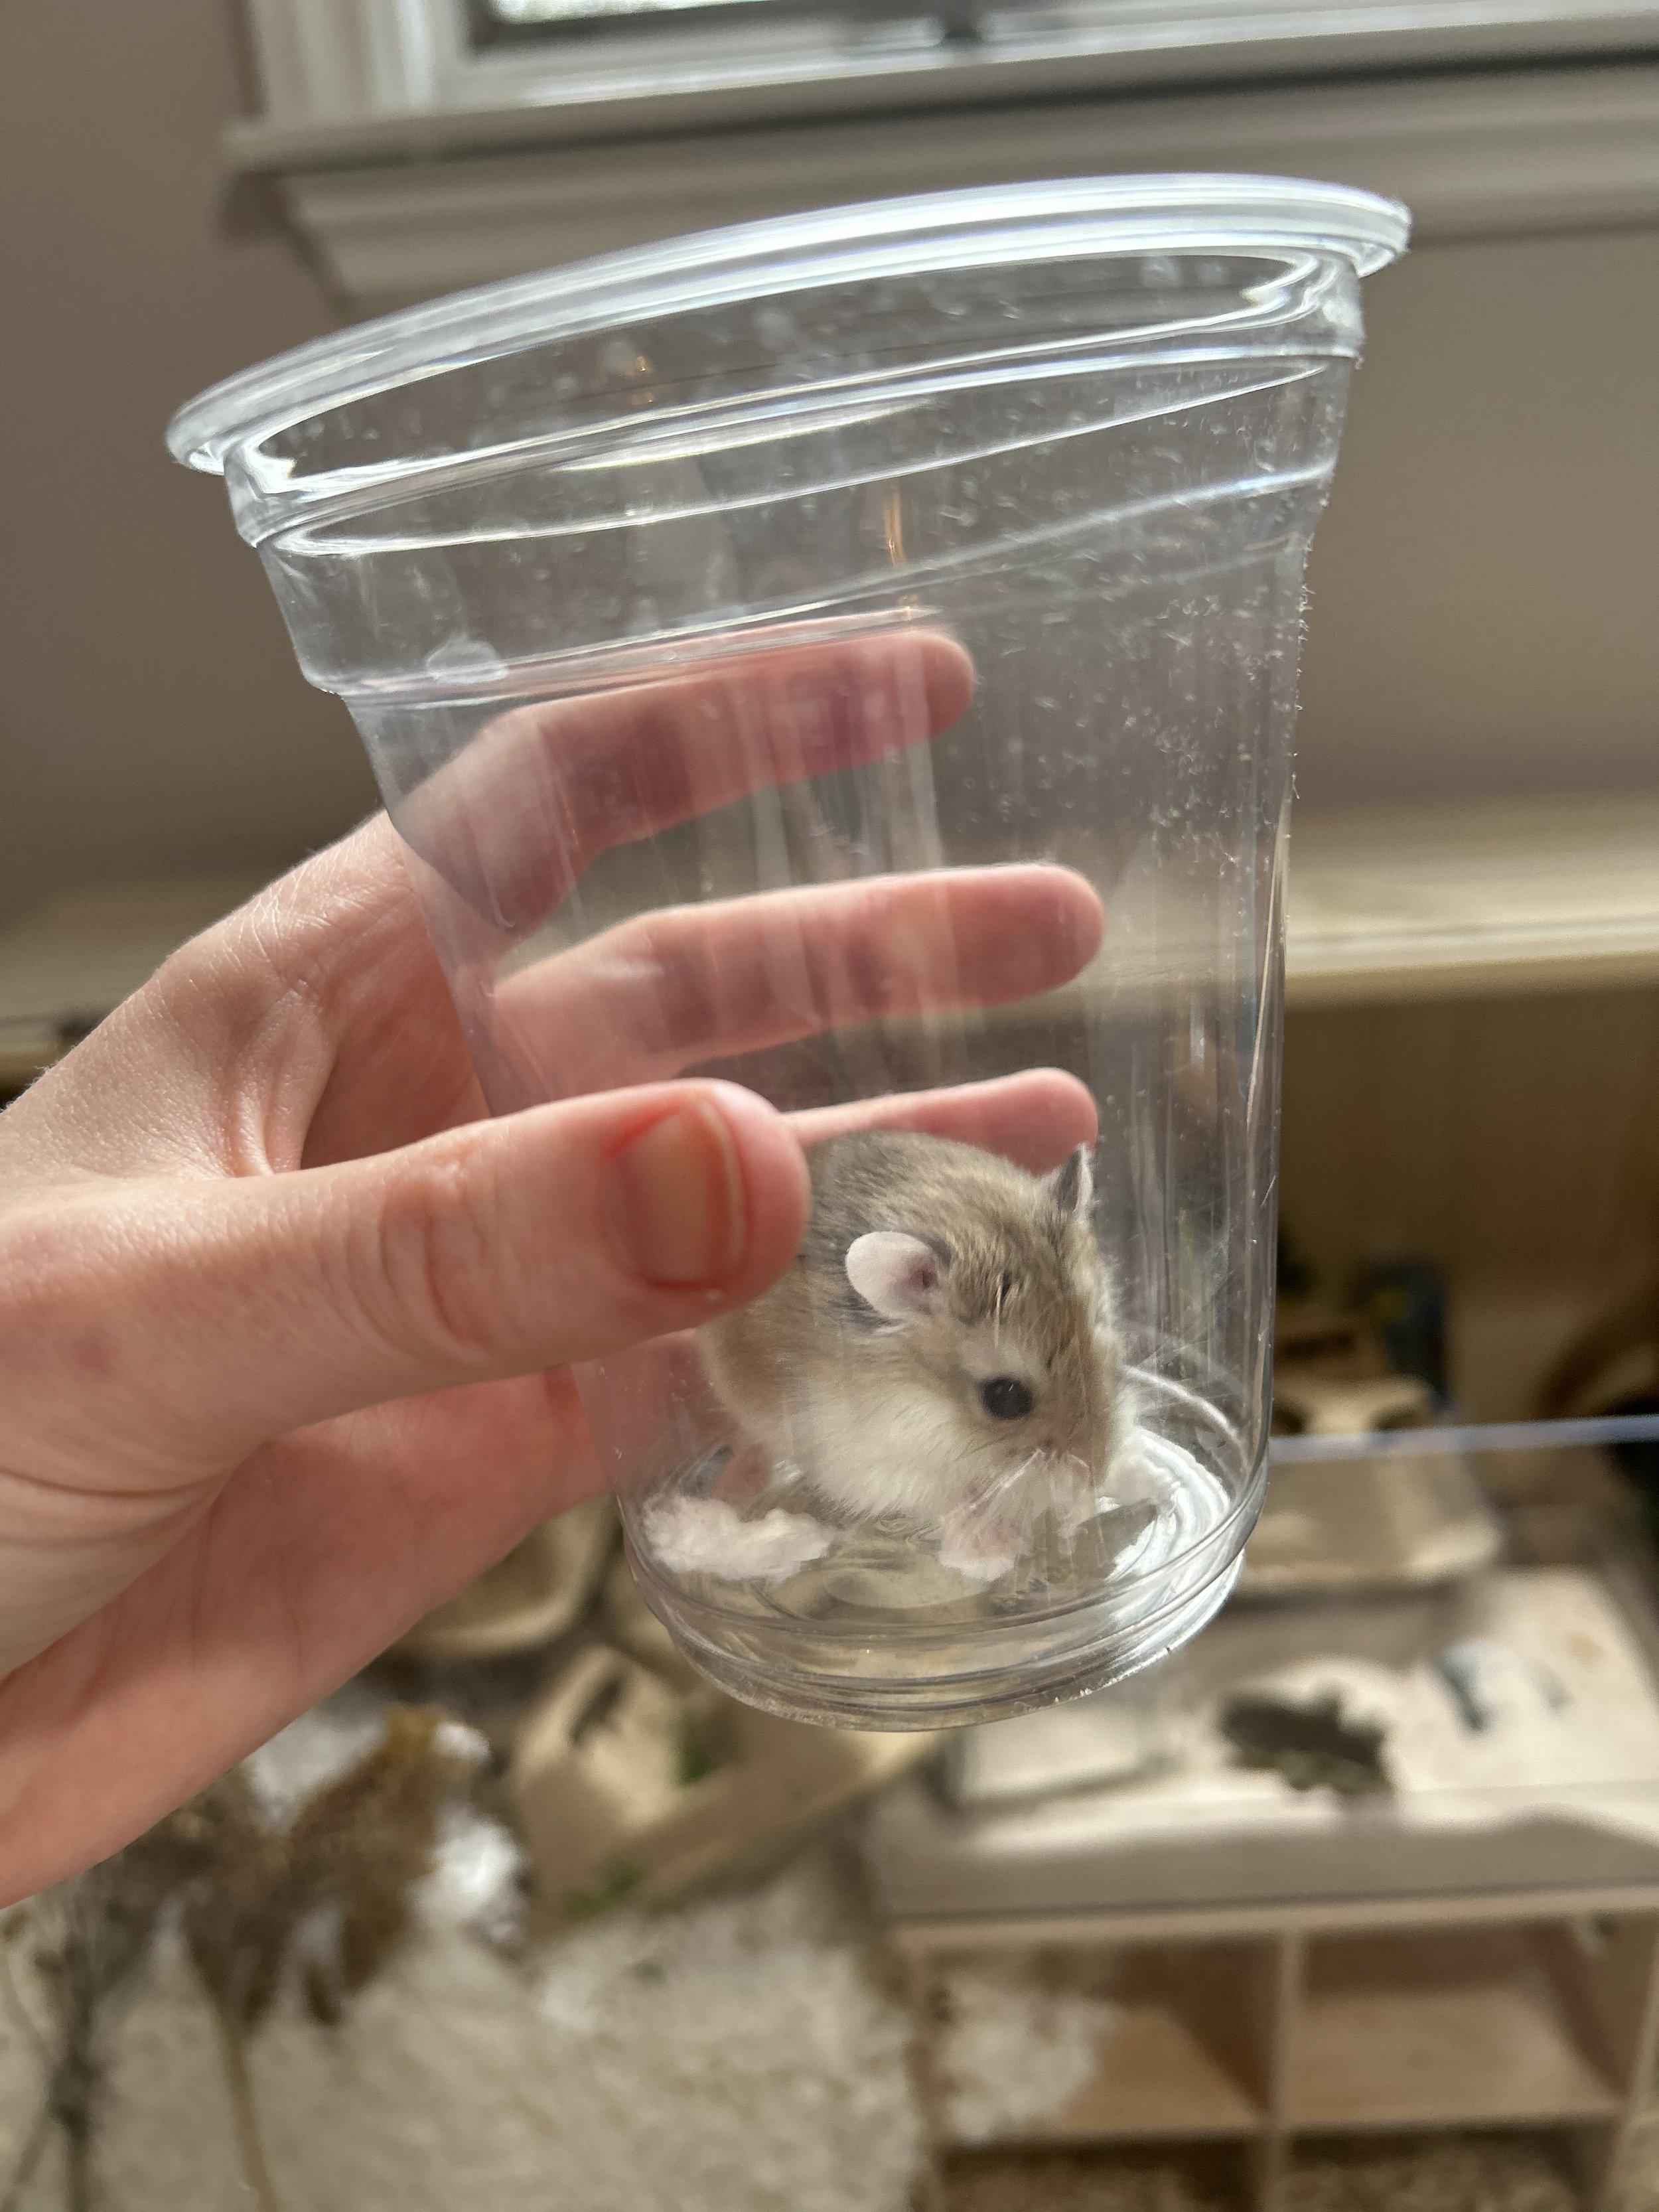 A hamster exploring its cage at night
Caption: Nighttime adventures! Observe your hamster’s behavior to ensure their cage is perfect for them.
Making Adjustments
For example, if your hamster is struggling to climb onto a platform, you can add a ramp, some adhesive cork, or even a piece of rough, hamster-safe material to provide better grip.
Final Thoughts: Creating a Hamster Haven
Remember, designing a hamster cage is an ongoing process. It might take some trial and error to figure out what your furry friend loves best. Don’t be afraid to experiment, get creative, and most importantly, have fun with it!
Now that you’re equipped with the knowledge to design a truly amazing hamster cage, go forth and create a haven for your new little buddy!


