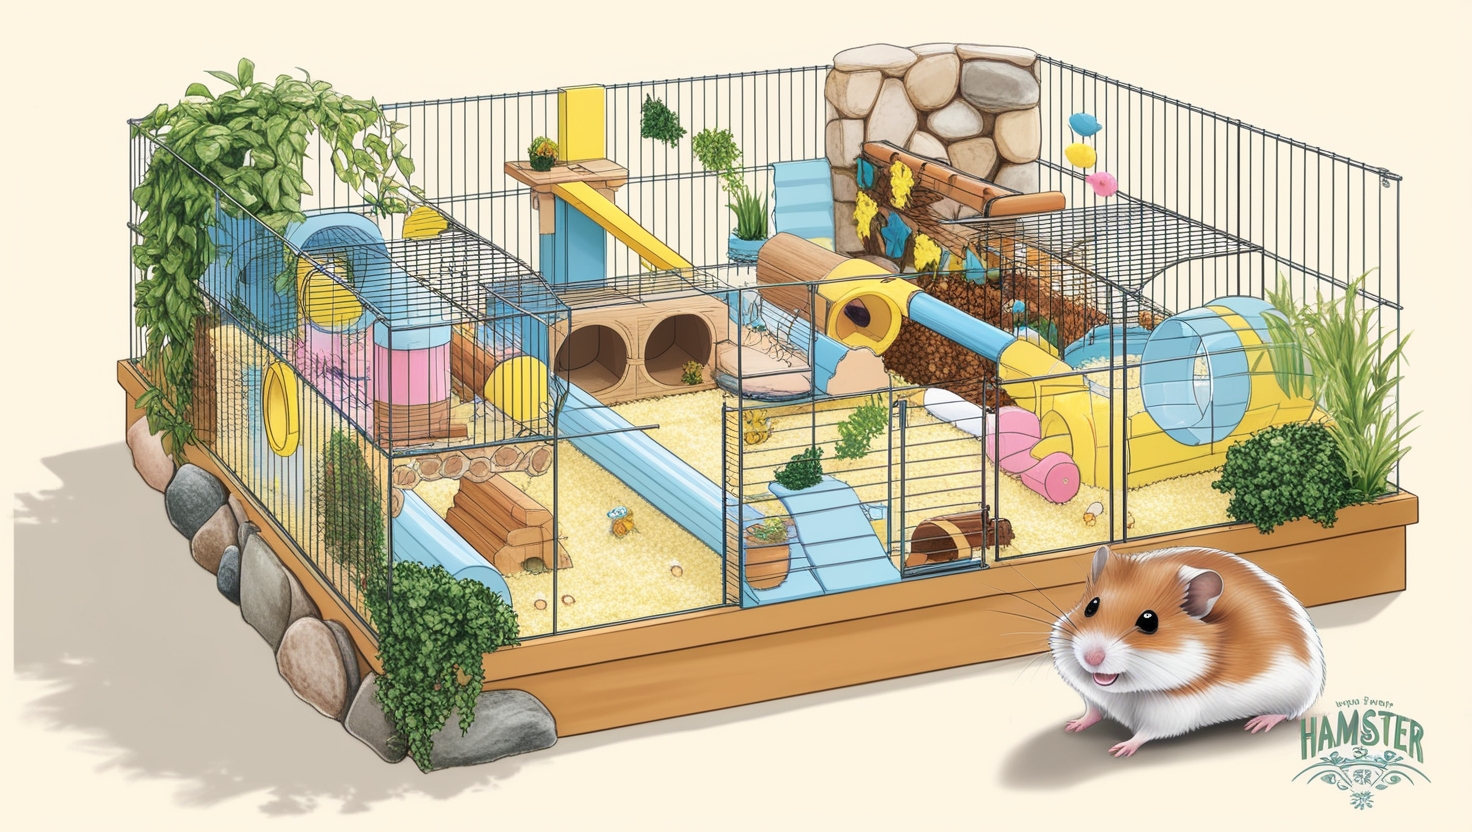
So you’re getting a hamster? That’s amazing! These tiny adventurers deserve the best, and that starts with a thoughtfully designed hamster cage layout. It’s more than just throwing in a wheel and some food. Trust me, I’ve been there! As a passionate hamster parent and long-time enthusiast, I’ve spent countless hours (and let’s be honest, quite a bit of money) perfecting the art of creating stimulating and safe hamster havens.
This guide will be your roadmap to designing the ultimate hamster cage layout, combining essential elements with creative inspiration to ensure your hamster thrives in their new home.
Step 1: Laying the Foundation: Infrastructure is Key!
Before diving into bedding options and adorable hamster decor, we need to consider the basic infrastructure of your hamster cage. Think of it as building the foundation of a house – it needs to be strong, practical, and provide ample space for everything to come.
Platform Power: Maximizing Space and Enrichment
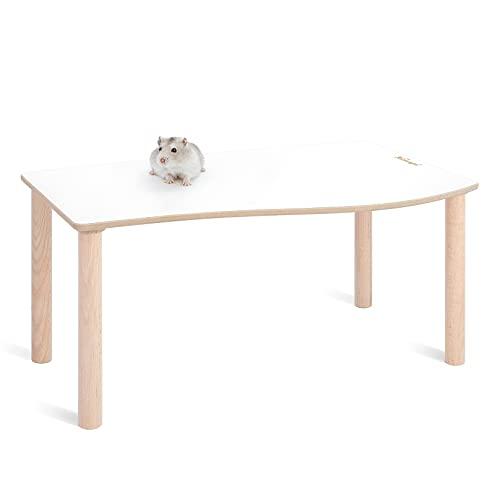
My number one tip for any aspiring hamster parent? Invest in platforms! These are game-changers when it comes to hamster cage layouts. Platforms instantly add usable floor space, allowing for more burrowing opportunities below and exciting enrichment areas above.
You can find a wide variety of platforms online, from brands like Niteangel, or get crafty and build your own using pet-safe materials like untreated wood and non-toxic glue.
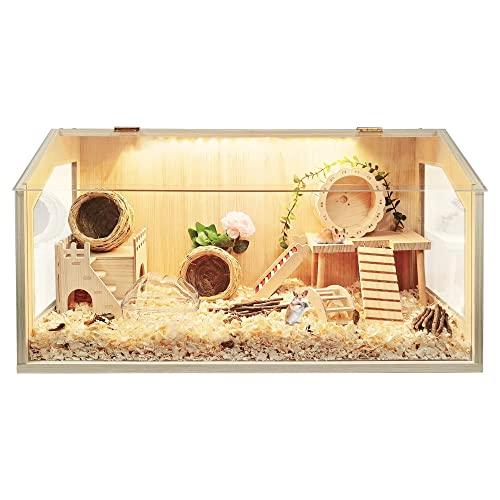 initial design
Initial blueprint for a hamster haven
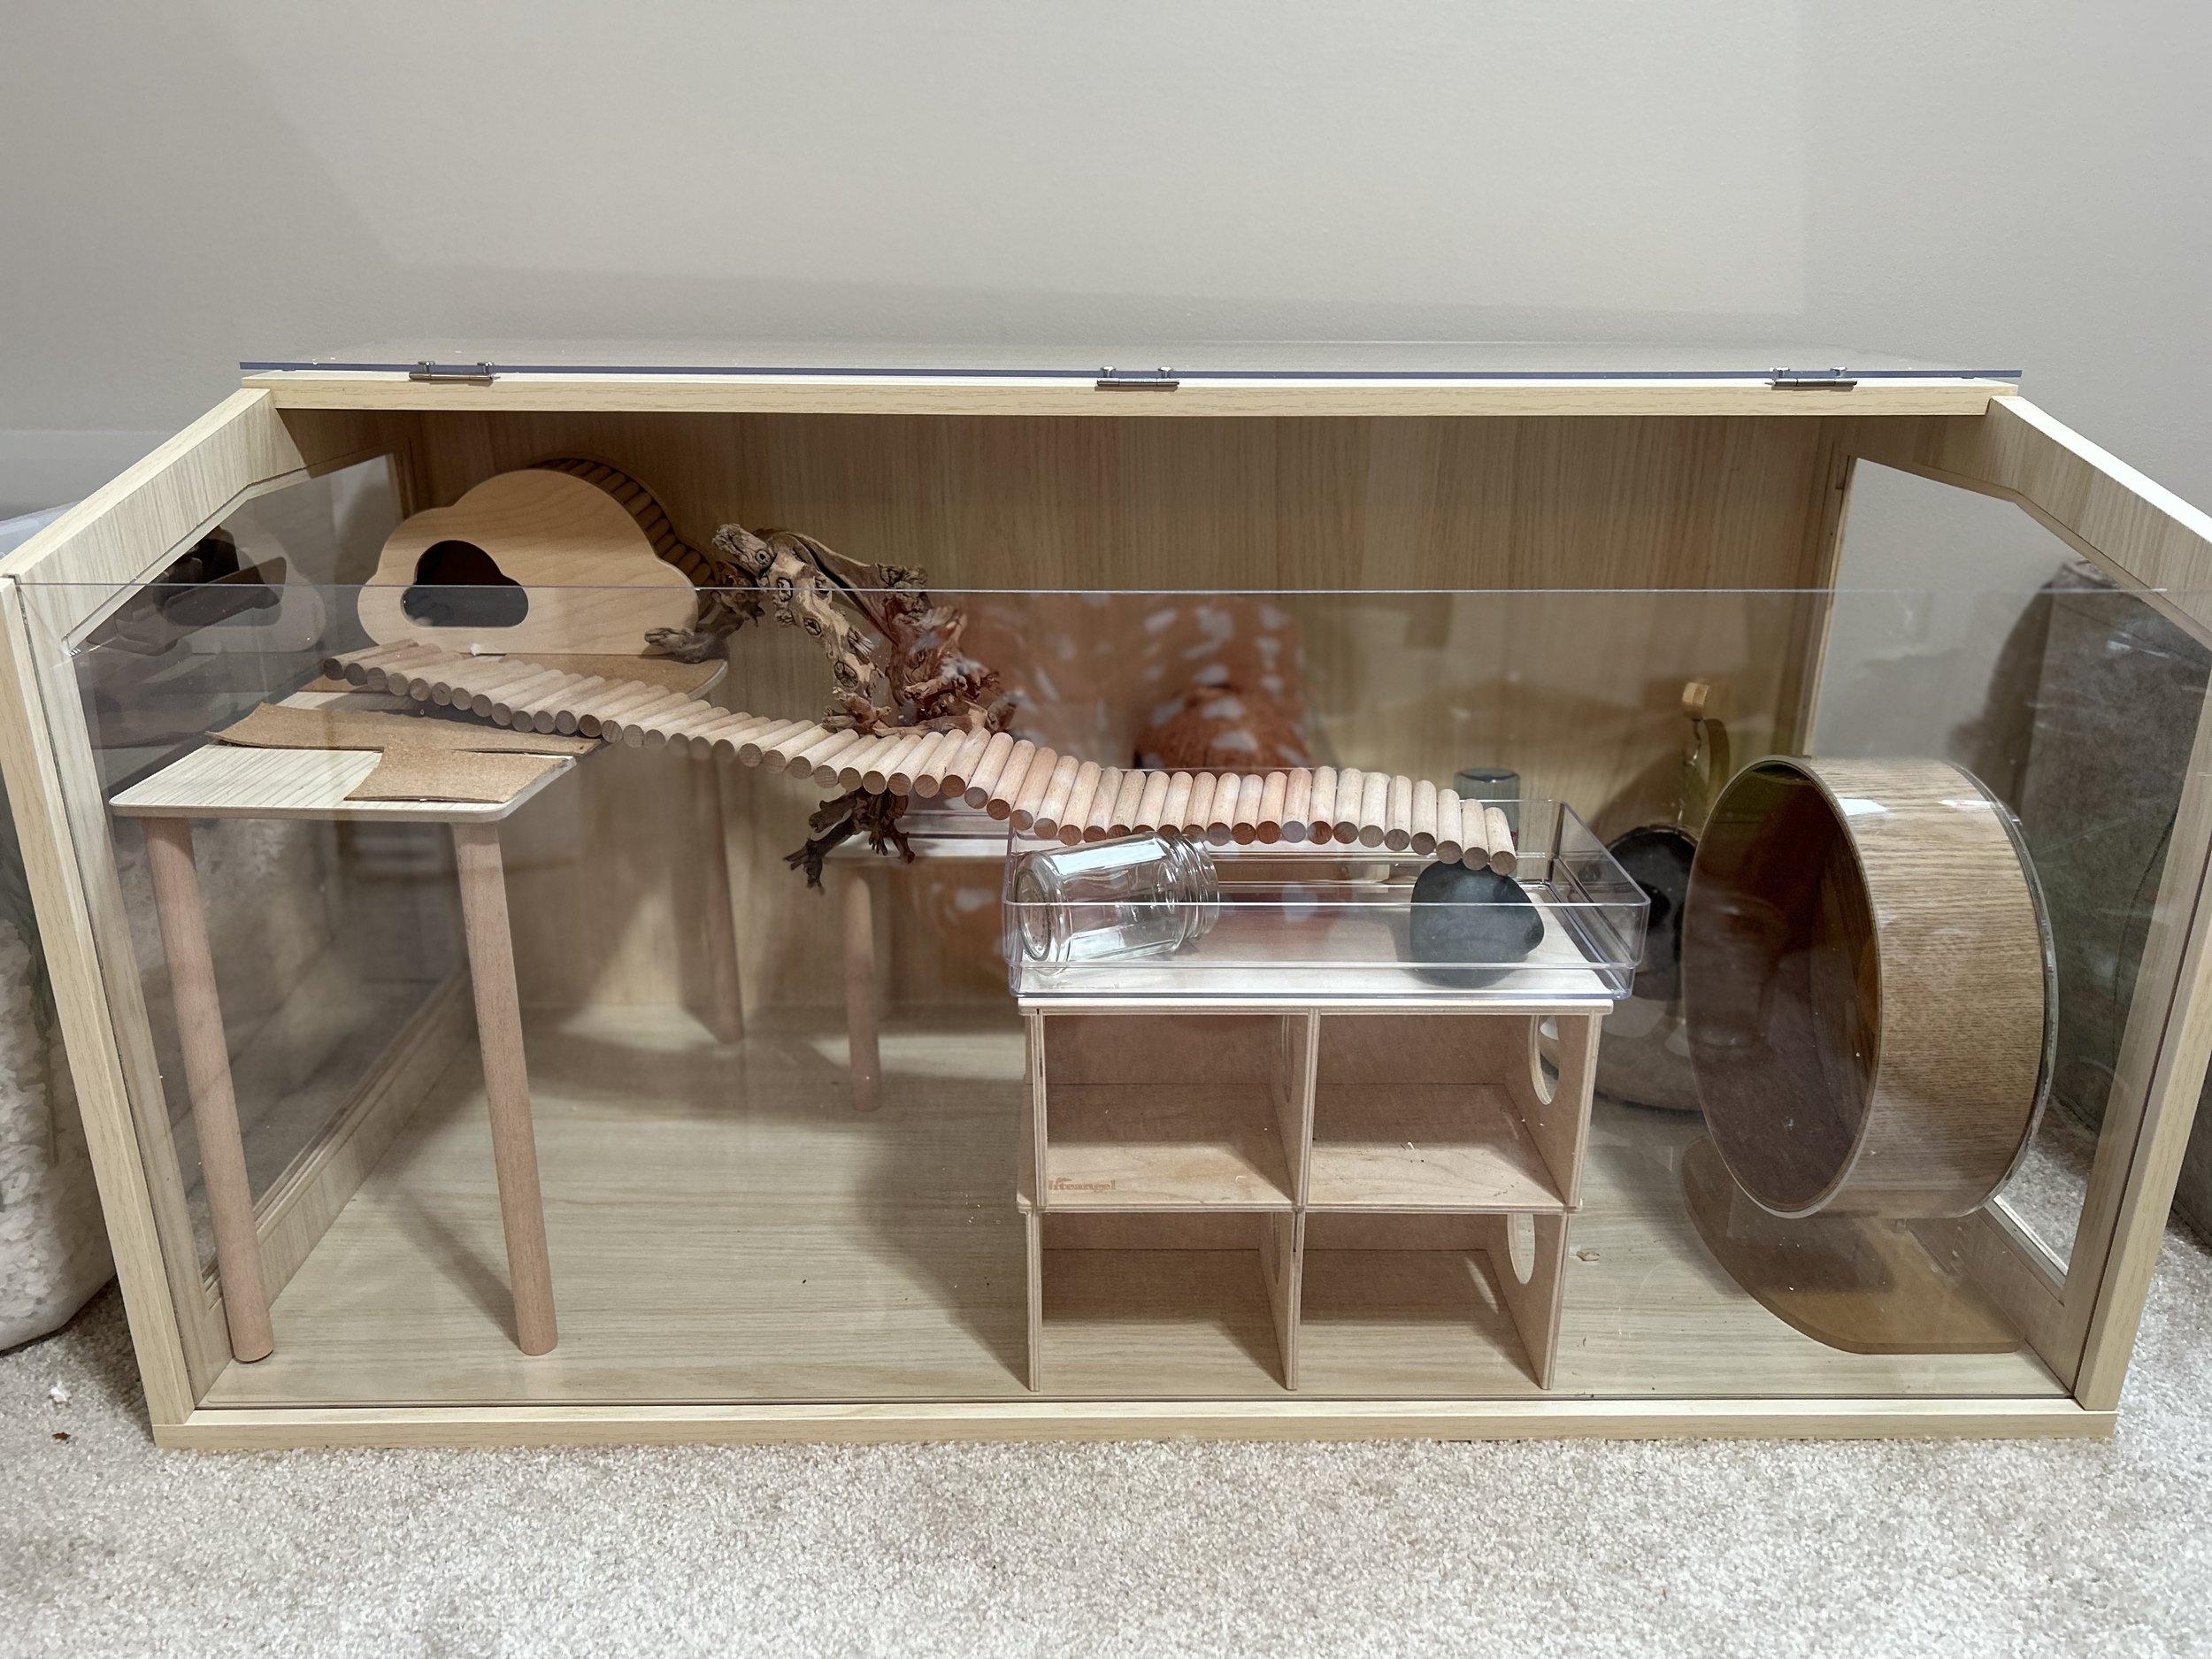 then i decided I needed a 7” platform in the back
Adding a platform for enhanced exploration
Mapping Out the Essentials:
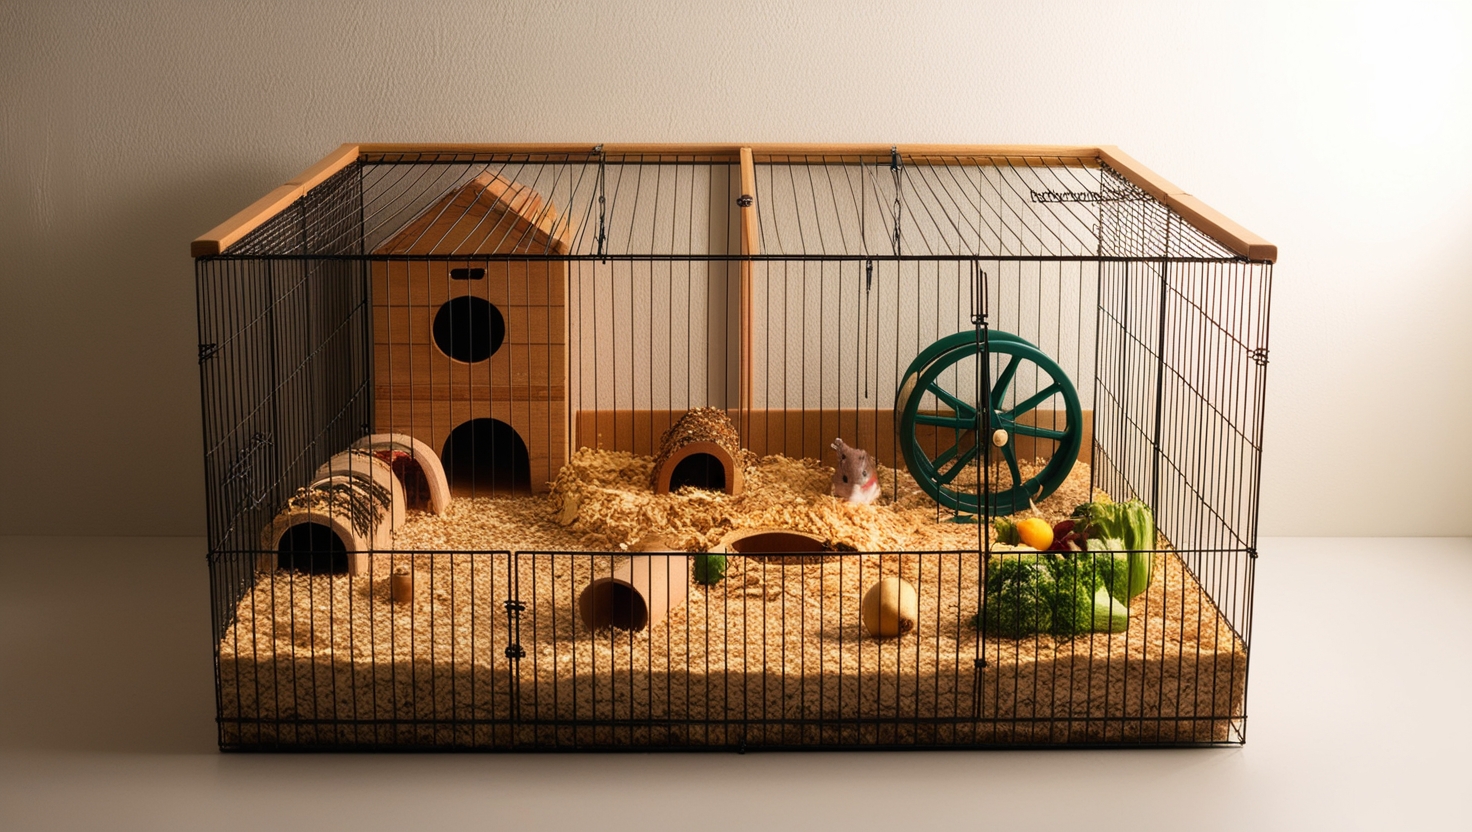
With your platforms in place, visualize the overall layout. Where will the sand bath go? What about the food dish, water bottle, and hideouts?
Pro Tip: I always recommend providing both a water bottle and a heavy ceramic bowl – just in case your hamster has a preference, or one malfunctions during the night.
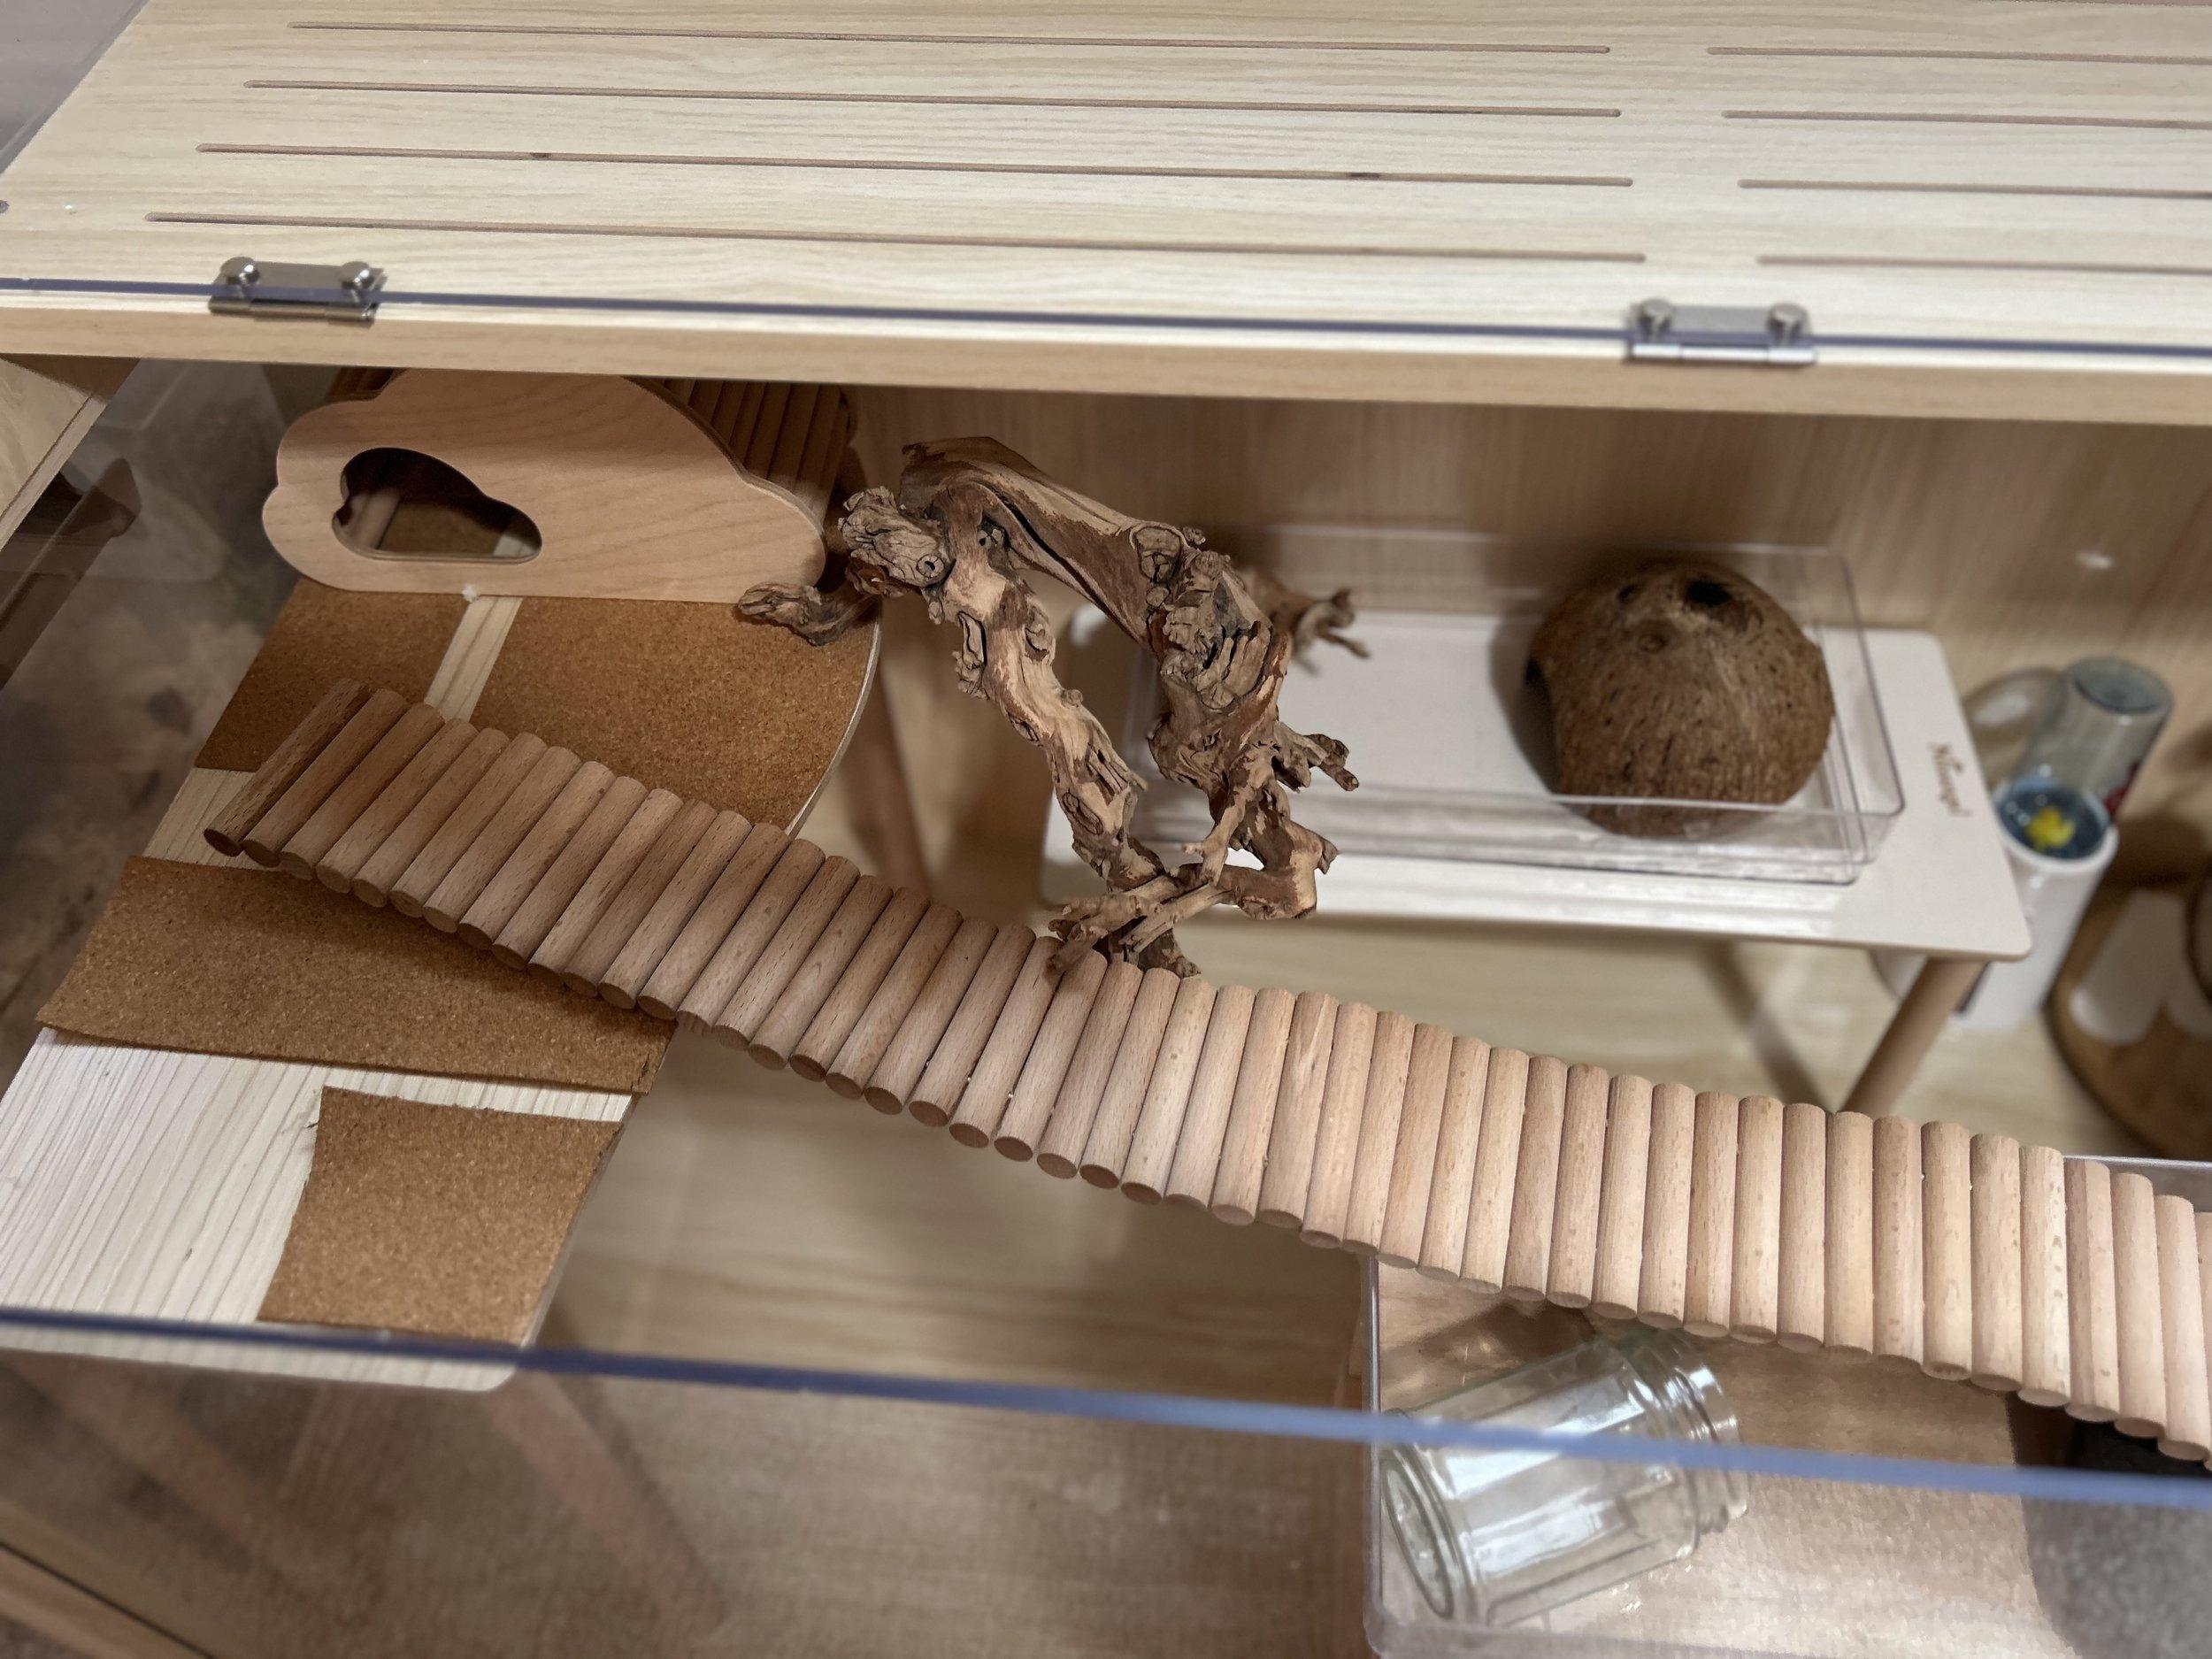 0E135086-2CE5-4ED4-A9D3-E355B26ED648.jpeg
A thoughtfully arranged hamster cage layout
Step 2: Bedding and Substrates: A World of Textures
Now for the fun part – choosing the perfect bedding and substrates for your hamster’s burrowing and foraging pleasure! Providing a variety of textures is key to enriching their environment and encouraging natural behaviors.
My Go-To Bedding Combinations:
- Paper Bedding: White paper bedding is excellent for burrowing and allows you to monitor for any bathroom mishaps easily. Look for unscented options, as scented bedding can irritate a hamster’s sensitive respiratory system.
- Hemp Bedding: Soft and cozy, hemp bedding is a fantastic choice for a foraging area. You can sprinkle in some hamster-safe treats for an added challenge.
- Moss: I love using both sheet moss and loose sphagnum moss. It adds a touch of natural beauty, provides a soft surface, and can help regulate humidity levels in the cage.
- Coconut Soil: A designated digging area is essential for most hamster species. Coconut soil is a safe and dust-free option that encourages natural burrowing instincts.
 I start with hemp bedding on one side – it’s not good for burrowing, but a nice, alternative texture that’s soft and good for foraging
Hemp bedding as a foraging area
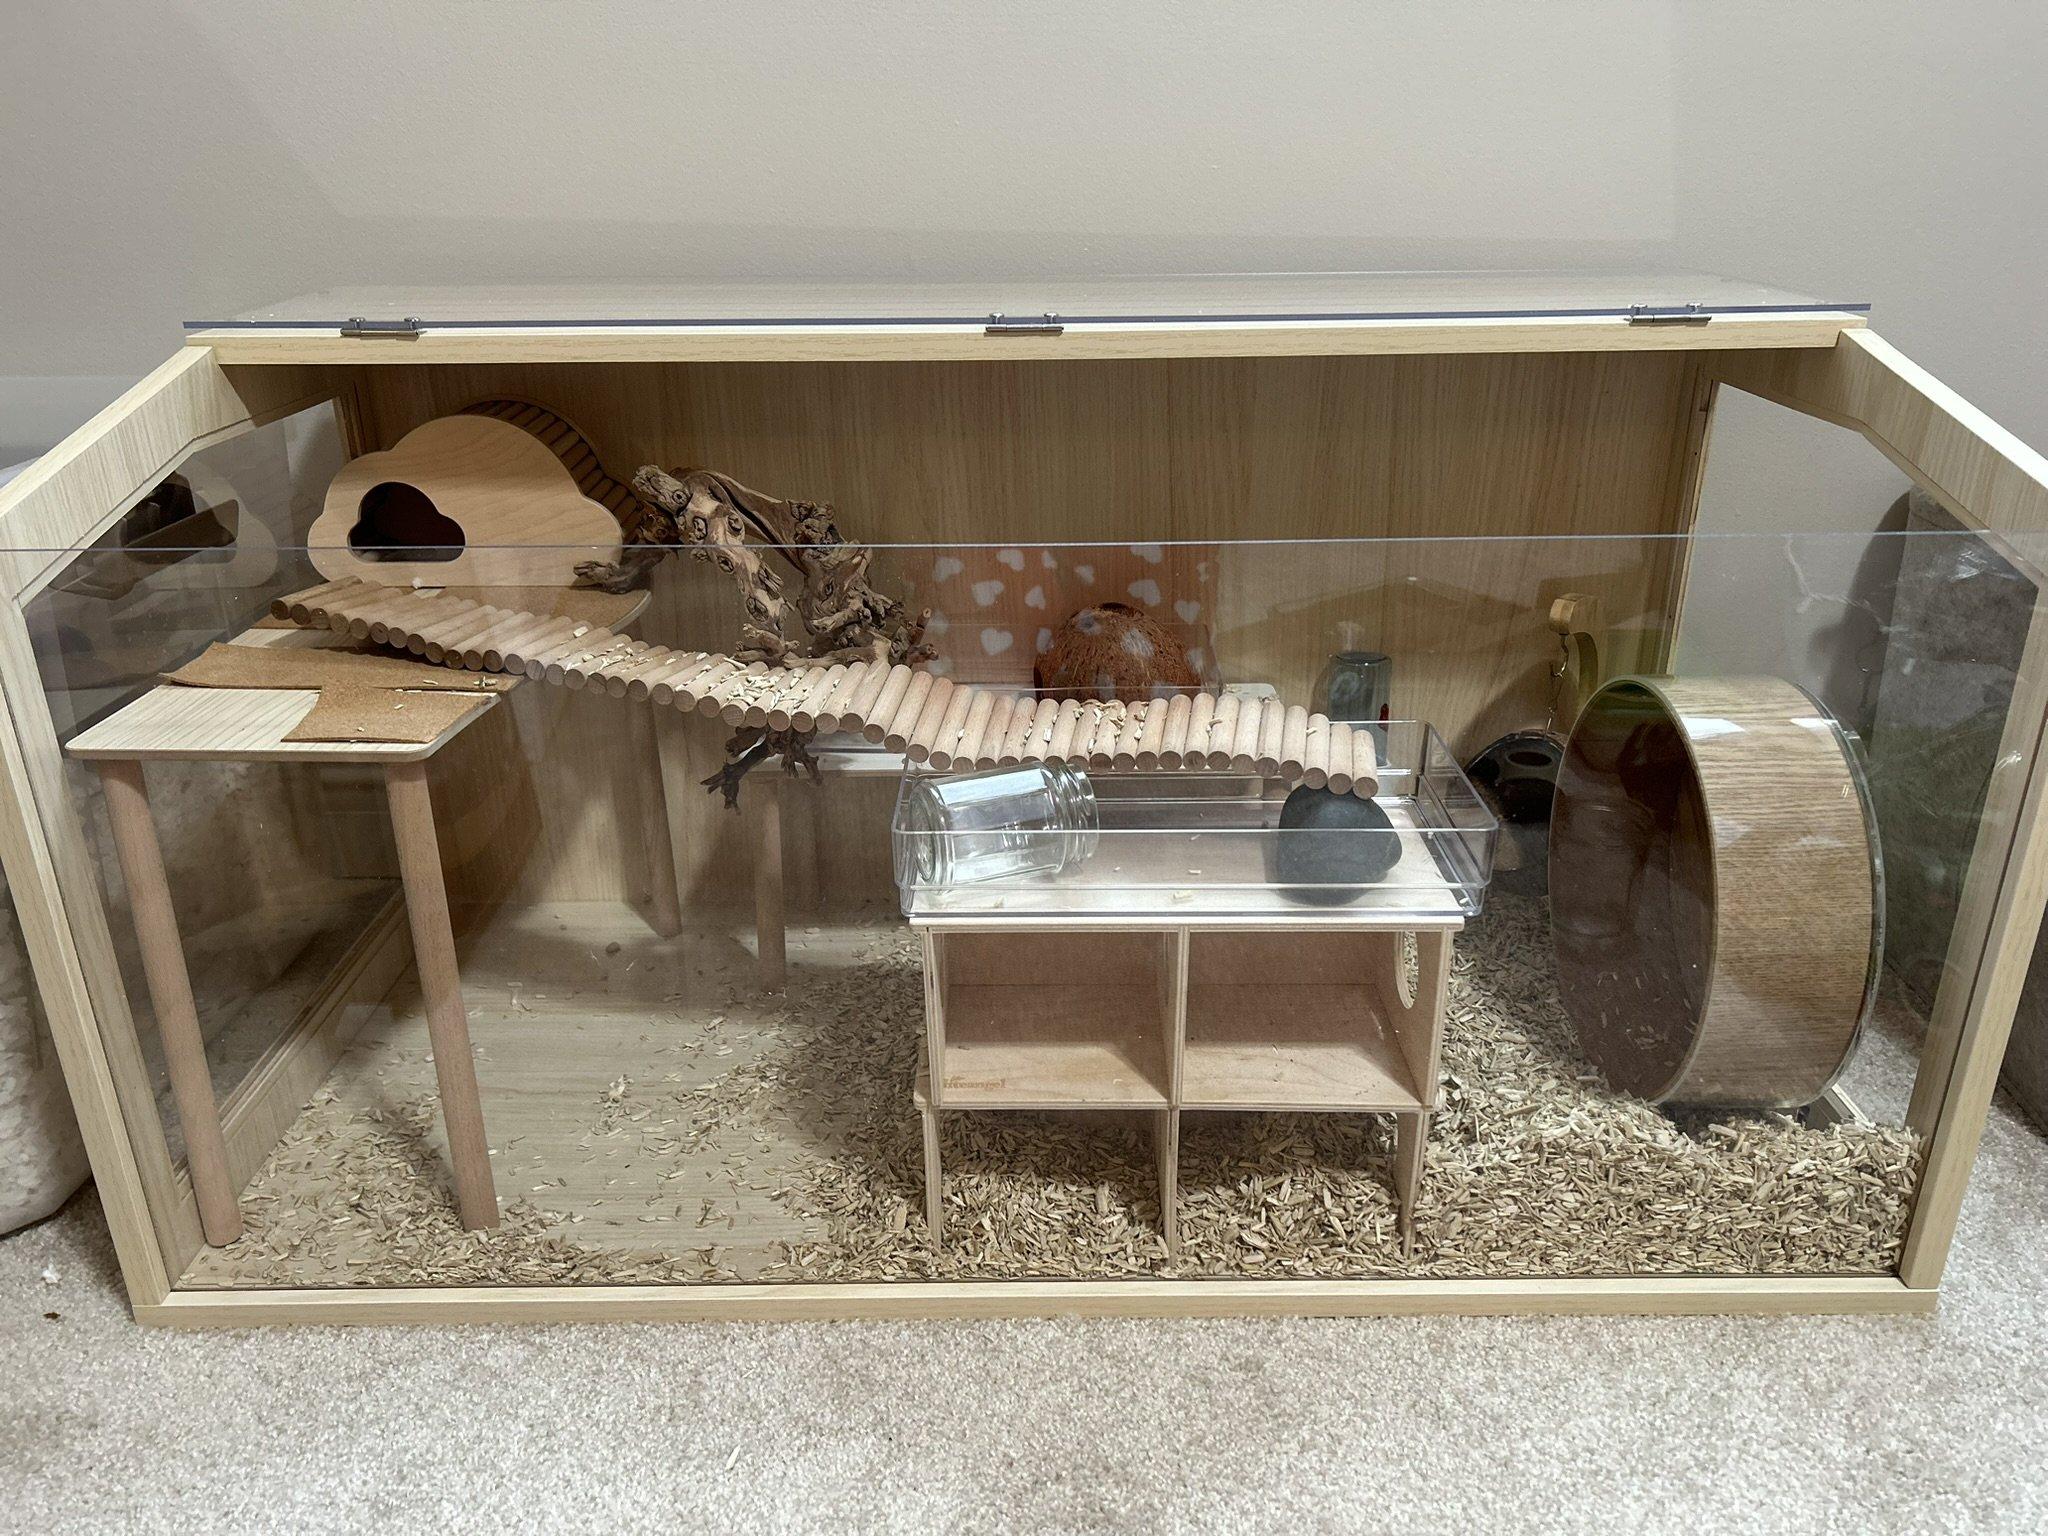 3FBA4E1C-D22C-4B6A-8C40-AD8C59B52E43.jpeg
A blend of textures for enrichment
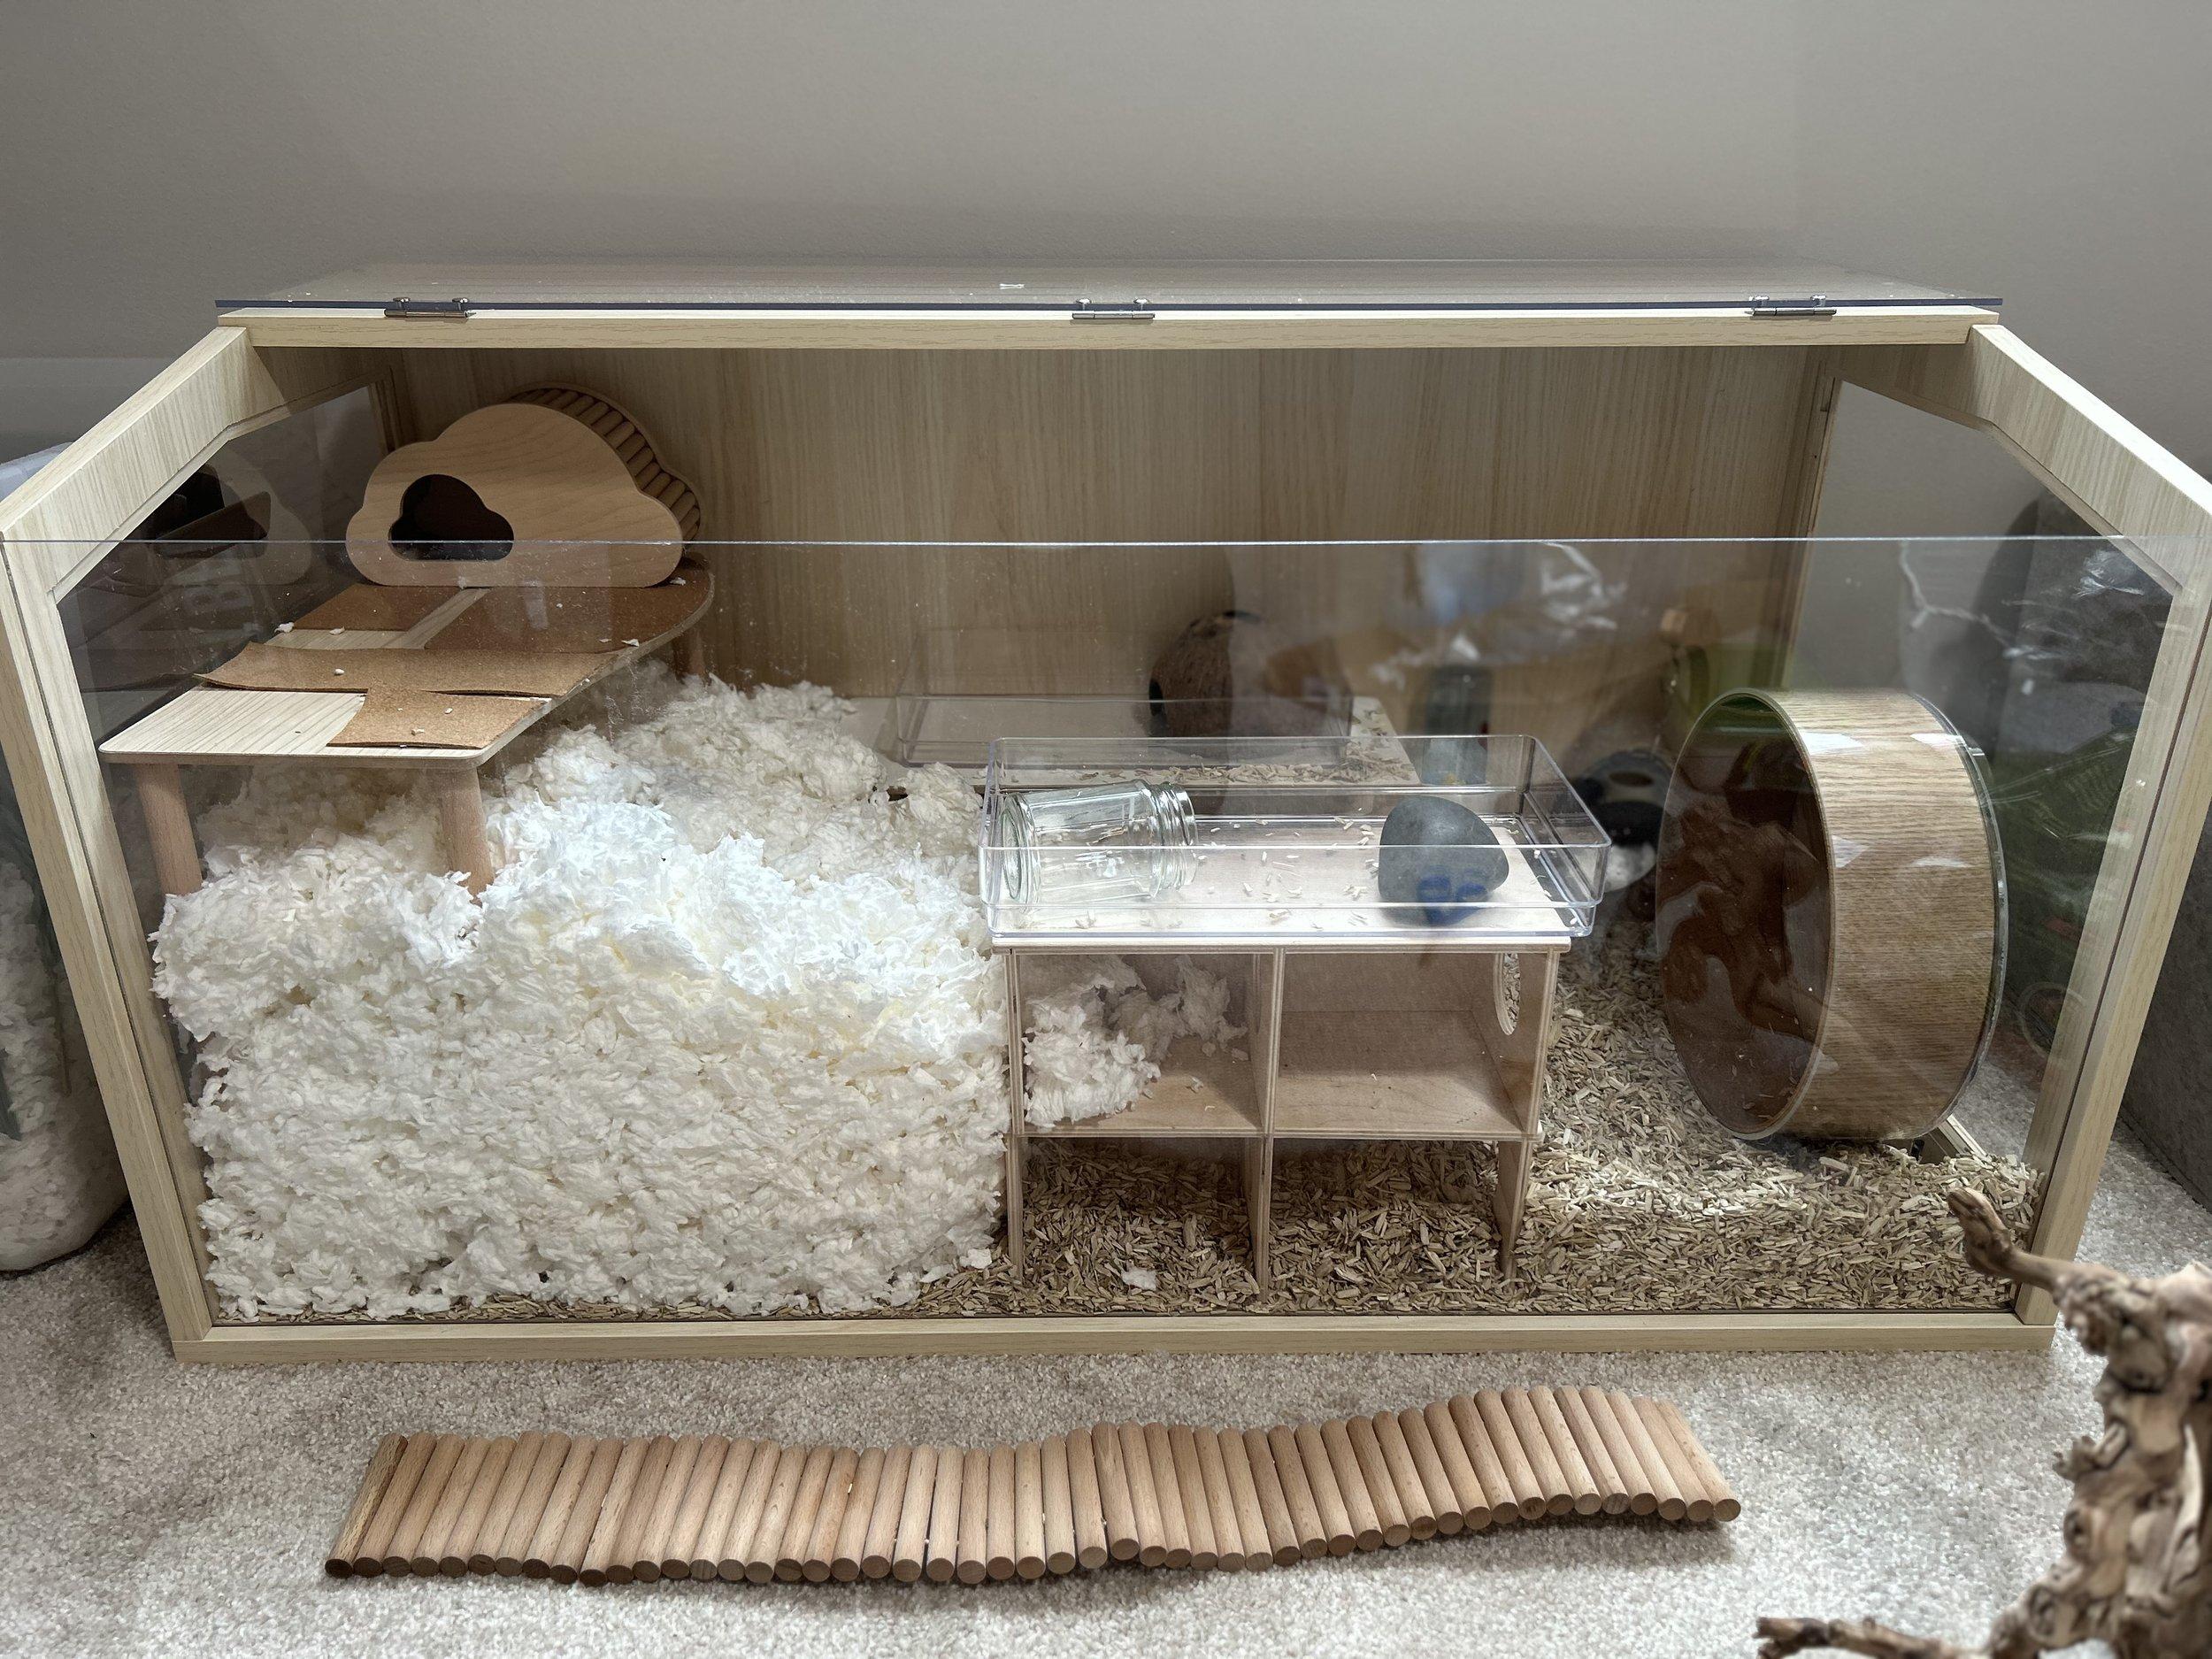 Next I add paper bedding – I like to use white so I can see pee spots easy and remove during spot cleans. Here I’m using Kaytee Clean and Cozy, unscented, white. *do not use scented bedding for your hamster, it’s not good for their delicate respi
White paper bedding for easy monitoring
Remember, this is just a starting point! Feel free to experiment with different substrates and bedding depths to find what your hamster enjoys most.
Step 3: Adding the Finishing Touches
With the bedding in place, it’s time to add the finishing touches to your hamster cage layout:
-
Hides and Shelters: Hamsters are prey animals and need secure places to retreat to. Provide multiple hides, such as ceramic houses, cardboard boxes, or coconut shells.
-
Wheels: A sturdy wheel is essential for exercise. Ensure it’s large enough (at least 10 inches in diameter for Syrian hamsters) to prevent spinal curvature.
-
Chews: Hamsters’ teeth are constantly growing, so they need safe and appropriate items to gnaw on. Wood chews, mineral blocks, and cuttlebones are all excellent choices.
-
Enrichment Items: Keep your hamster entertained and stimulated with a variety of enrichment items, like foraging toys, tunnels, and climbing accessories.
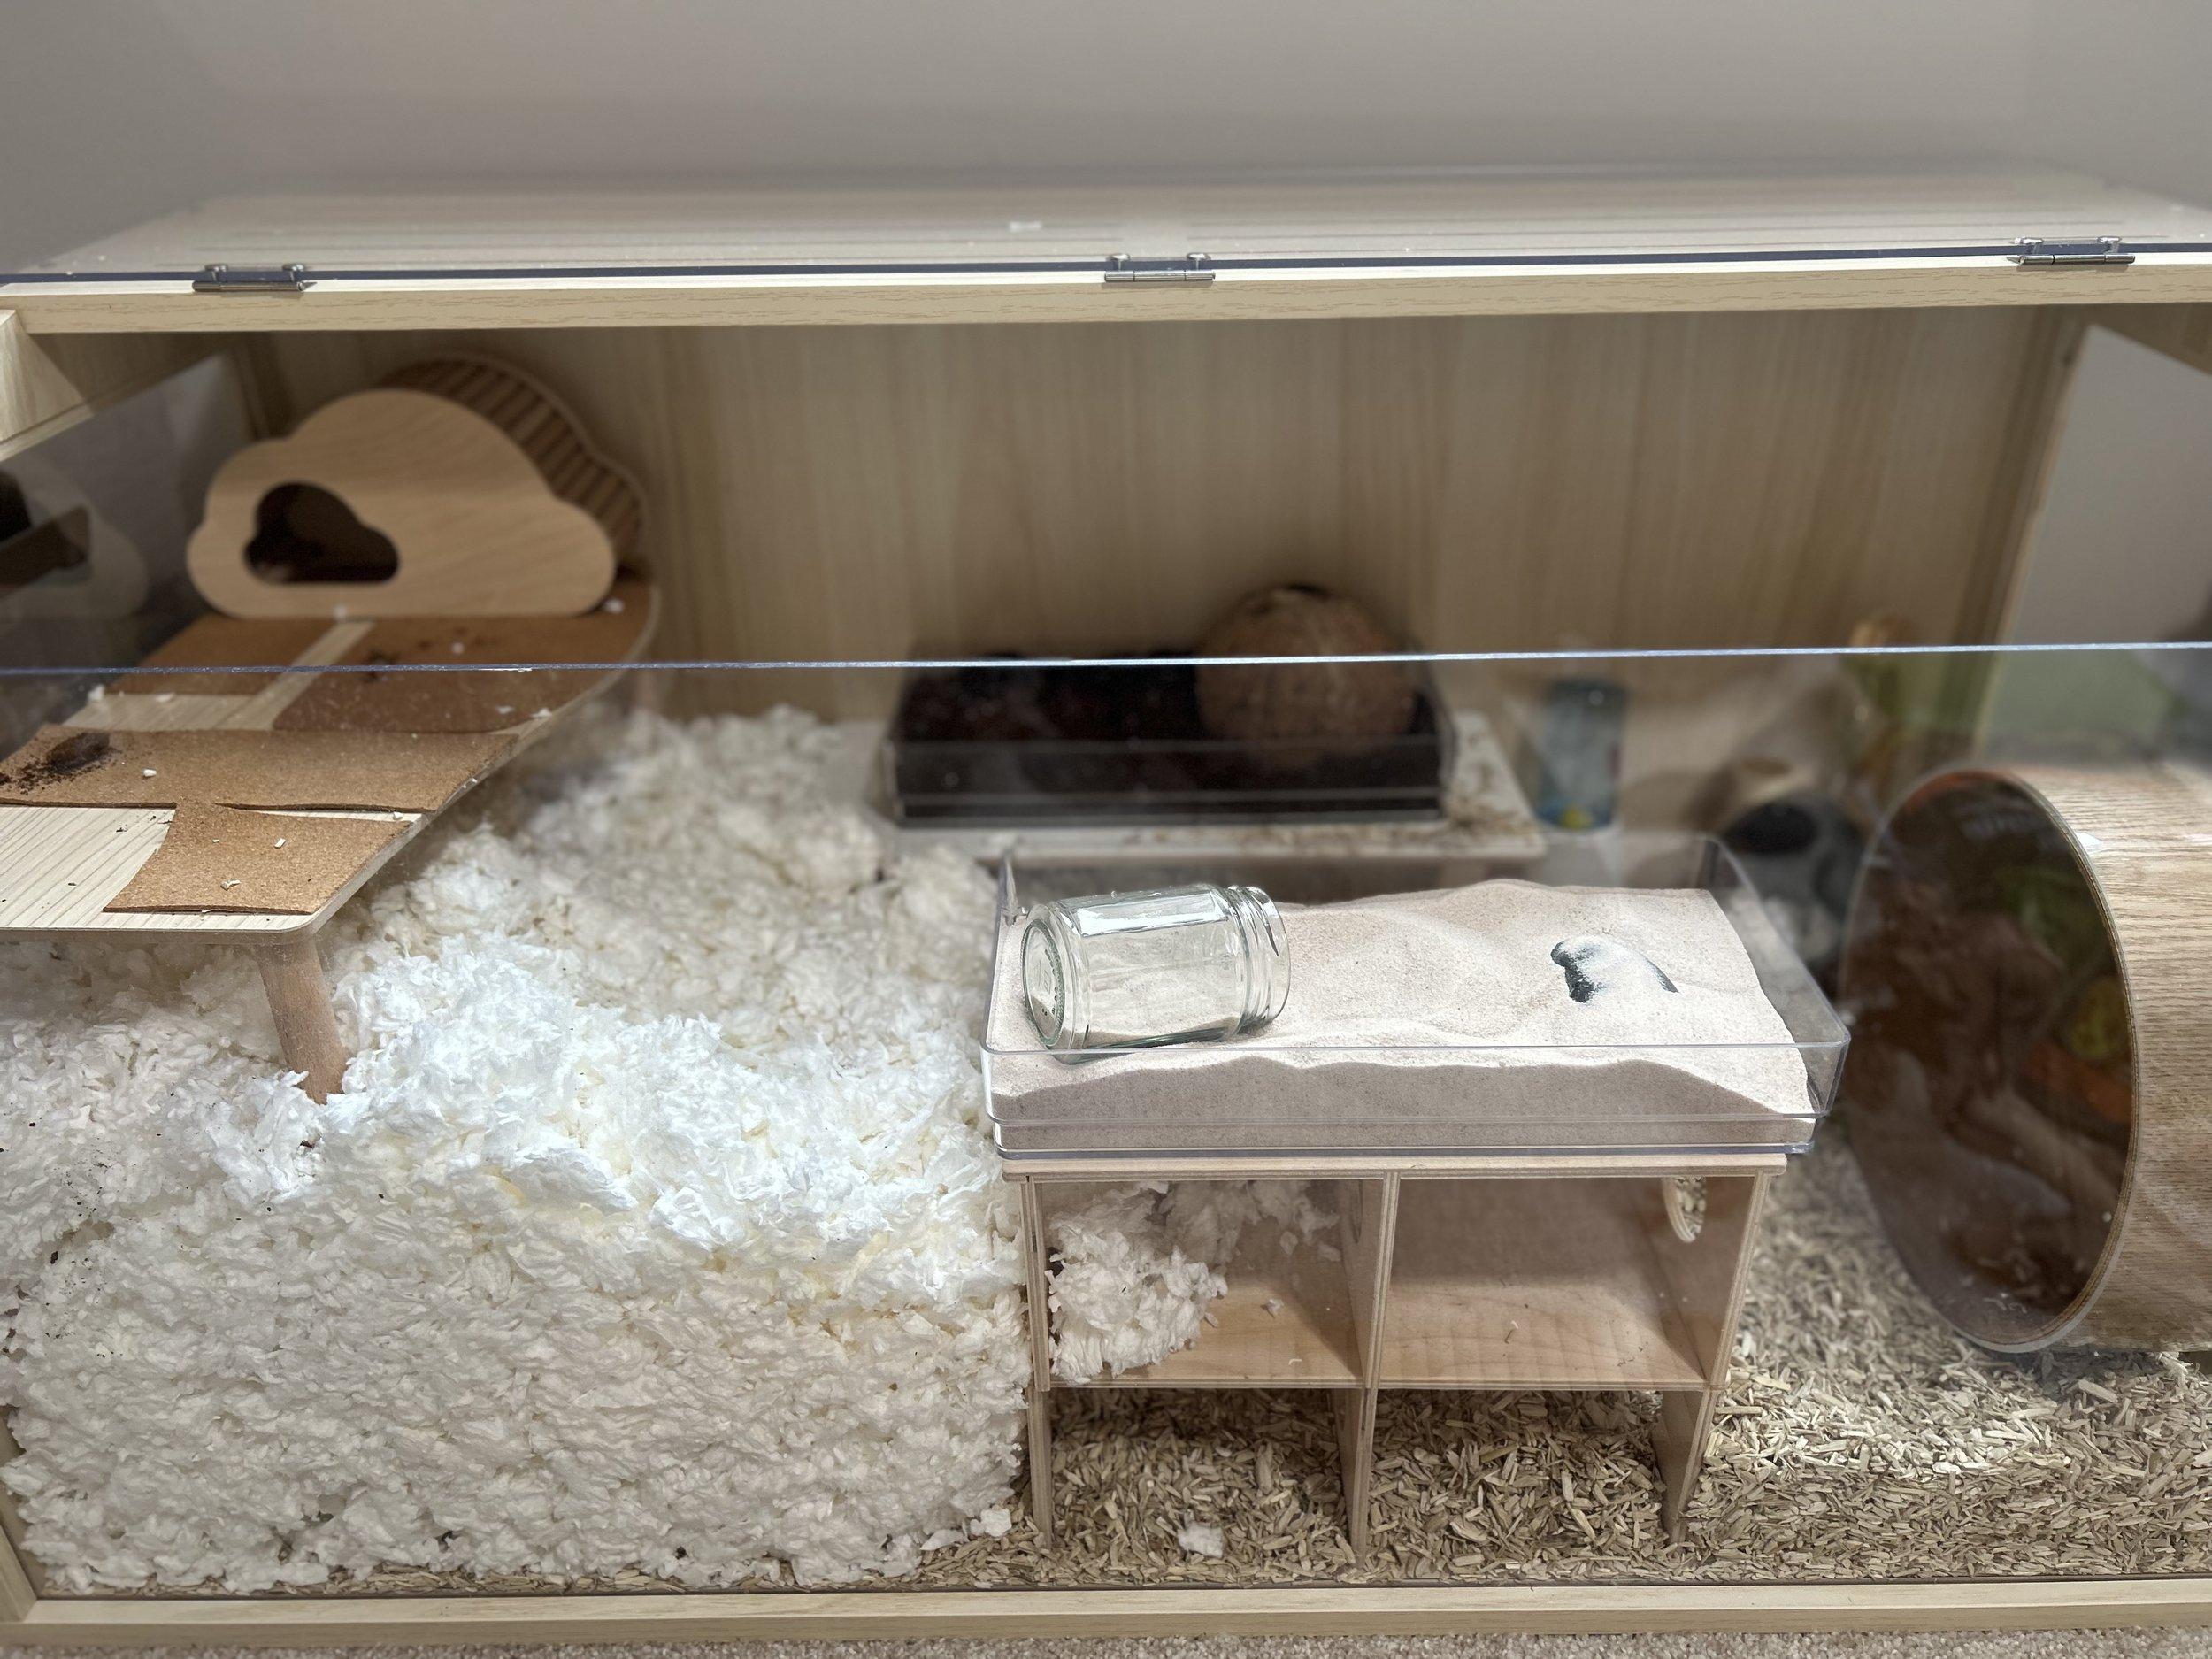 I then added sand & coconut soil.
Creating a dedicated sand bath area
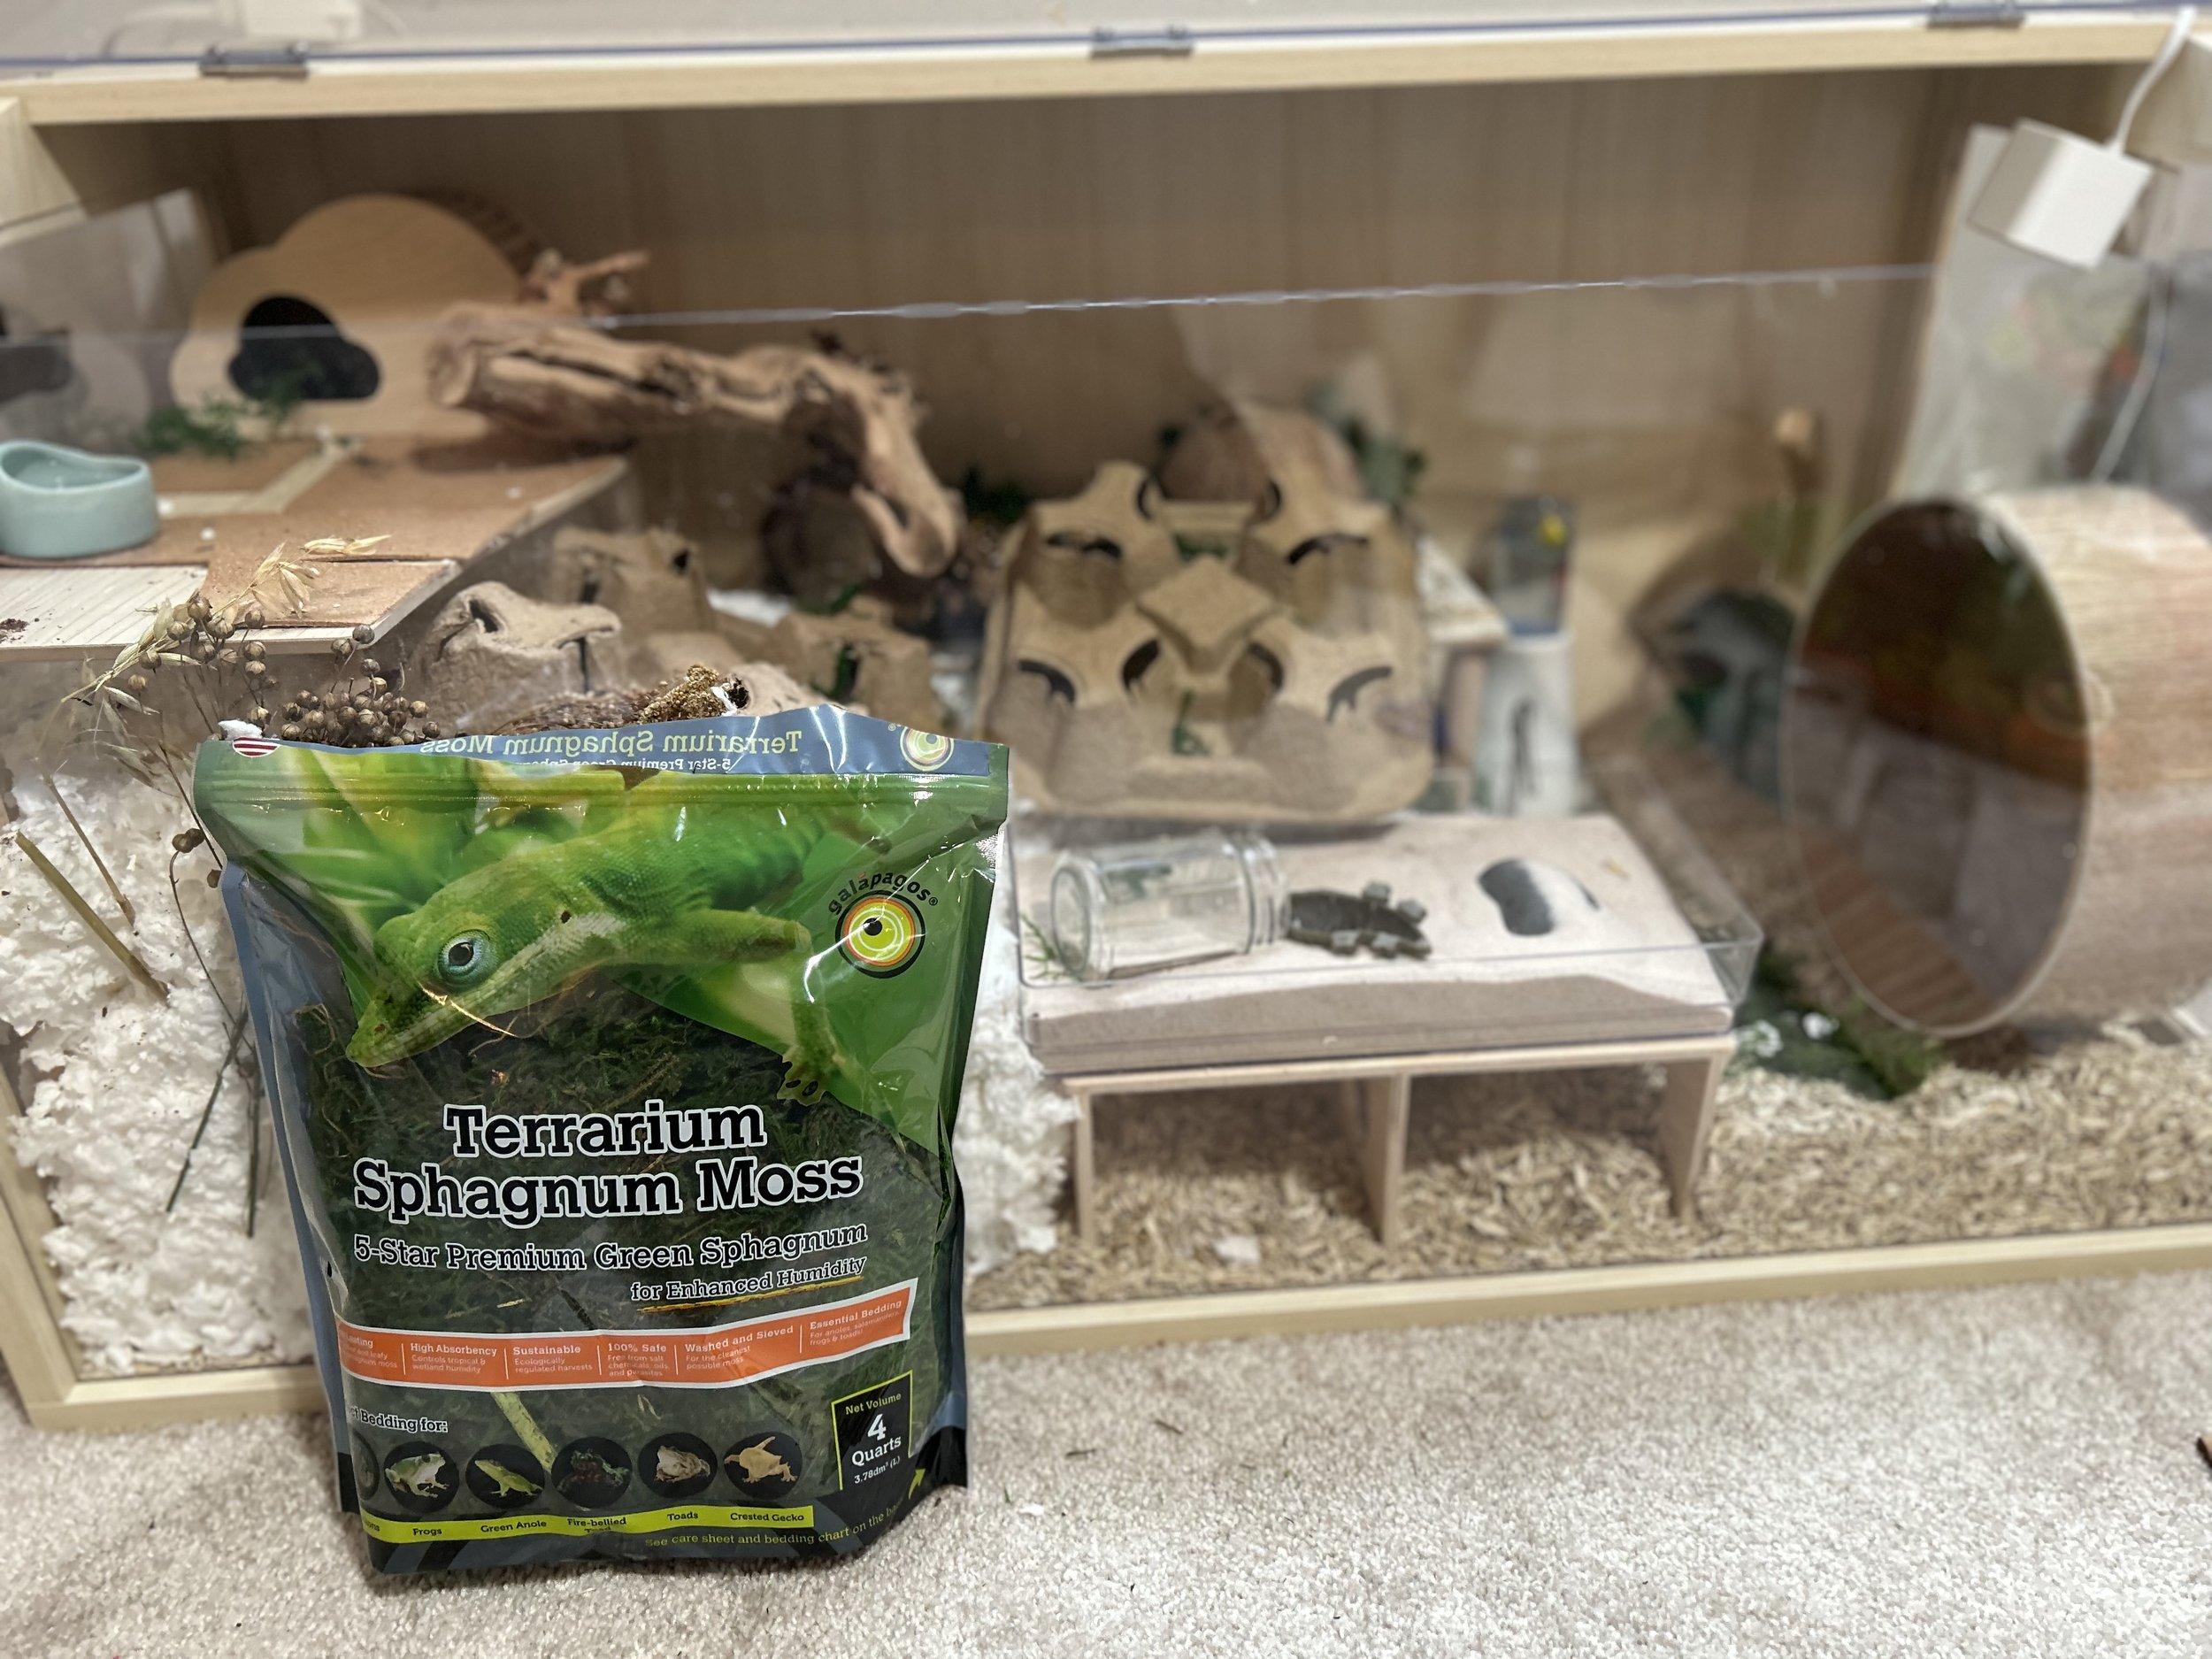 After completing the set up with bridges (and in this case, coffee cup holders), I added loose, sphagnum moss for color and texture. You can see here, I was debating with set up a bit…
Completing the layout with bridges and moss
Step 4: Hamster-Proofing and Observation
Before introducing your hamster to their new palace, double-check for potential hazards:
-
Secure Lids and Platforms: Make sure all lids are securely fastened and platforms are stable to prevent escapes or injuries.
-
Smooth Edges: Check for any sharp edges on hides, toys, or DIY platforms and address them accordingly.
-
Appropriate Spacing: Ensure there’s enough space between platforms and cage walls to prevent your hamster from getting stuck.
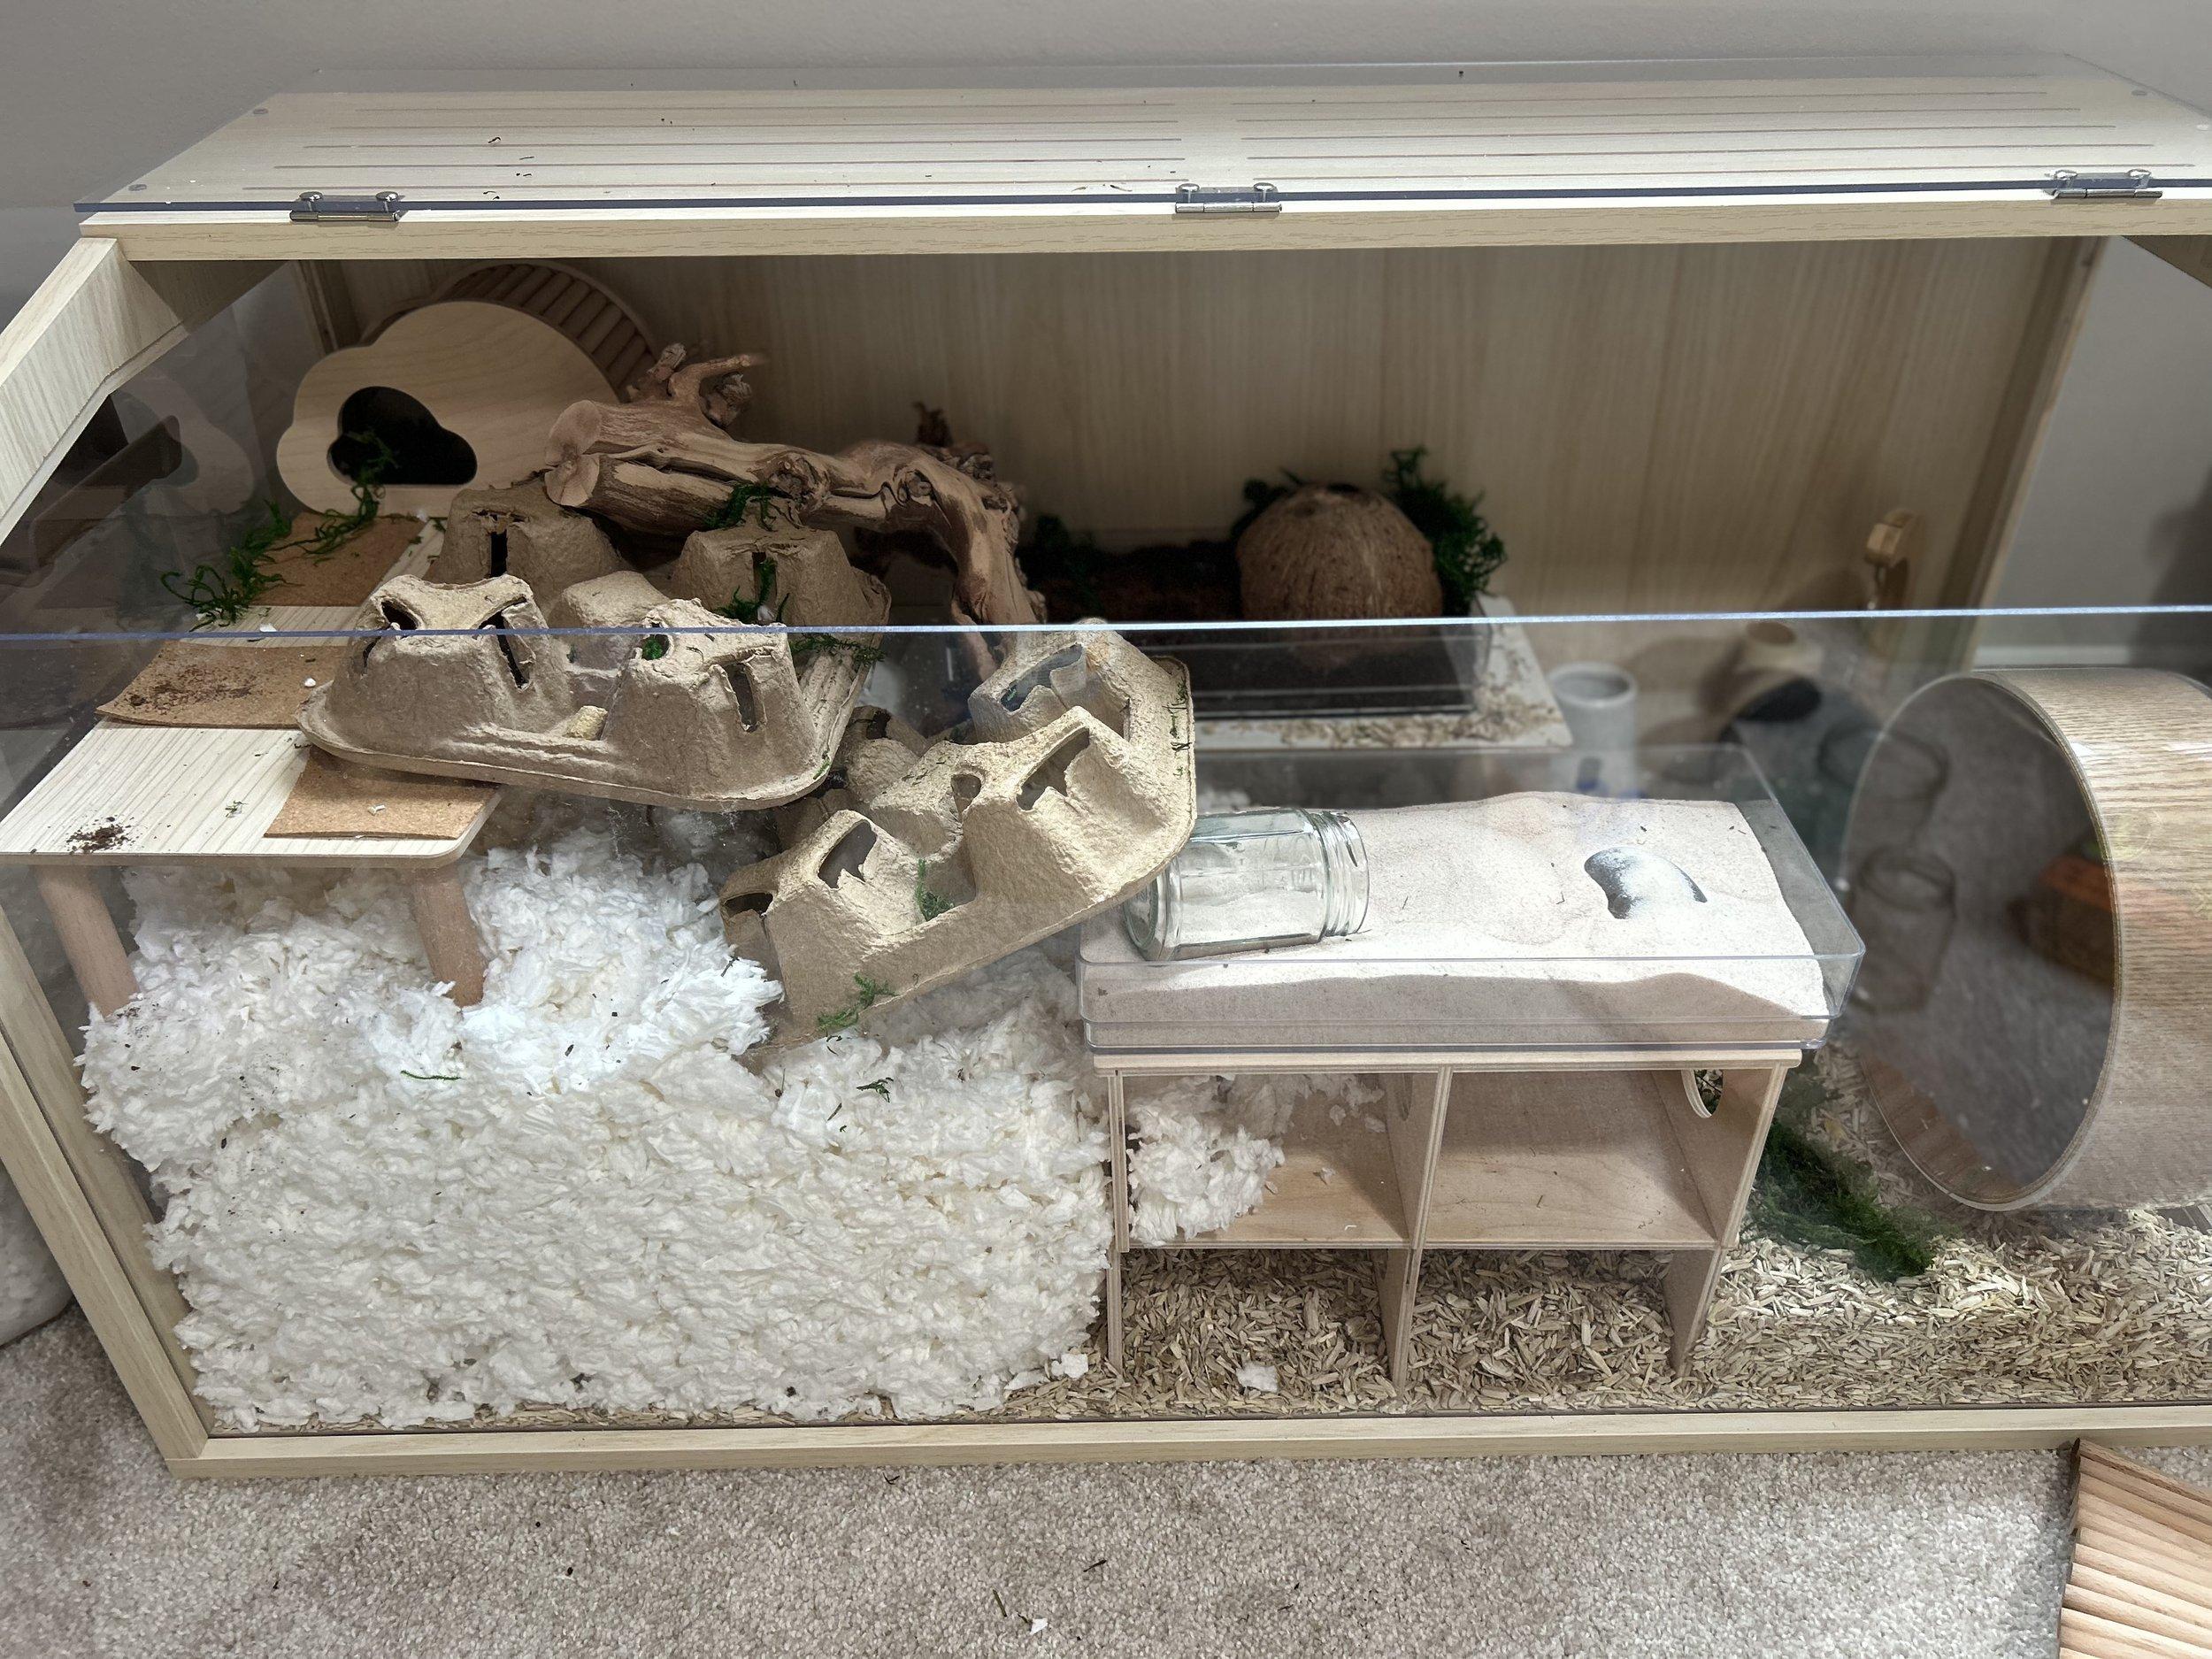 8CD9B408-1A1A-401F-8FCE-0227FB0344F6.jpeg
Safe and secure platform placement
Once your hamster is settled in, observe how they interact with their environment. You’ll likely need to make minor adjustments based on their preferences and habits.
The Joy of Creating a Hamster Paradise
Designing a hamster cage layout is an ongoing process. As you get to know your hamster’s personality and preferences, you can continue to refine and adjust their habitat to create a truly enriching and fulfilling environment.
Remember, there’s no “one size fits all” approach. The most important thing is to provide a safe, spacious, and stimulating environment that meets your hamster’s individual needs.


