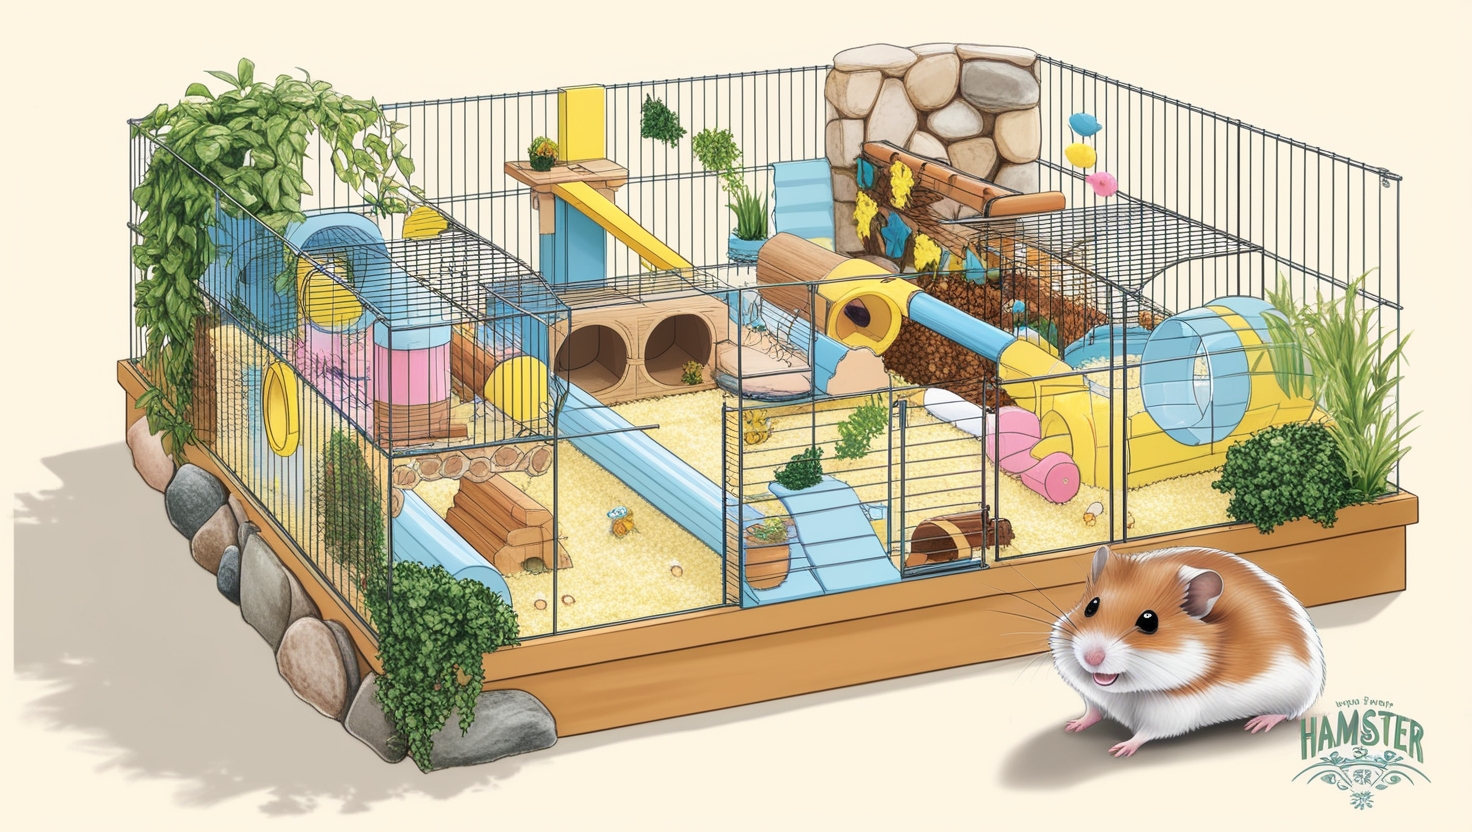
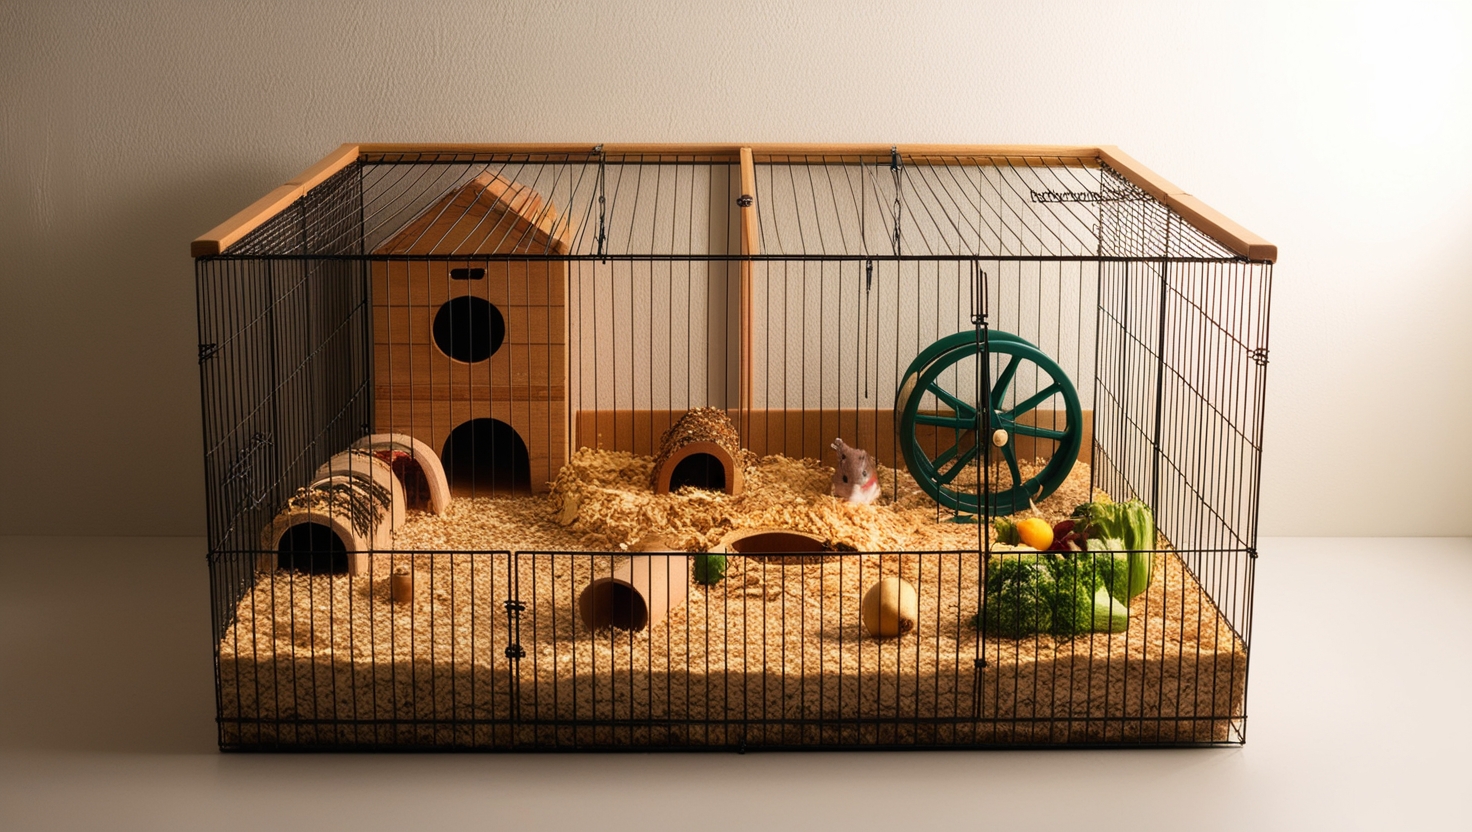
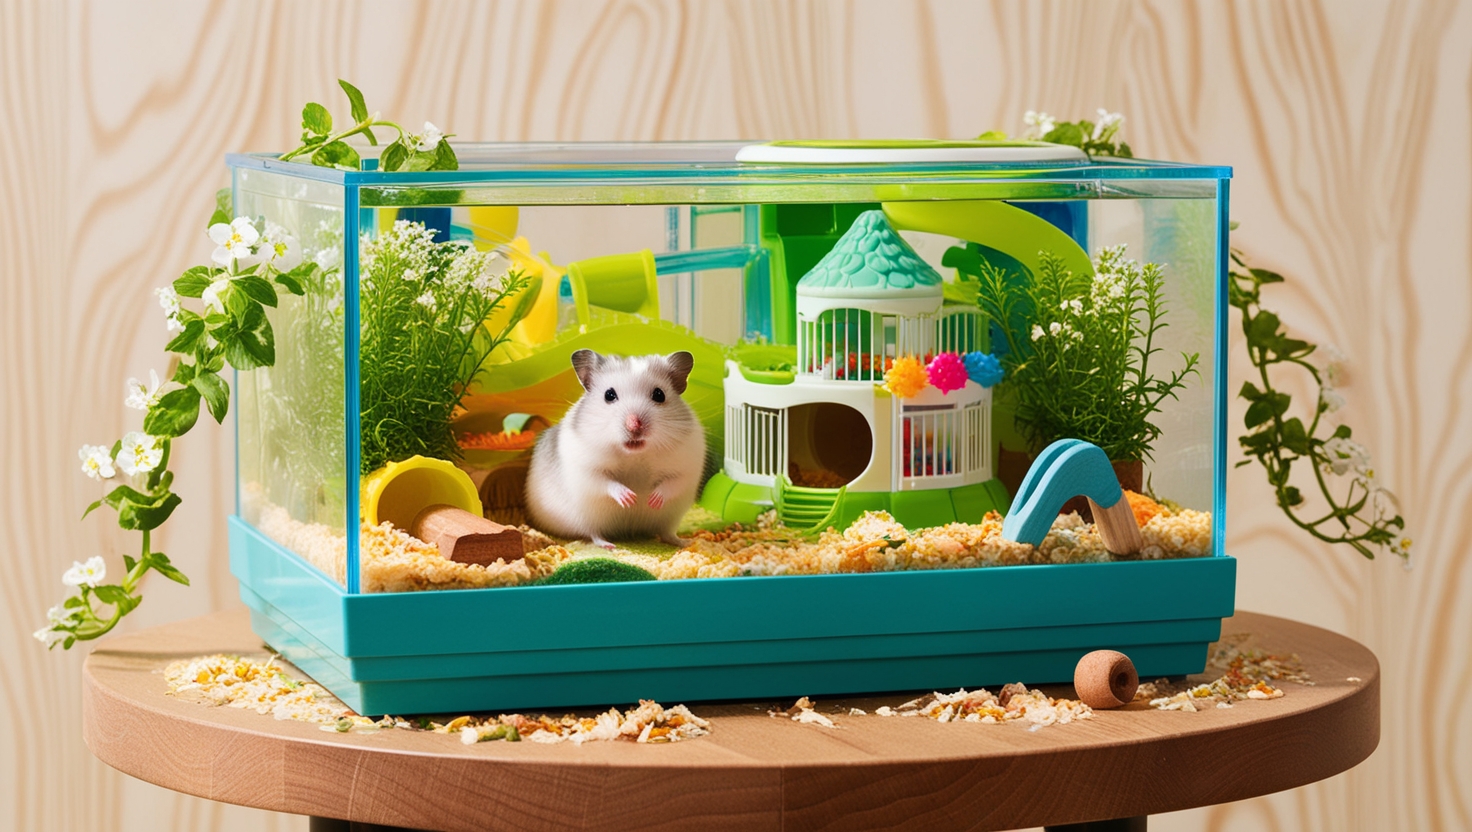
So, you’ve decided to welcome an adorable hamster into your home and create a haven for your furry friend. That’s awesome! You’re in for a world of fun and cuteness overload. But before you bring your new pal home, there’s one crucial detail to consider: the hamster cage ramp. Yes, even those tiny legs need a little help sometimes!
Why Are Hamster Cage Ramps Important?
Imagine trying to navigate a multi-level apartment without stairs – it’d be a nightmare, right? The same goes for our little hamster pals. Ramps aren’t just a fun addition to their cage; they’re crucial for their safety and well-being.
- Preventing Falls: Hamsters are naturally curious and love to explore. A well-placed ramp helps them move between levels safely, minimizing the risk of tumbles that could lead to injuries.
- Encouraging Exercise: Think of ramps as mini hamster gyms! Climbing up and down provides excellent exercise, keeping them active and entertained.
- Enrichment and Fun: A well-designed cage with ramps provides mental stimulation for your hamster. It adds variety to their environment and keeps boredom at bay.
Choosing the Right Hamster Cage Ramp
Just like hamster cages themselves, ramps come in different shapes, sizes, and materials. Here’s a breakdown to help you make the right choice:
1. Material Matters:
- Wood: Natural and safe for chewing, but make sure it’s untreated and splinter-free. You can even find chew-proof wood ramps if your hamster is a serious nibbler!
- Plastic: Affordable and easy to clean, but look for durable options with textured surfaces for better grip.
- Metal: Sturdy and long-lasting, but can be slippery. Choose ramps with a textured or rubberized surface for safety.
2. Size and Steepness:
- Width: Opt for a ramp wide enough for your hamster to comfortably walk across.
- Angle: The ramp should be gradual enough to prevent falls. Avoid overly steep ramps, especially for younger or smaller hamsters.
3. Additional Features:
- Non-Slip Surfaces: Look for ramps with grooves, ridges, or textured surfaces to provide extra grip and prevent slipping.
- Easy to Clean: Choose a material that’s easy to wipe down or rinse off to maintain hygiene.
- Compatibility: Make sure the ramp you choose is compatible with your existing hamster cage in terms of size and attachment methods.
DIY Hamster Ramps: Unleash Your Inner Builder
Feeling crafty? Building a hamster ramp yourself can be a fun and rewarding experience. Here’s a simple idea to get you started:
Materials:
- Untreated Wooden Planks
- Non-Toxic Wood Glue
- Sandpaper
- Ruler
- Saw (if necessary)
Instructions:
- Measure and cut the wooden planks to your desired ramp size and angle.
- Sand down all edges and surfaces to ensure a smooth and splinter-free finish.
- Use non-toxic wood glue to attach the pieces together, creating your ramp structure.
- Allow the glue to dry completely before introducing the ramp to your hamster’s cage.
Pro Tip: Get creative! Customize your DIY ramp with non-toxic paint, natural wood stain, or even tiny decorations like wooden beads (secured tightly, of course!).
Keeping Your Hamster Safe
- Regular Inspections: Check your hamster’s ramp regularly for signs of wear and tear, replacing it if necessary.
- Supervision is Key: Observe your hamster using the ramp initially to ensure they’re comfortable and using it safely.
- Create a Soft Landing: Consider placing soft bedding material at the bottom of the ramp to cushion any potential falls, especially when first introducing it.
The Perfect Ramp: A Small Detail, A Big Impact
Choosing the right hamster cage ramp might seem like a small detail, but it plays a significant role in your furry friend’s happiness and well-being. By considering the factors we’ve discussed, you can provide your hamster with a safe, stimulating, and fun environment where they can thrive.


