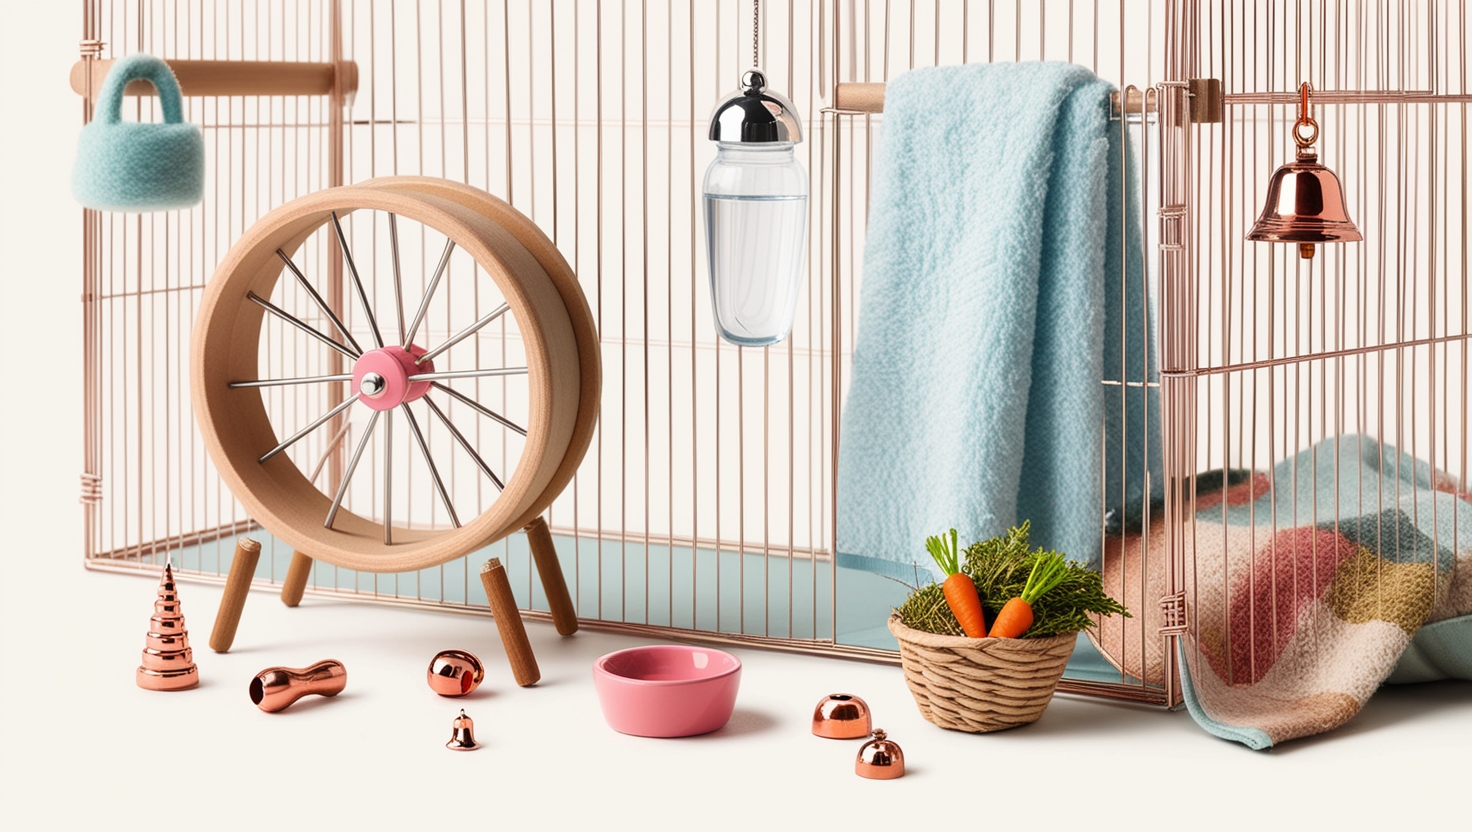
So, you’re thinking about welcoming a hamster into your home? That’s fantastic! Hamsters are incredibly rewarding pets. But before you bring your furry friend home, you need to create a safe, stimulating, and comfortable environment for them—a hamster haven, if you will. And that’s where setting up the perfect hamster cage comes in.
Now, I’ll let you in on a little secret: setting up a hamster cage is much more than just throwing in some bedding and a wheel. It’s an art, a science, and a whole lot of fun! As a seasoned hamster parent and someone who’s been crafting unique and enriching hamster enclosures for years, I’m here to guide you through the process.
Step One: Building the Hamster Cage Infrastructure
Before you even think about bedding, let’s talk about the foundation of your hamster’s domain – the infrastructure. Think of it as building a house; you wouldn’t start with the furniture before the walls are up!
Platforms: Maximizing Space and Fun
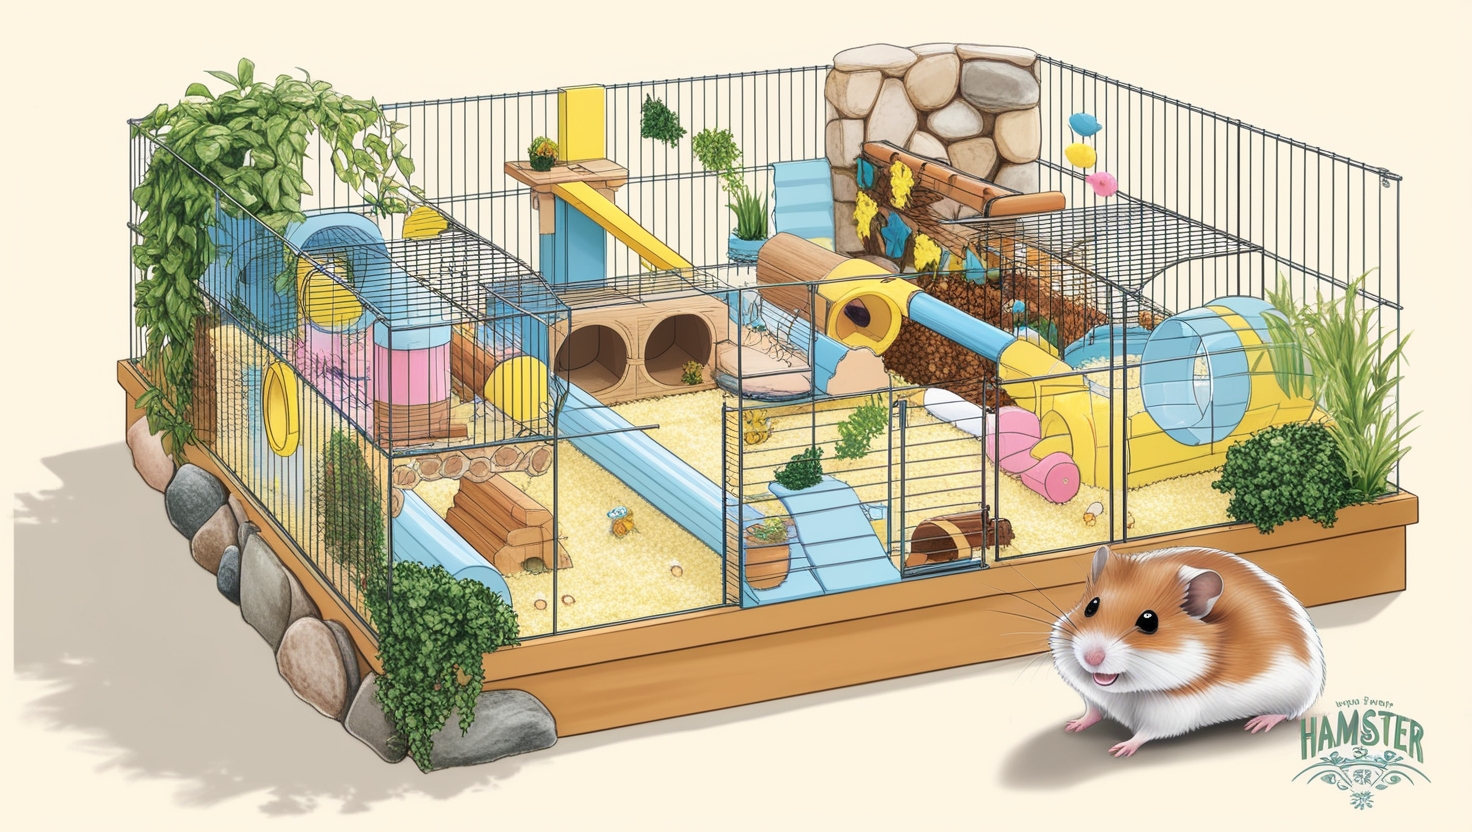
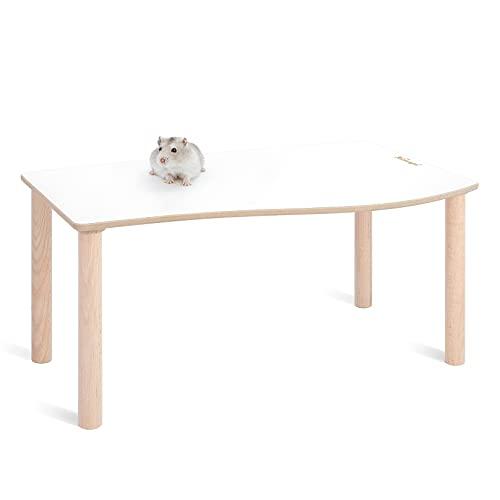
My first tip? Platforms! These are absolute game-changers when it comes to maximizing space and creating a multi-level hamster playground. Platforms provide dedicated burrowing zones while opening up the floor area for additional enrichment goodies.
You can find pre-made platforms from reputable brands like Niteangel on Amazon or get crafty and build your own using pet-safe materials like sturdy cardboard and non-toxic glue. I started with DIY platforms and gradually upgraded to pre-made ones over time.
Strategic Placement is Key
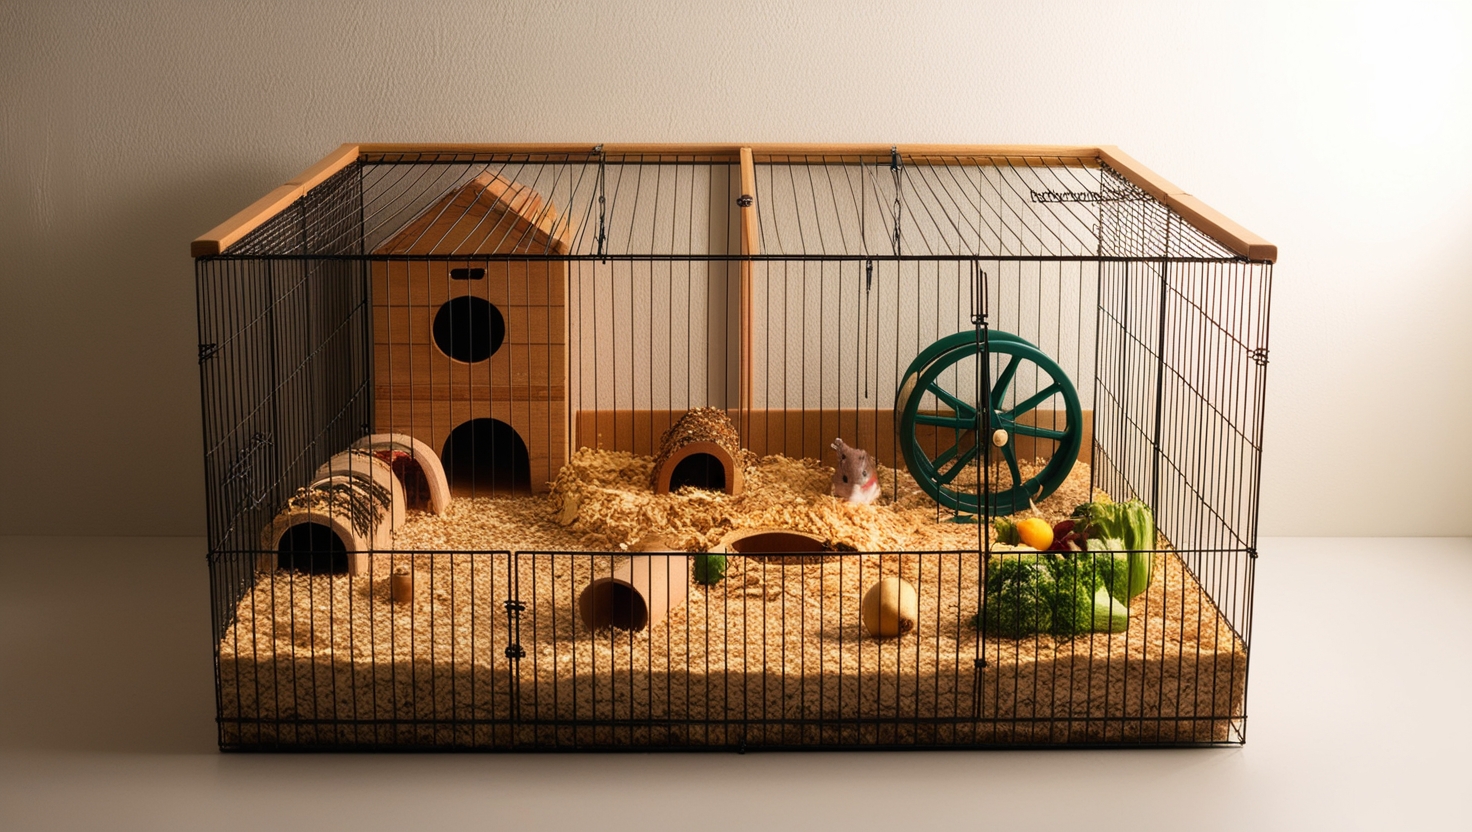
As you incorporate platforms, start placing other essential items like sand baths, digging bins, wheels, hides, and water bottles. This helps you visualize the final layout and determine the best spots for everything.
Pro Tip: I always advise offering both a water bottle and a sturdy, tip-proof water bowl. This caters to your hamster’s preferences and acts as a backup if one source malfunctions. Ensure these are easily accessible to your hamster but secure enough to prevent spills or blockages from bedding.
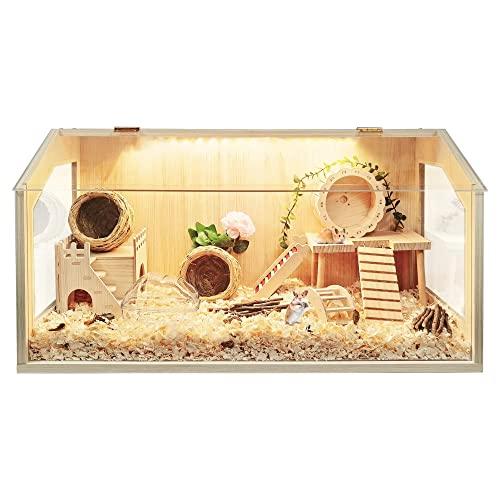 initial design
Planning out the initial layout of the hamster cage
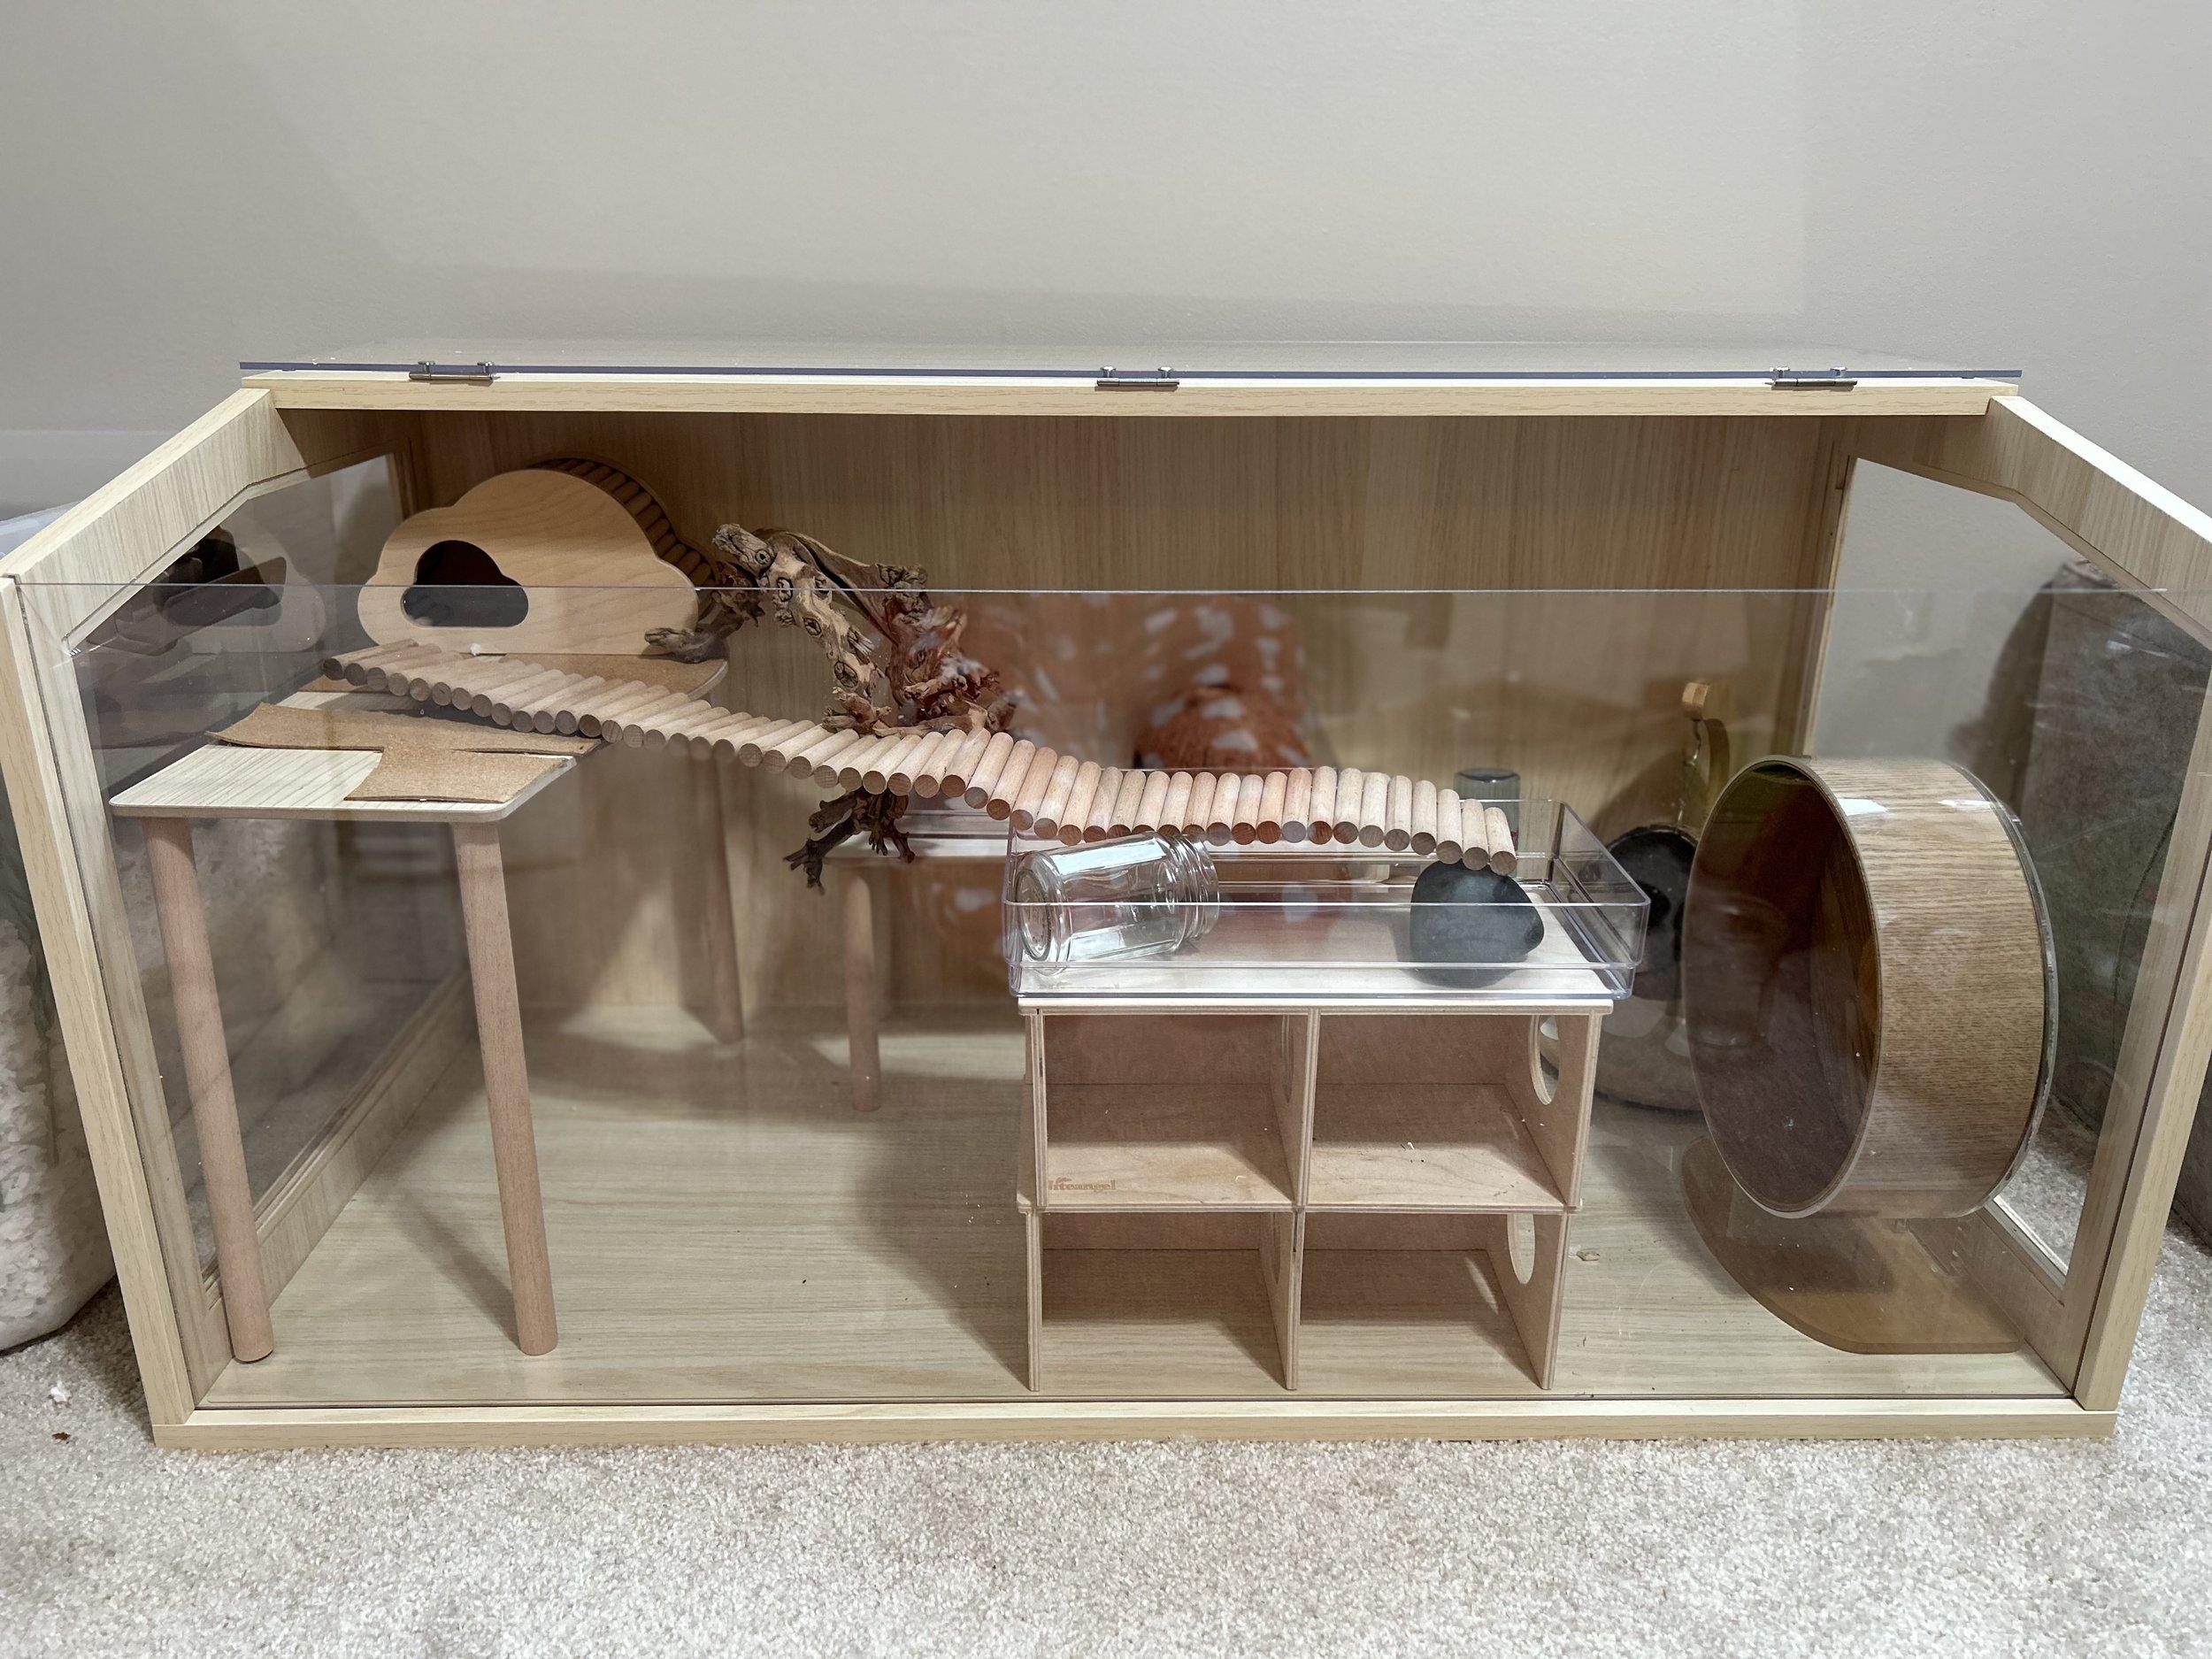 then i decided I needed a 7” platform in the back
Adding a platform to the back of the hamster cage
Step Two: Bedding and Substrates – A World of Textures
With the basic structure in place, it’s time for the really fun part – creating a sensory wonderland with bedding and substrates! These are more than just soft landings; they provide endless opportunities for your hamster to burrow, forage, and express their natural instincts.
Variety is the Spice of Hamster Life
Forget boring, one-dimensional bedding. I like to offer a diverse selection of textures to keep things interesting. My go-to mix includes:
- White, unscented paper bedding: This is the bulk of the bedding, offering excellent burrowing potential. I prefer white as it makes it easier to spot clean.
- Hemp bedding: Provides a contrasting texture, perfect for foraging and promoting natural digging behaviors.
- Moss (sheet or loose sphagnum): Creates a soft, naturalistic carpet on platforms and around the cage, mimicking a natural environment.
- Coconut soil: This is the star of the digging area, encouraging your hamster to excavate tunnels and burrows to their heart’s content.
 I start with hemp bedding on one side – it’s not good for burrowing, but a nice, alternative texture that’s soft and good for foraging
Creating a foraging area with hemp bedding
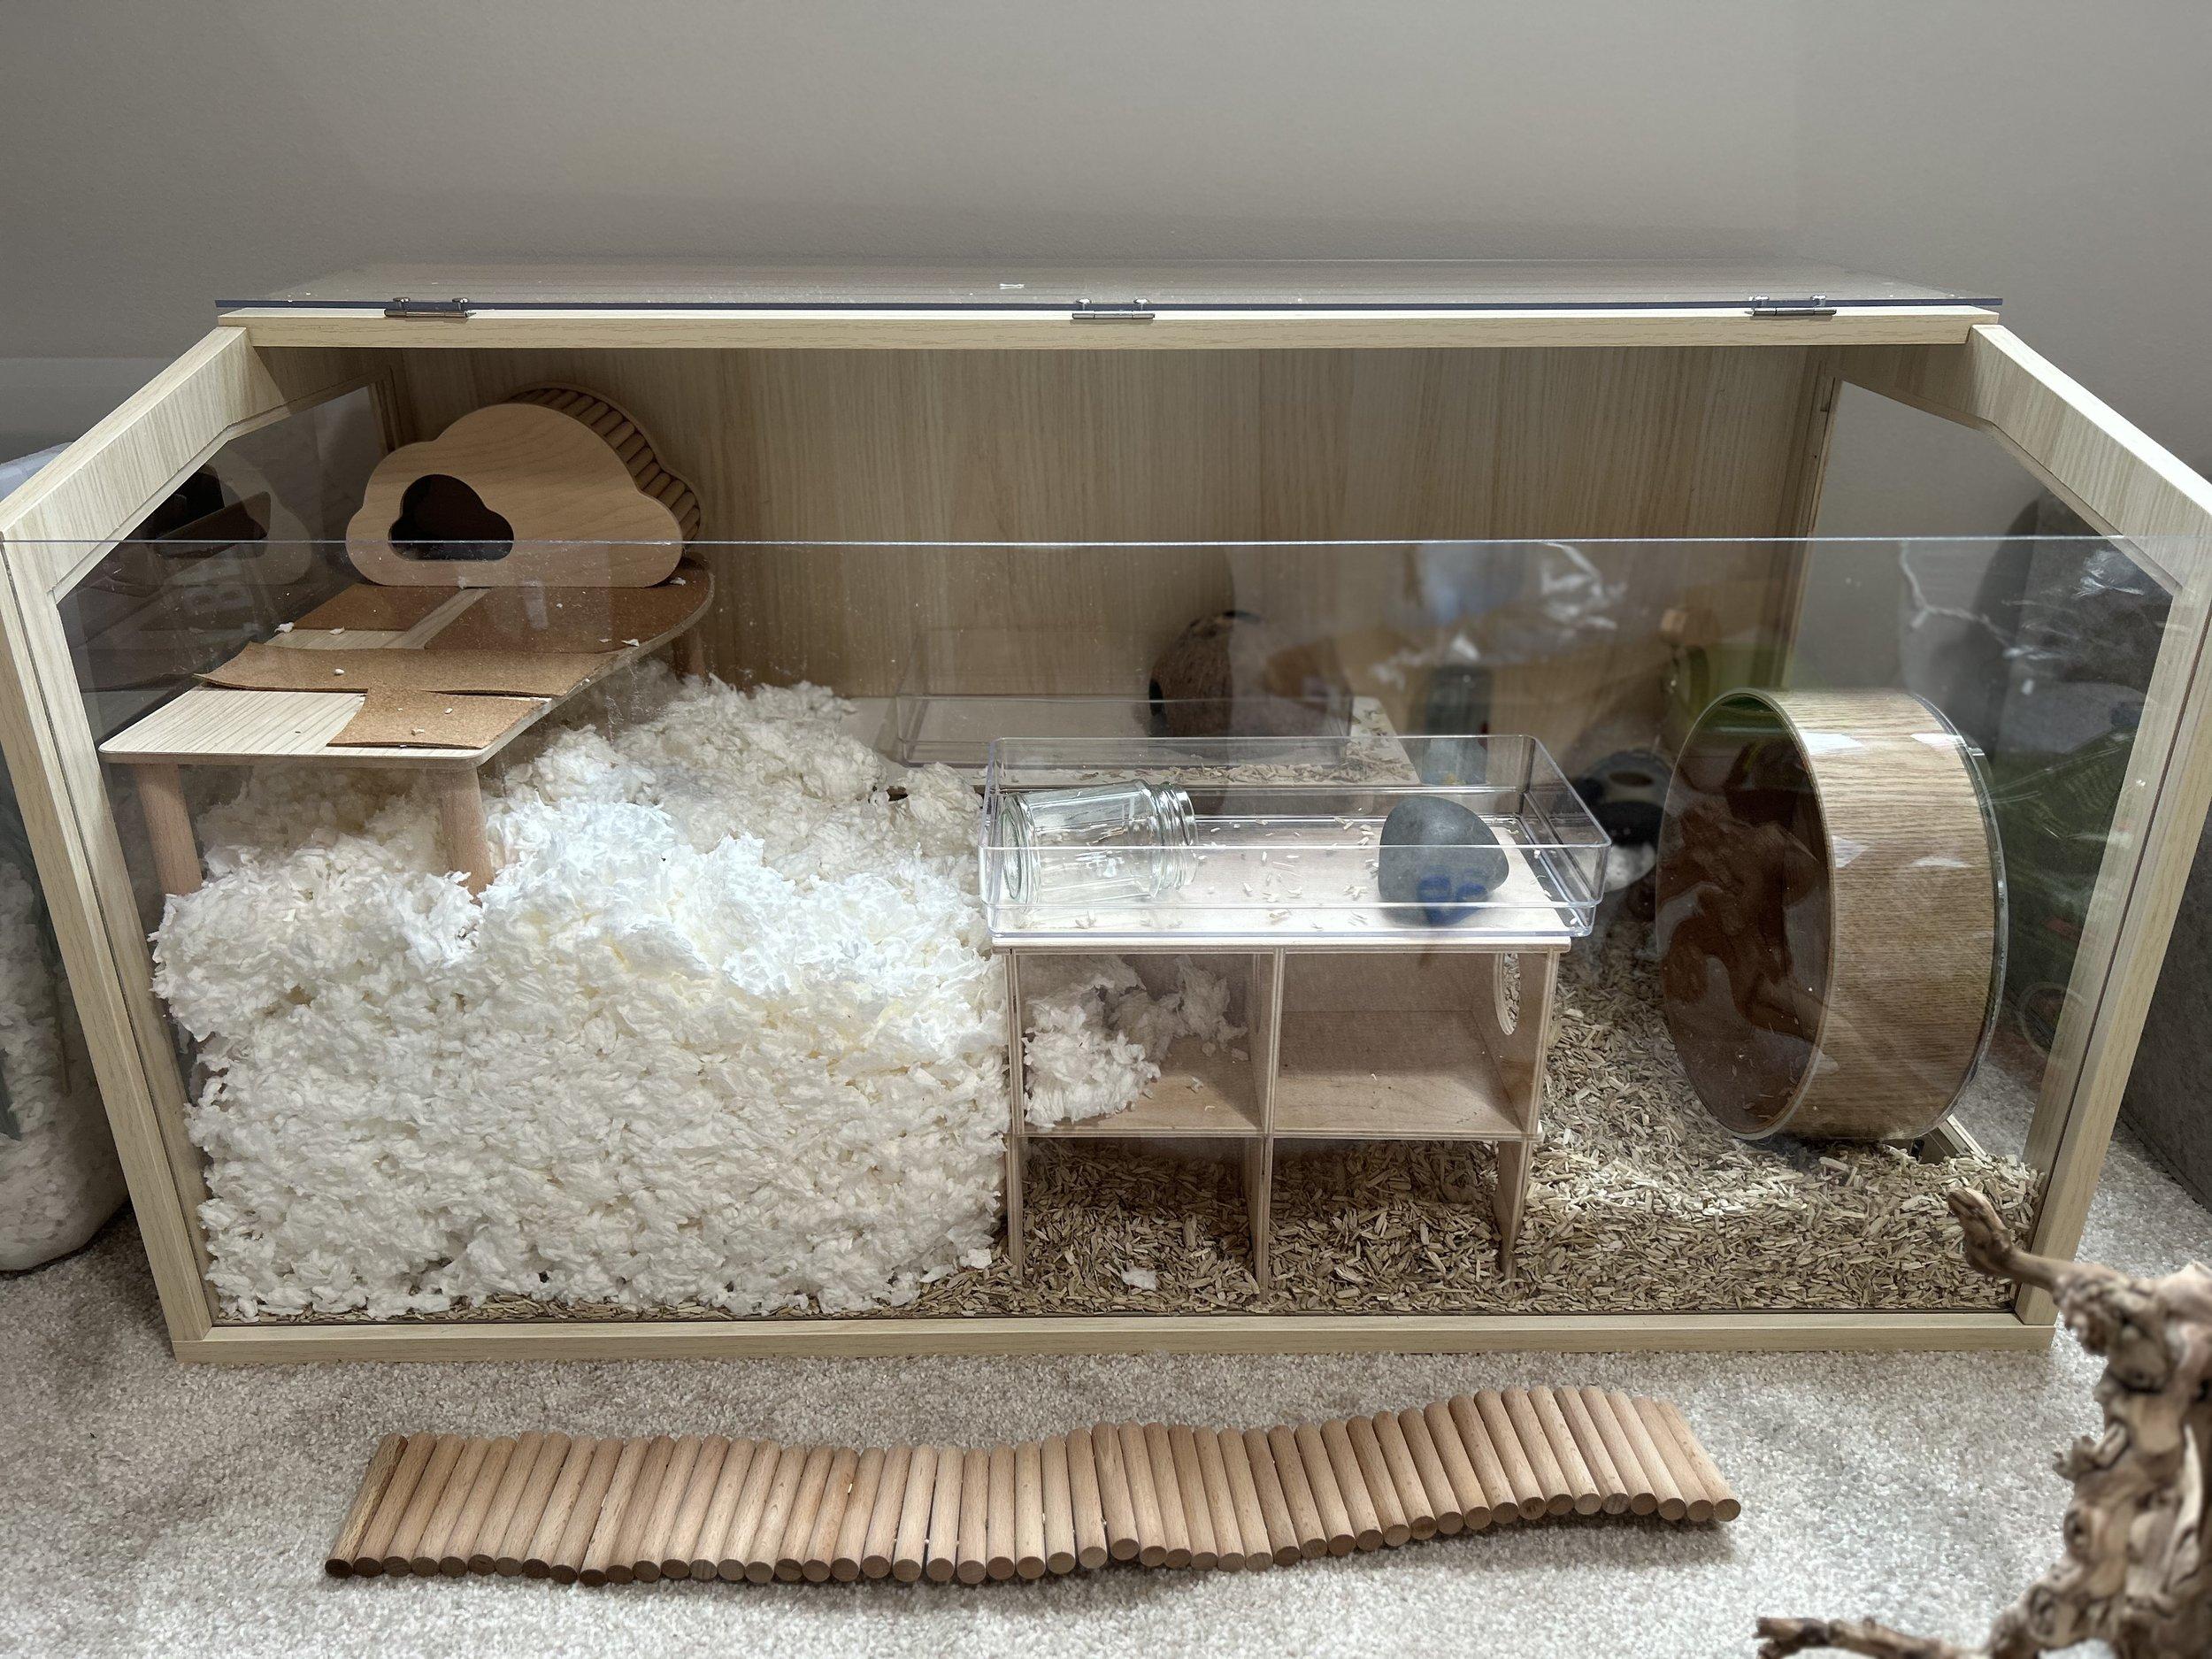 Next I add paper bedding – I like to use white so I can see pee spots easy and remove during spot cleans. Here I’m using Kaytee Clean and Cozy, unscented, white. *do not use scented bedding for your hamster, it’s not good for their delicate respi
Using unscented, white paper bedding for easy spot cleaning
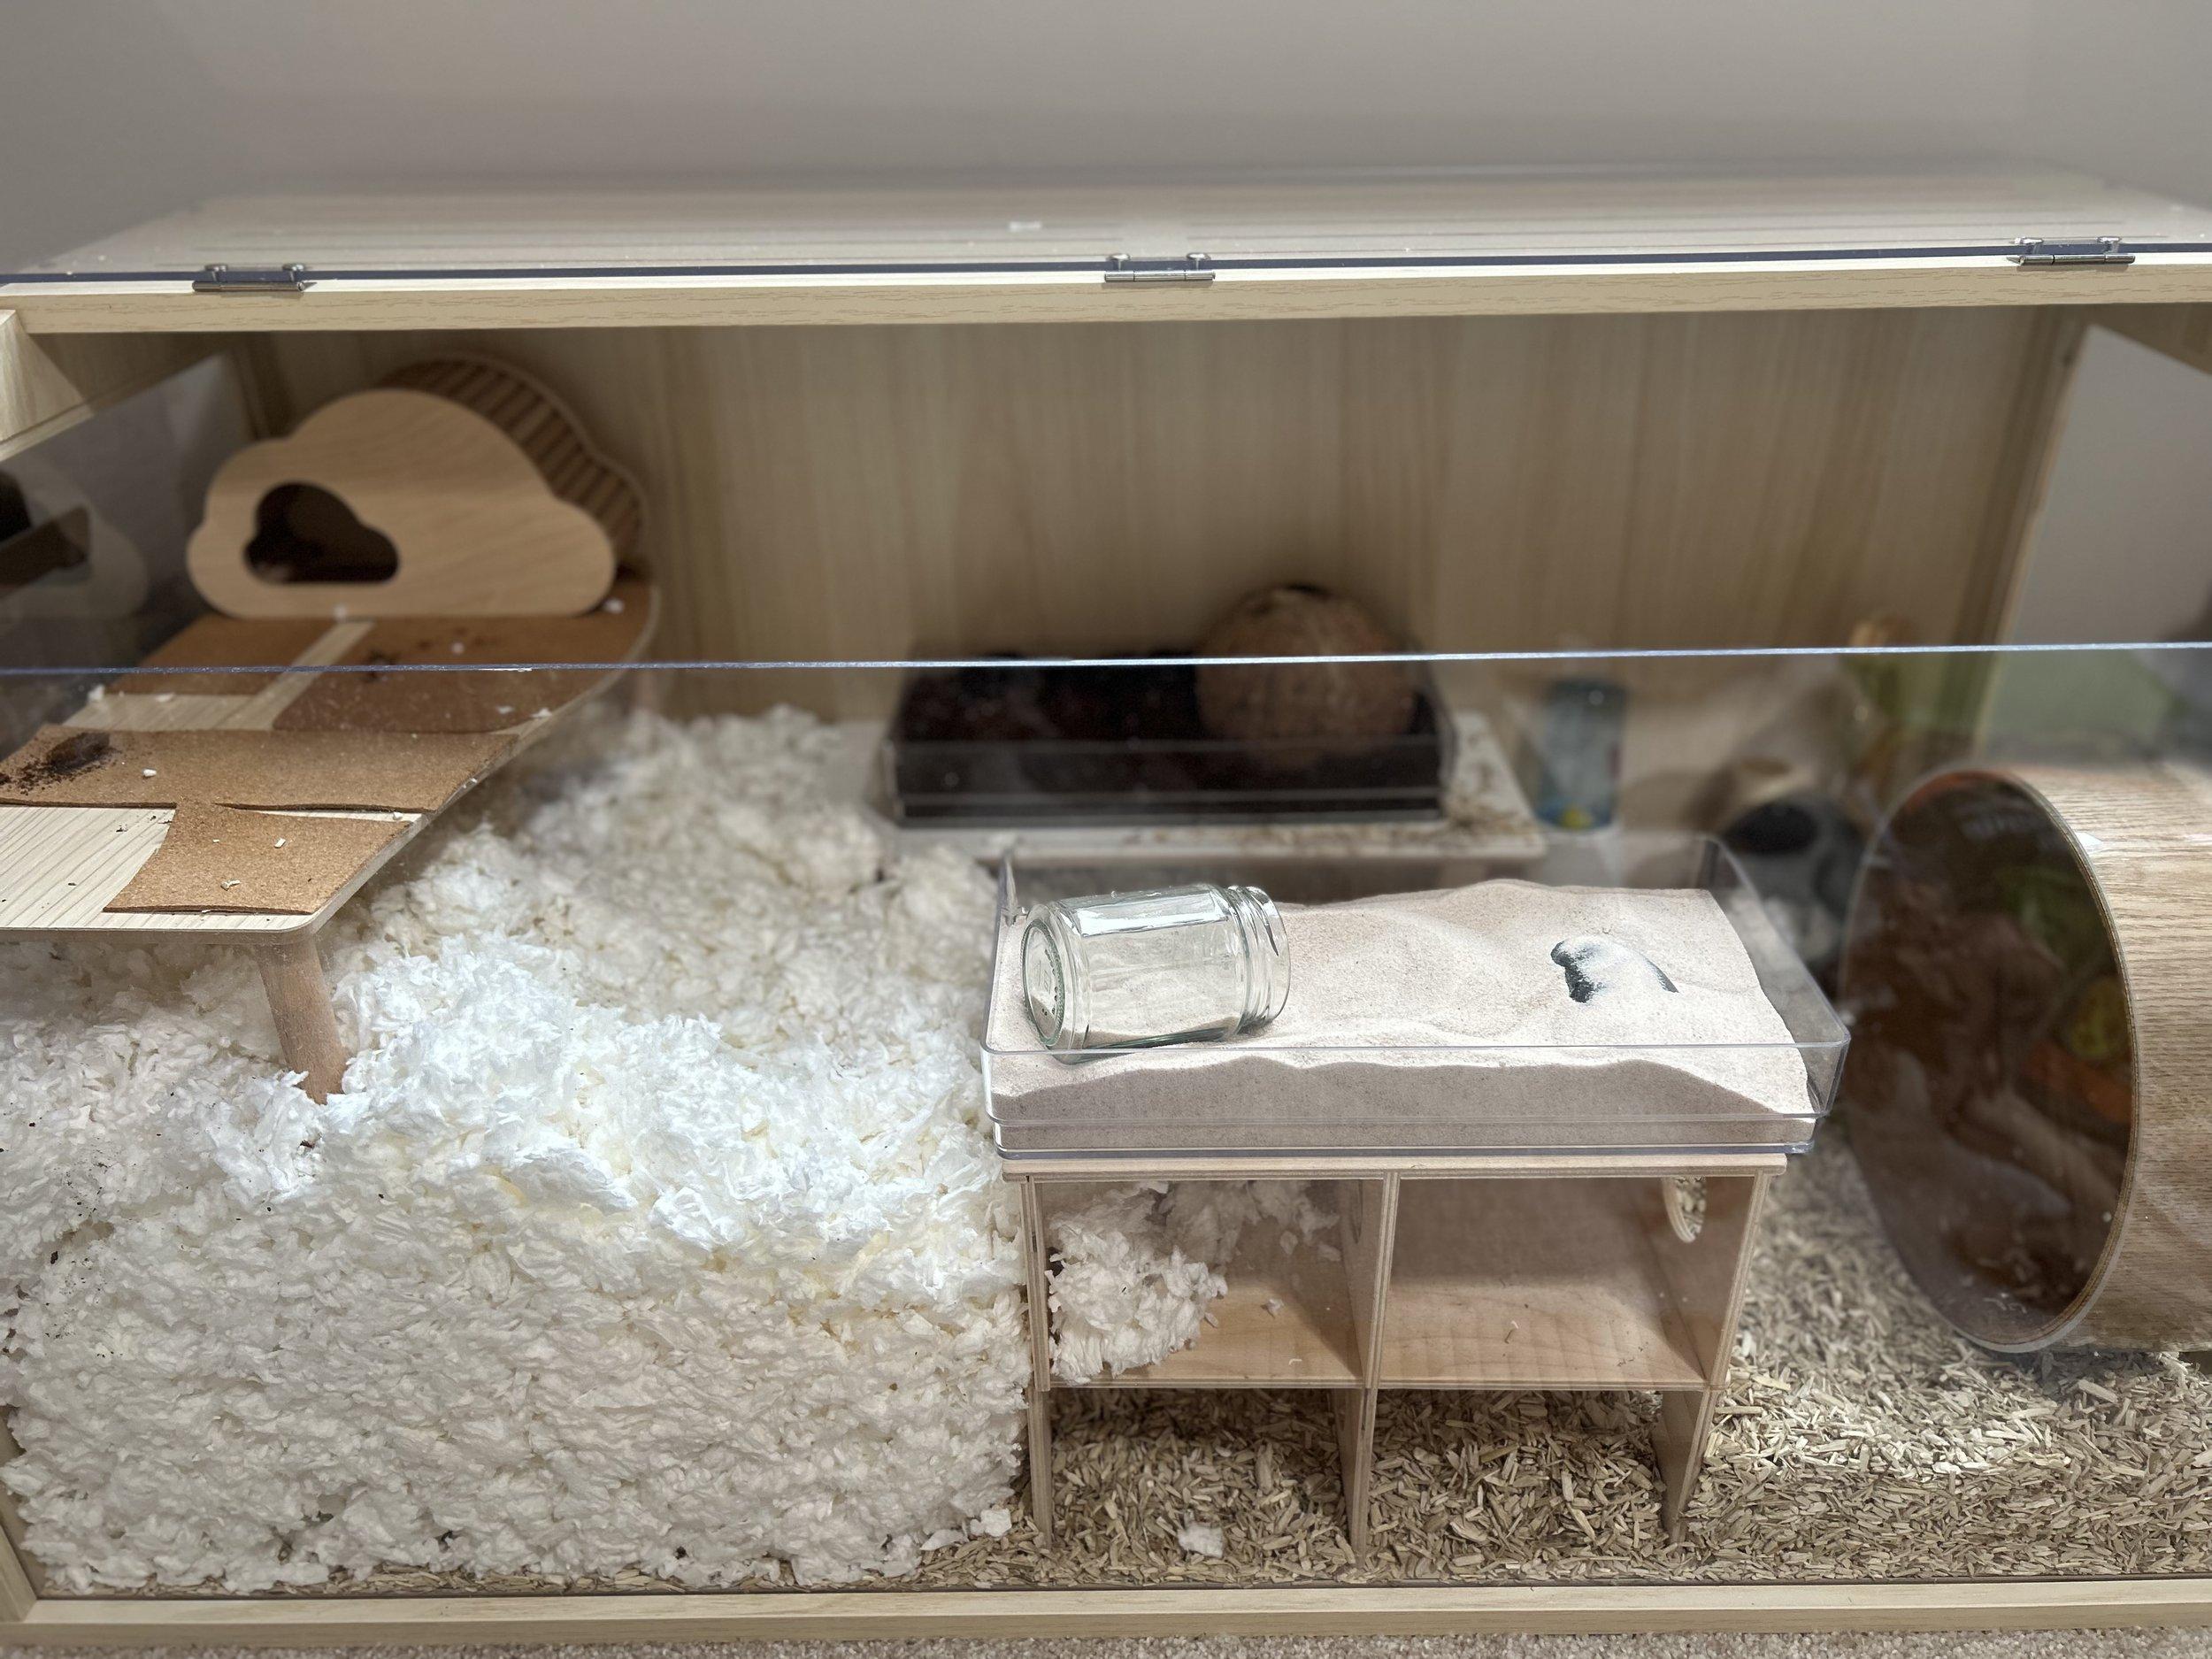 I then added sand & coconut soil.
Adding a sand and coconut soil mix for digging
A Word on What to Avoid
While variety is good, there are certain bedding materials that are absolute no-gos for hamsters. These include:
- Pine or cedar shavings: Emit harmful fumes that can cause respiratory problems.
- Cotton fluff or kapok: Can cause intestinal blockages if ingested and pose a serious entanglement risk.
Pro Tip: Niteangel also offers unique digging textures like cork granules, which I’m excited to try in my setups soon!
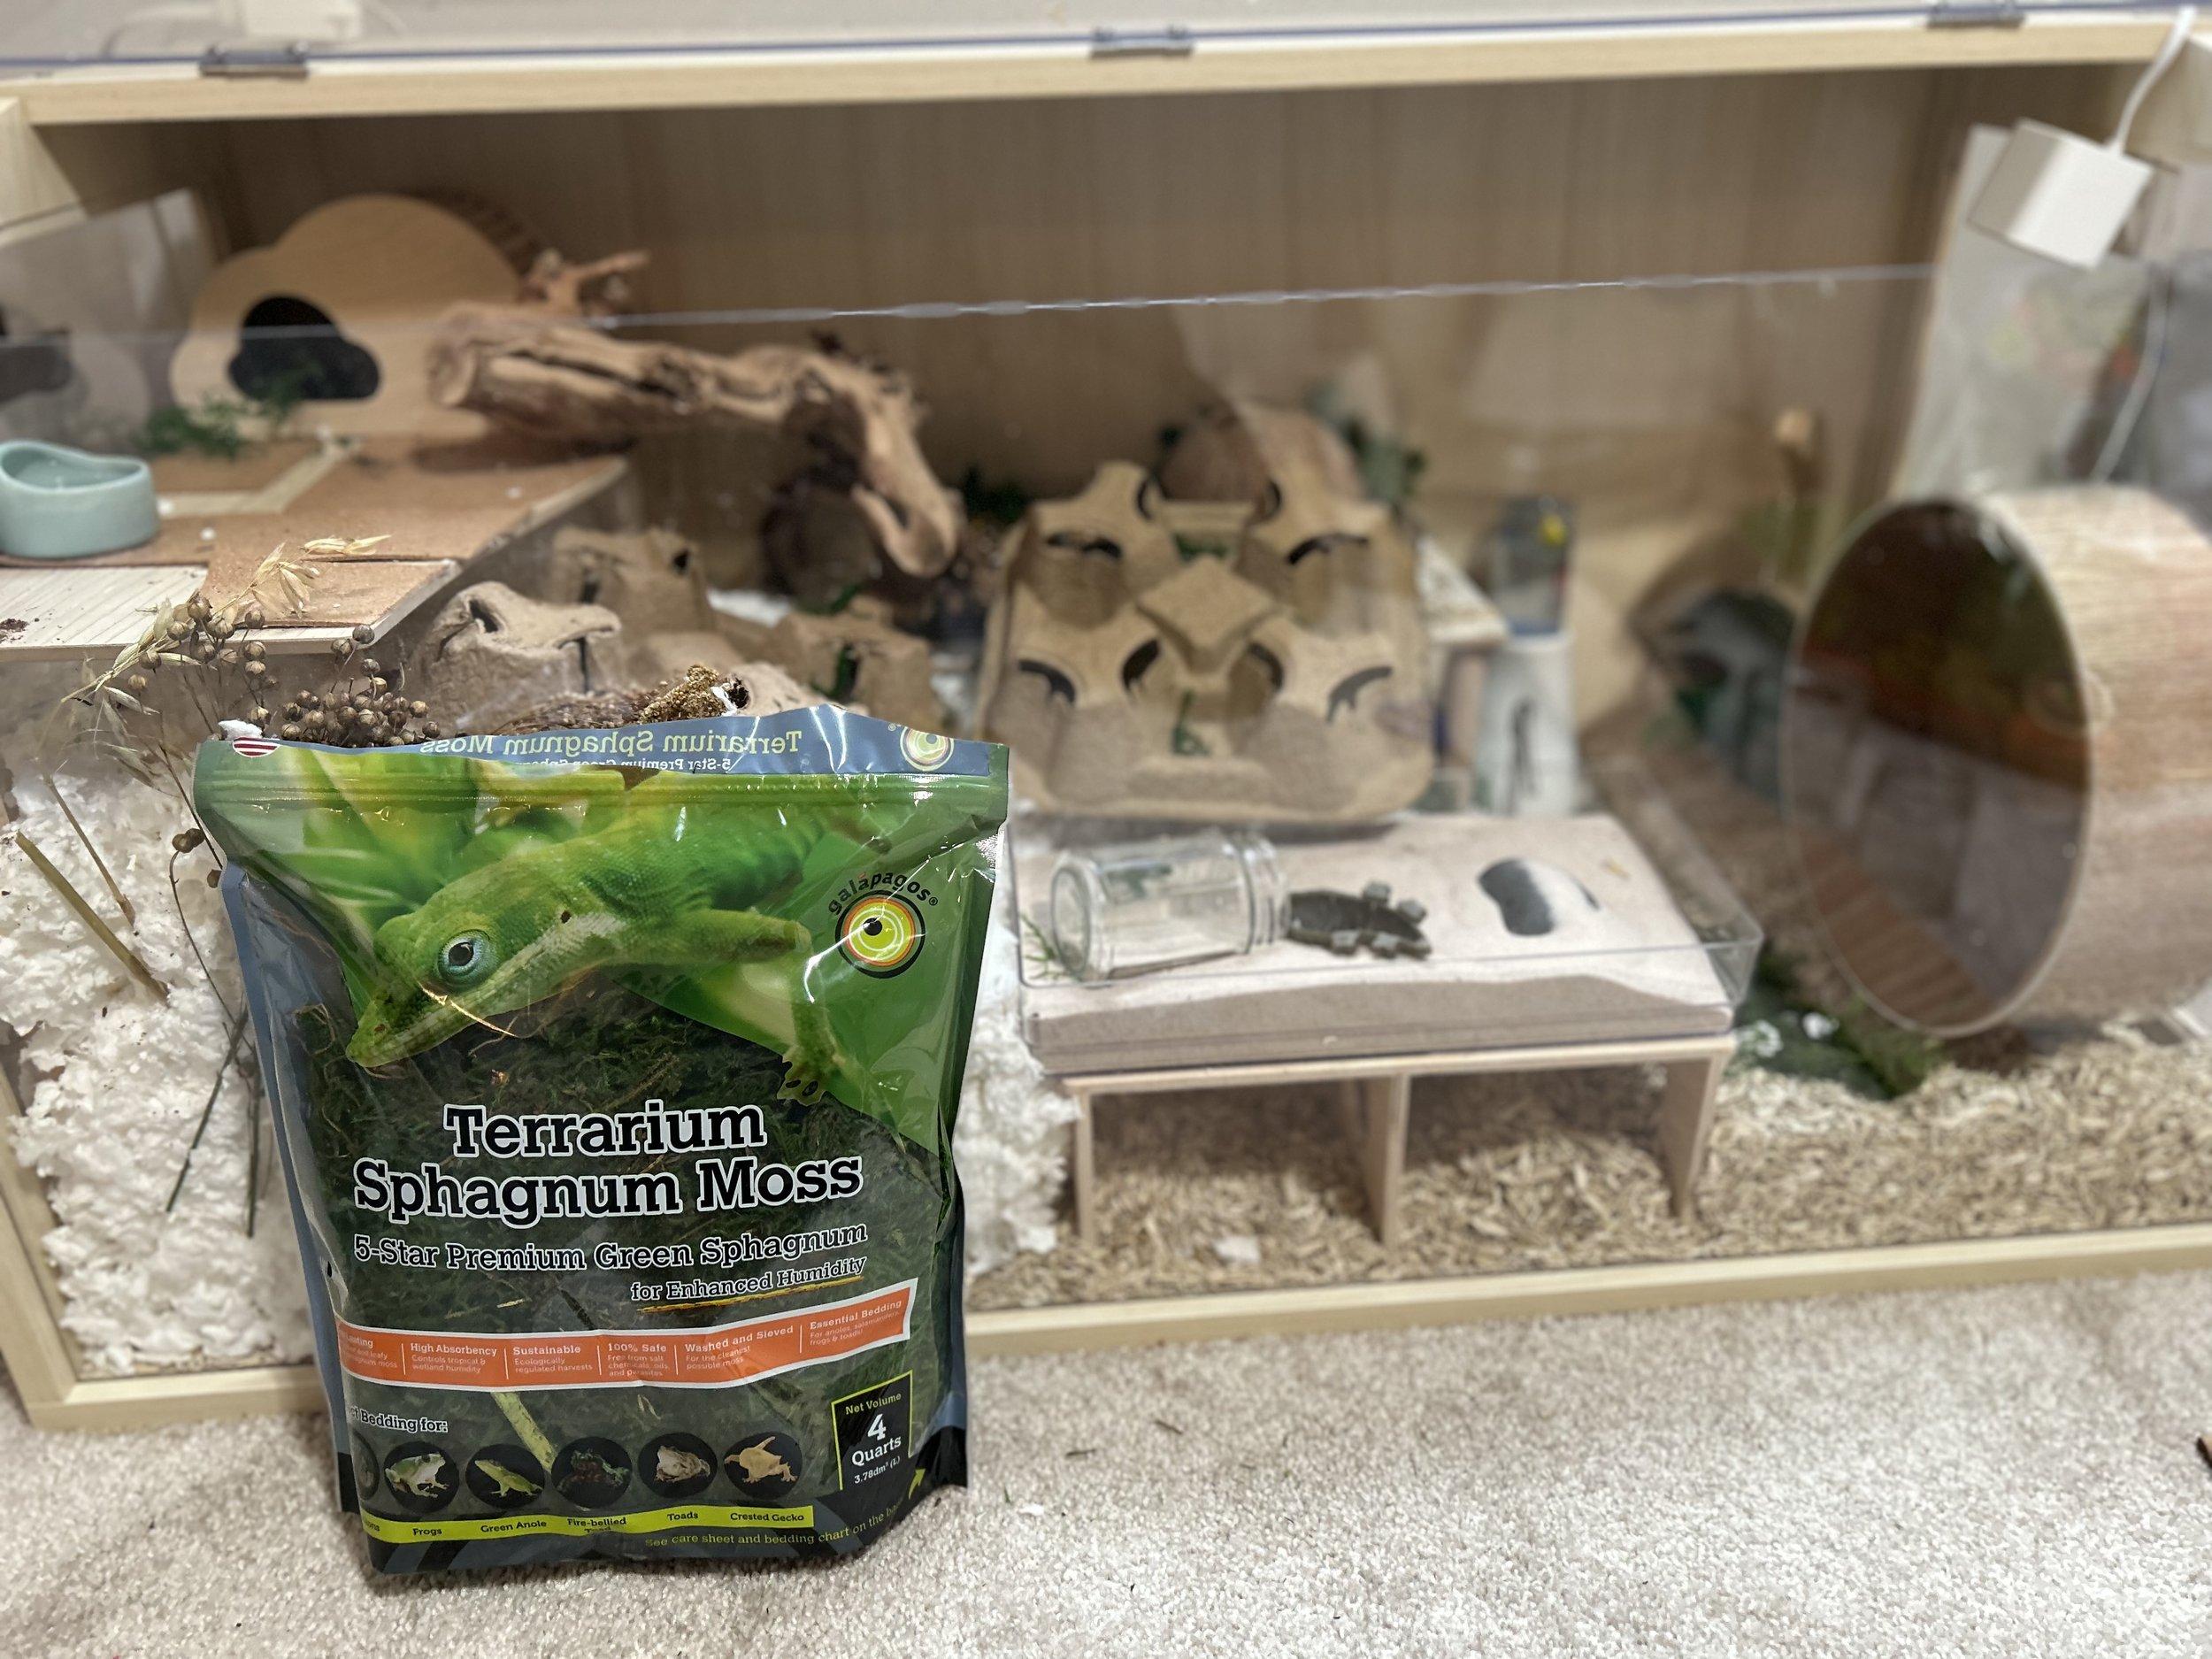 After completing the set up with bridges (and in this case, coffee cup holders), I added loose, sphagnum moss for color and texture. You can see here, I was debating with set up a bit…
Adding finishing touches with sphagnum moss
Step 3: Putting It All Together – Final Touches
With your bedding and substrates in place, it’s time for the final flourishes! Add back your hides, wheels, and other enrichment items, ensuring everything is securely positioned.
Safety First: A Smooth and Secure Hamster Home
Pro Tip: Take a moment to walk through the cage from a hamster’s perspective (literally!). Are there any steep drops or hard-to-reach areas? Hamsters are surprisingly good climbers, but accidents can happen. I often use adhesive cork or non-slip tape on slippery surfaces to ensure easy access.
Now is the perfect time to add those charming finishing touches, like seed sprays or hamster-safe flowers, which you can find on Etsy or from specialized hamster supply stores like Oakwood Forest.
Step Four: The Guest of Honor Arrives! Observation is Key
The moment has finally arrived – introducing your hamster to their new digs! It’s crucial to observe their behavior closely during this initial exploration phase.
Tweaking and Adjusting for the Perfect Fit
Watch how your hamster interacts with the different elements of the cage. Do they have difficulty climbing onto platforms? Are they avoiding certain areas? Don’t be afraid to make adjustments based on their preferences.
Pro Tip: A Wyze camera is a hamster parent’s best friend. You can observe their nighttime antics and make necessary adjustments based on their natural behaviors.
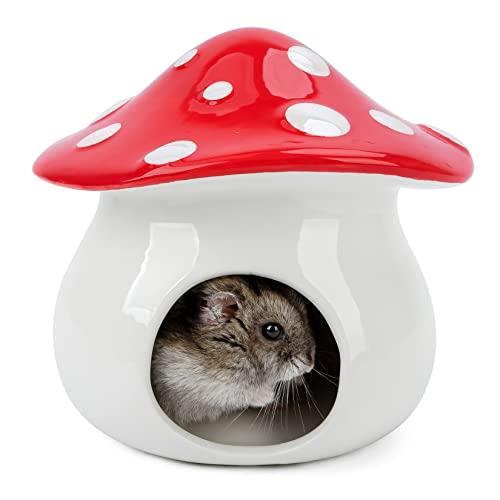 Adding Hamster!
Introducing the hamster to their new cage
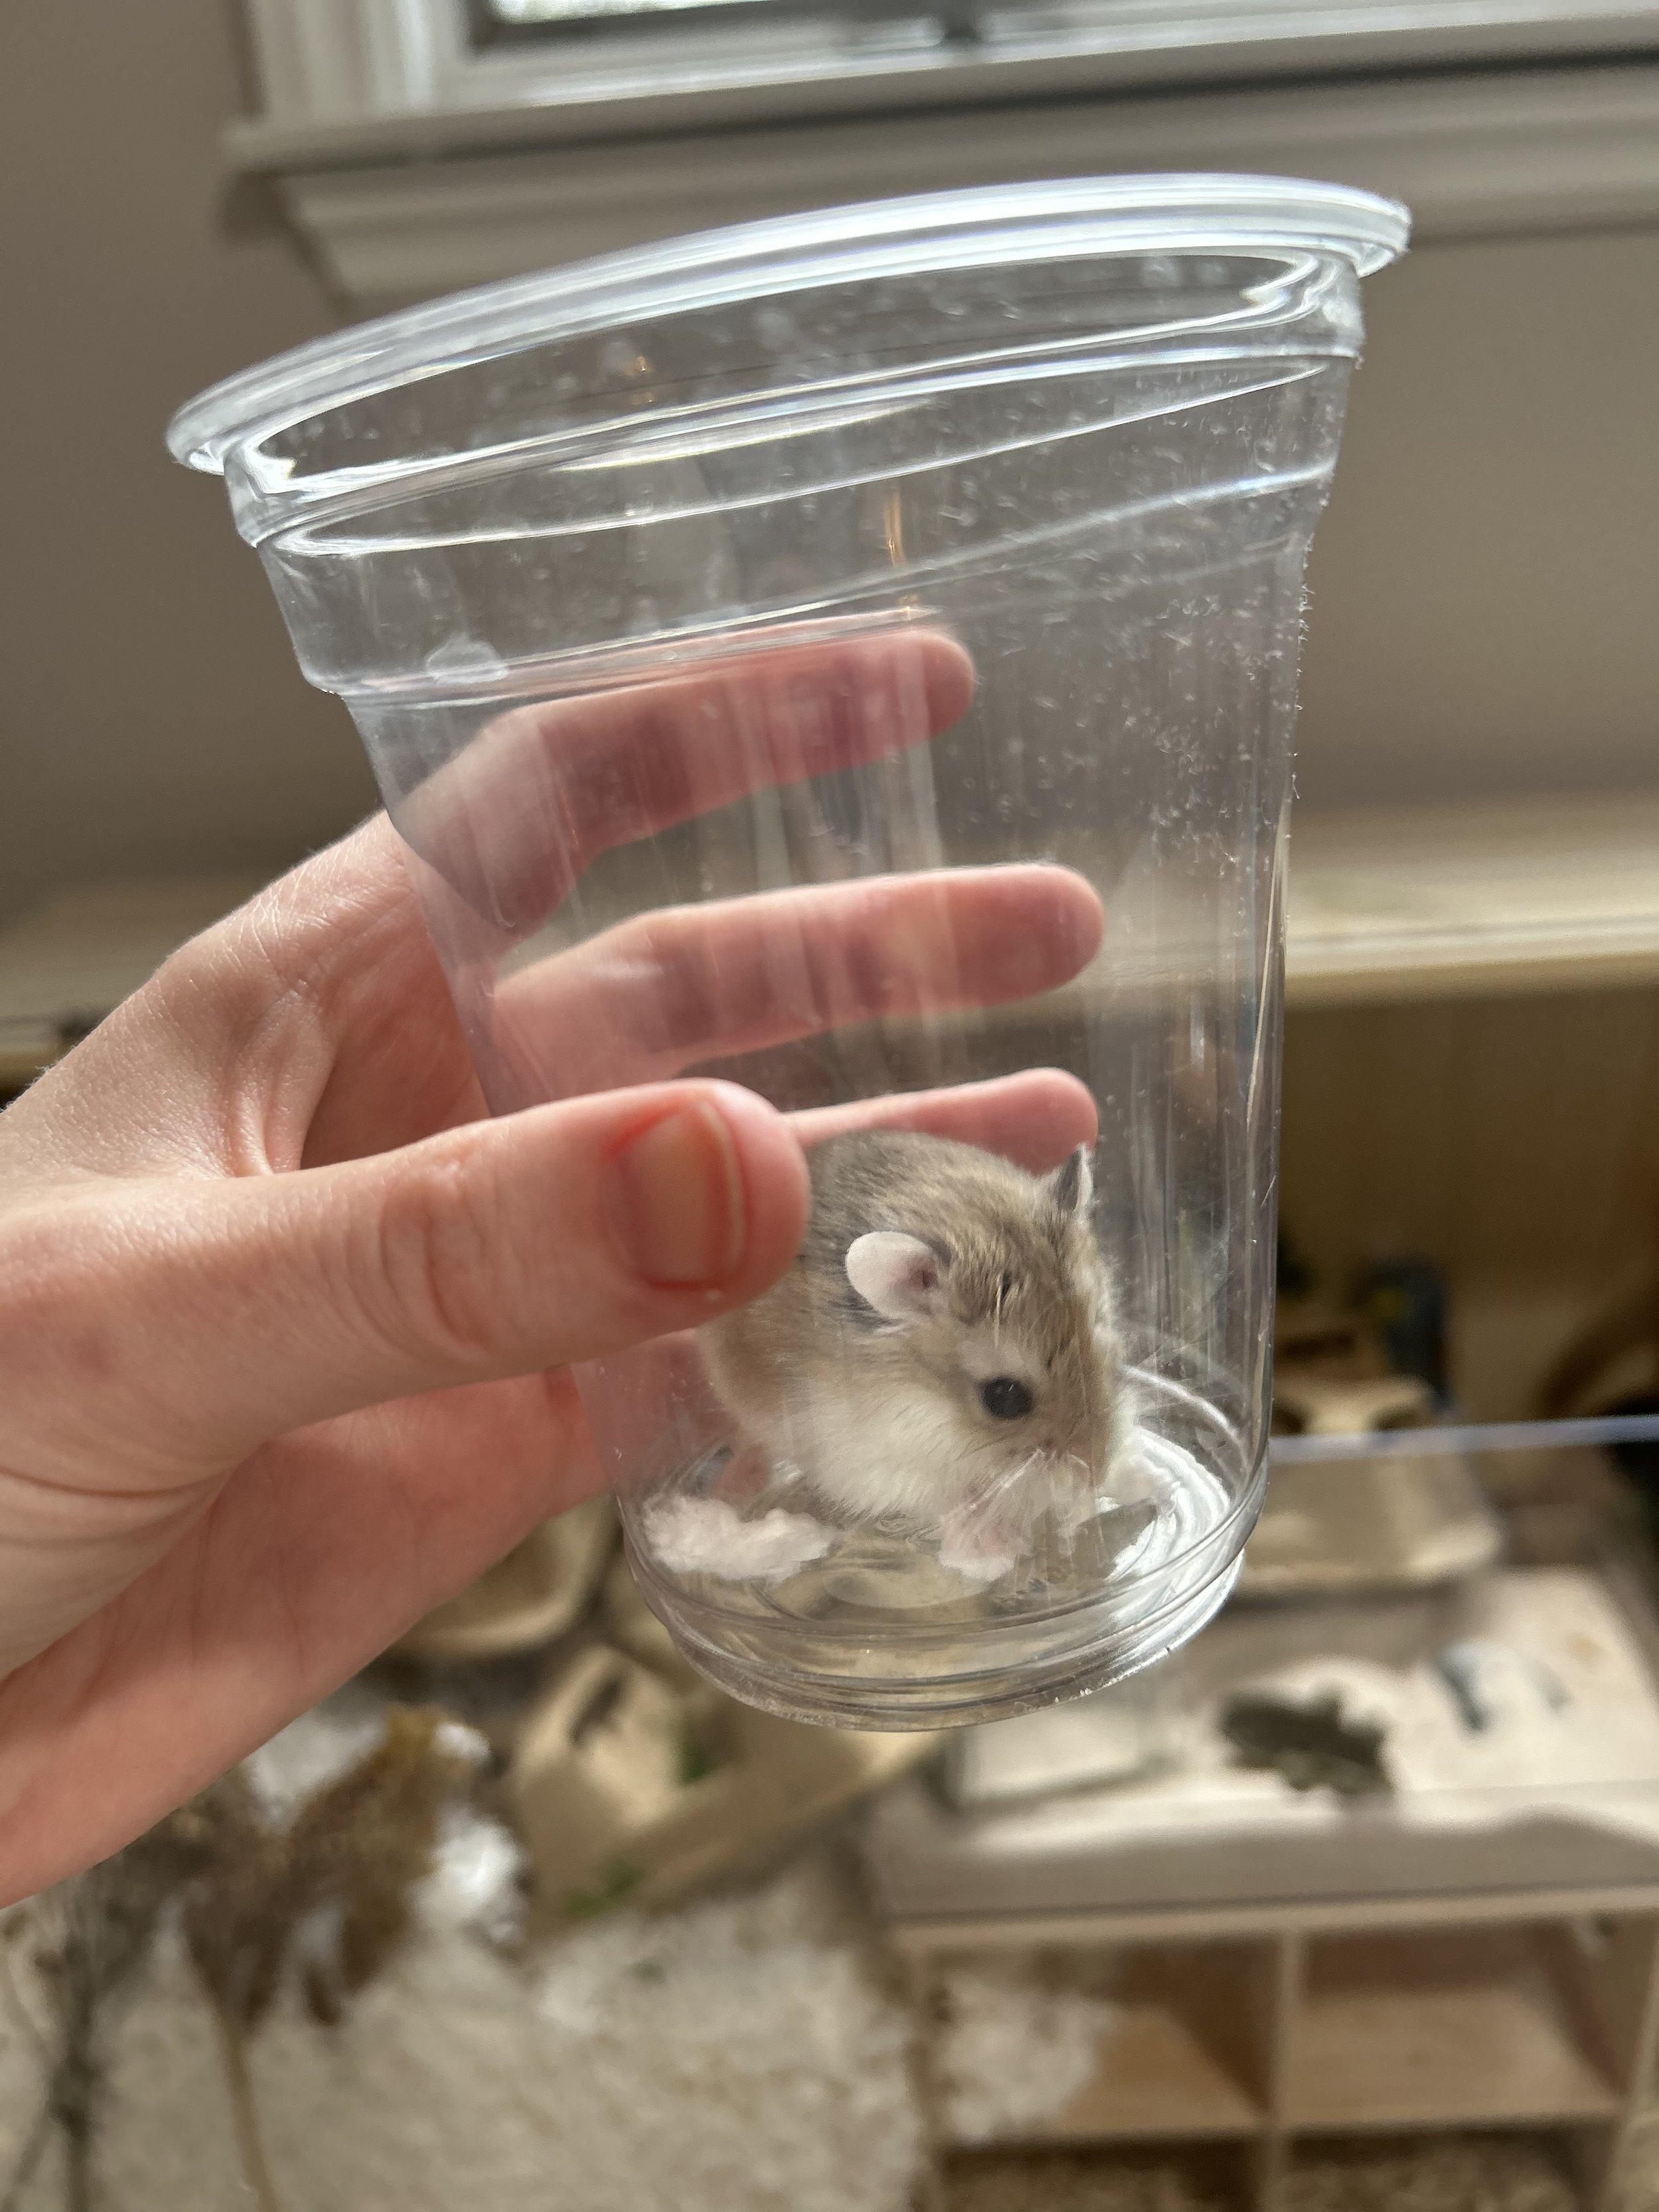 How cute is he!?
The hamster exploring their new home
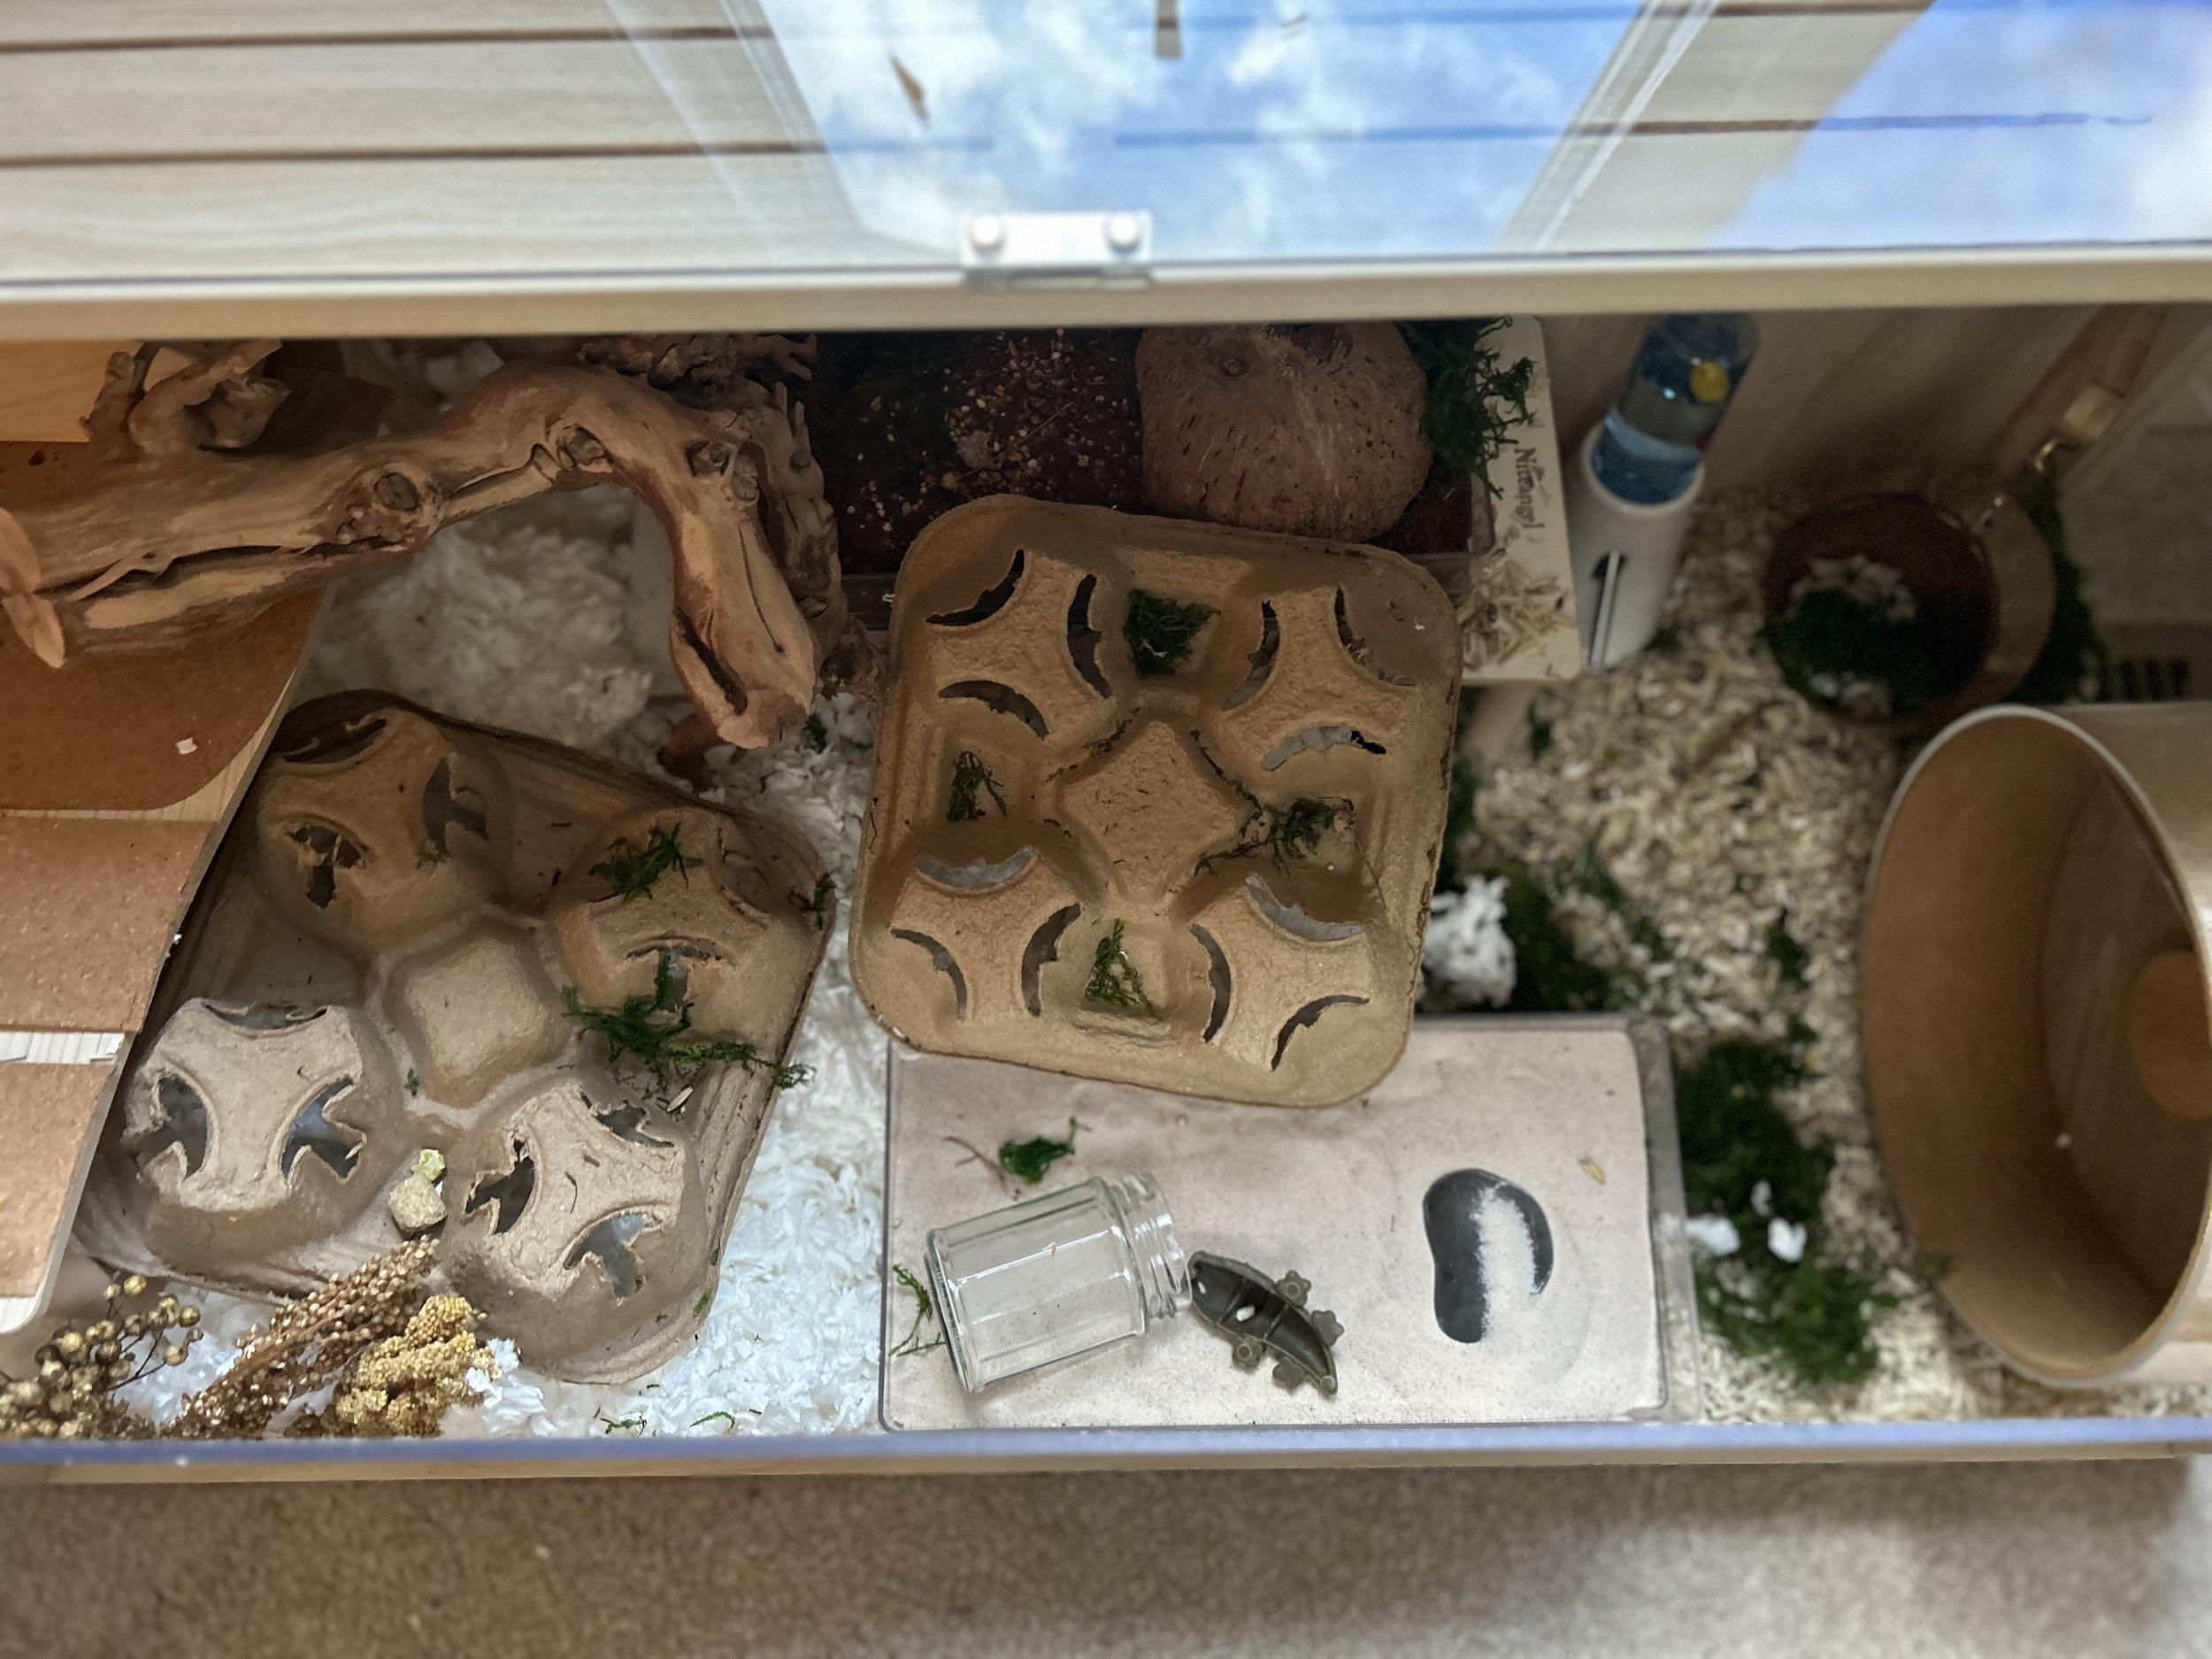 Alteration 1- removed double peep-shed, it felt too high compared to the hemp bedding side
Making adjustments based on the hamster’s behavior
Conclusion: Your Hamster Cage, Your Masterpiece
Remember, there’s no one-size-fits-all approach to hamster cage setups. Every hamster is unique, and your cage should reflect their individual personality and needs. As you gain experience and learn more about your furry friend’s quirks and preferences, you can continue to tweak and personalize their environment.
Don’t be afraid to experiment, get creative, and most importantly, have fun! There’s nothing more rewarding than watching your hamster thrive in a habitat you thoughtfully created just for them.


